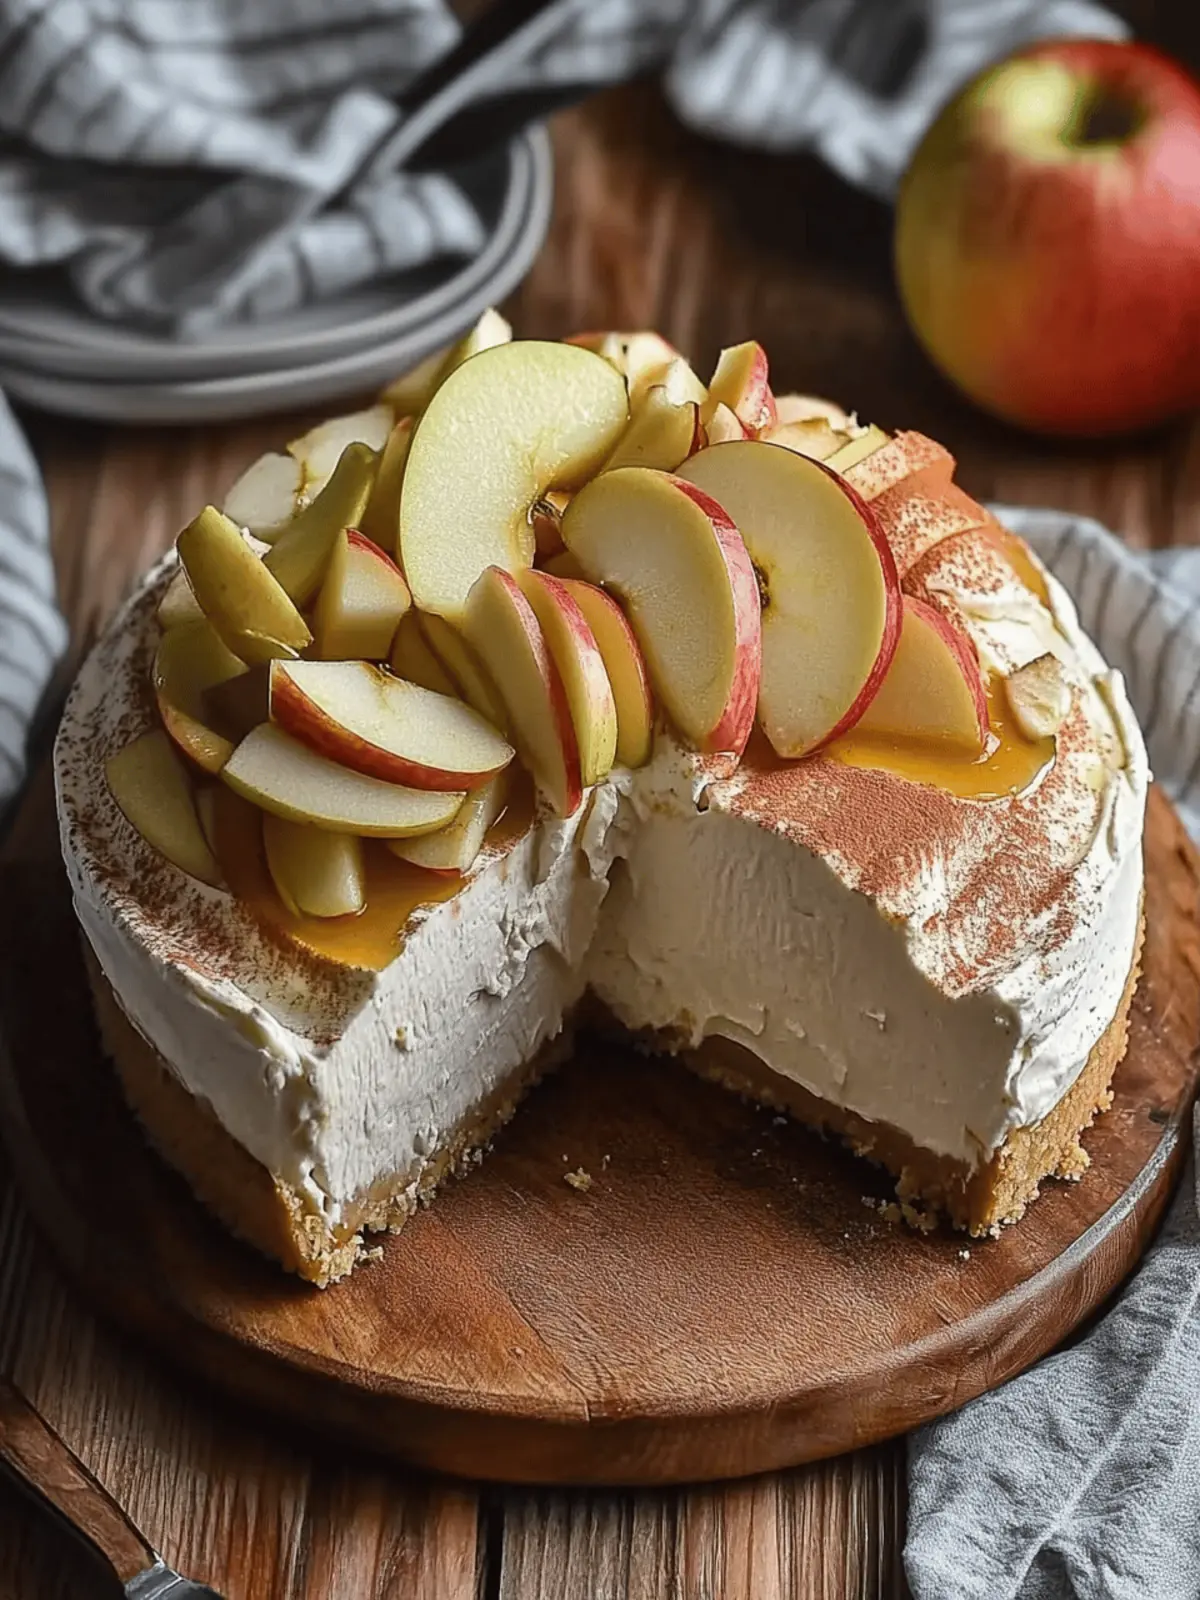
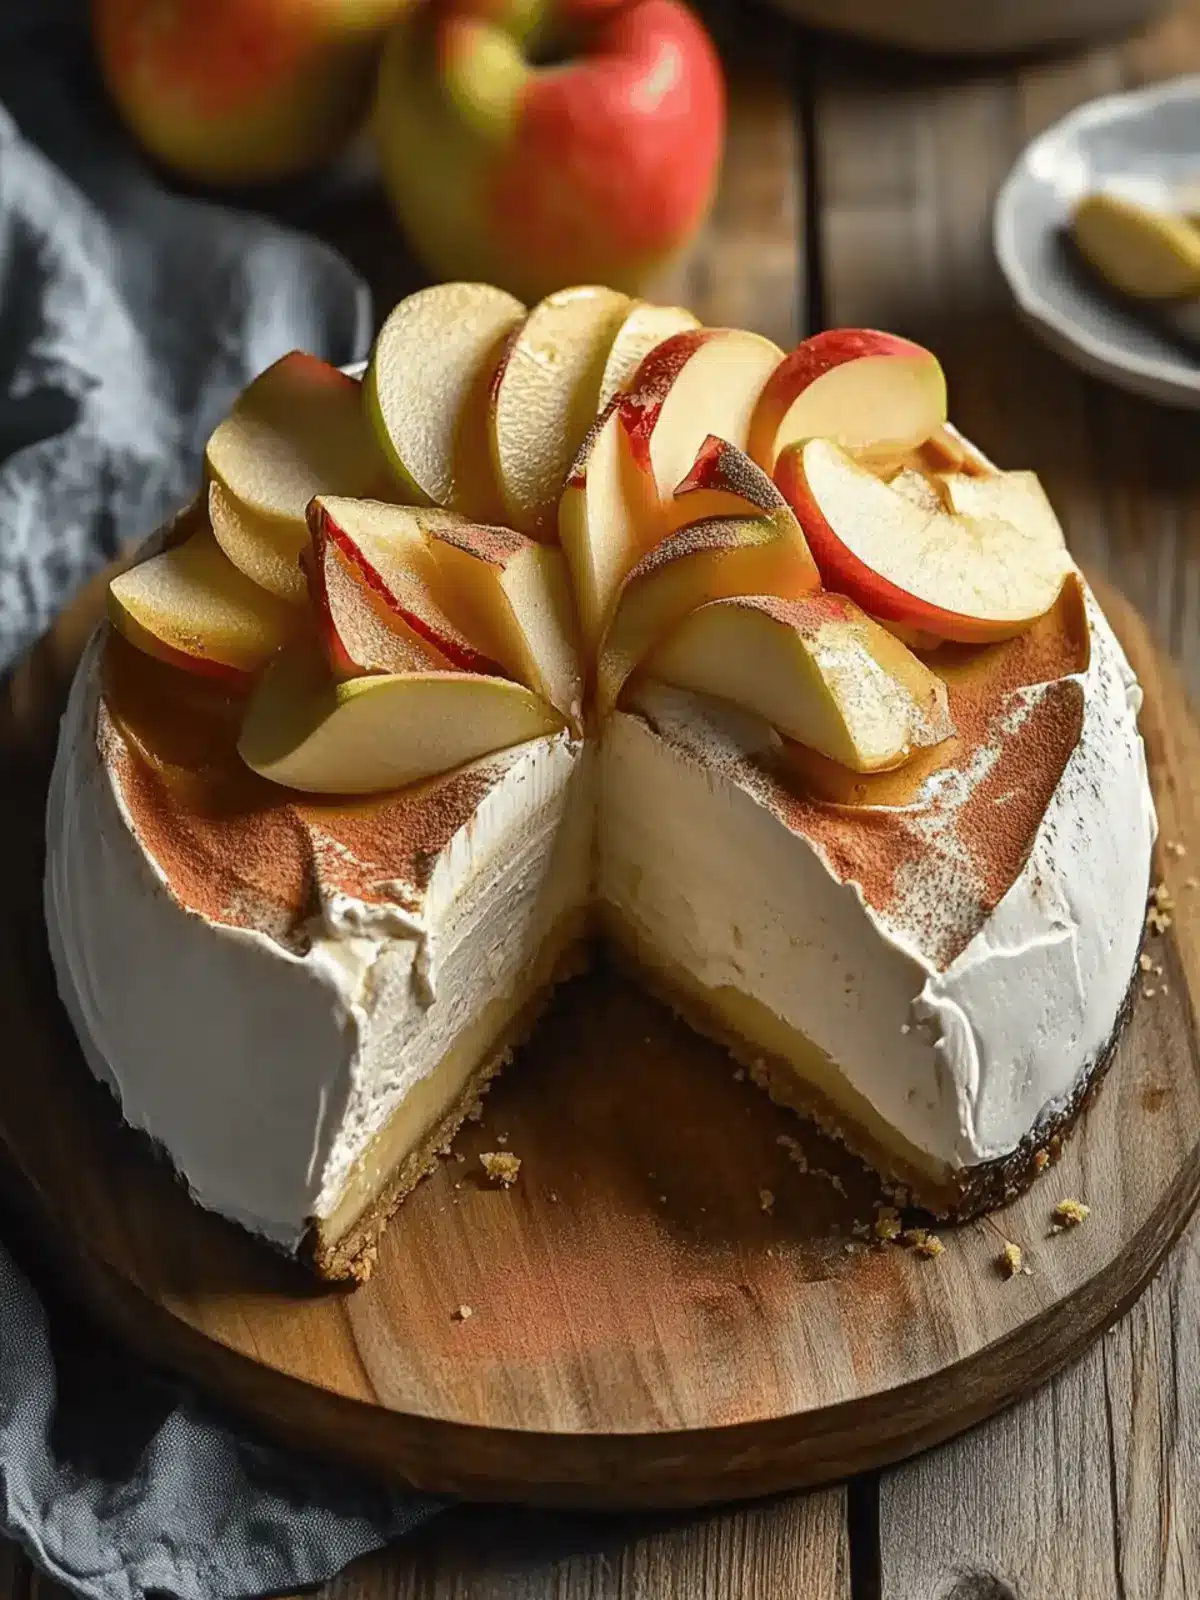
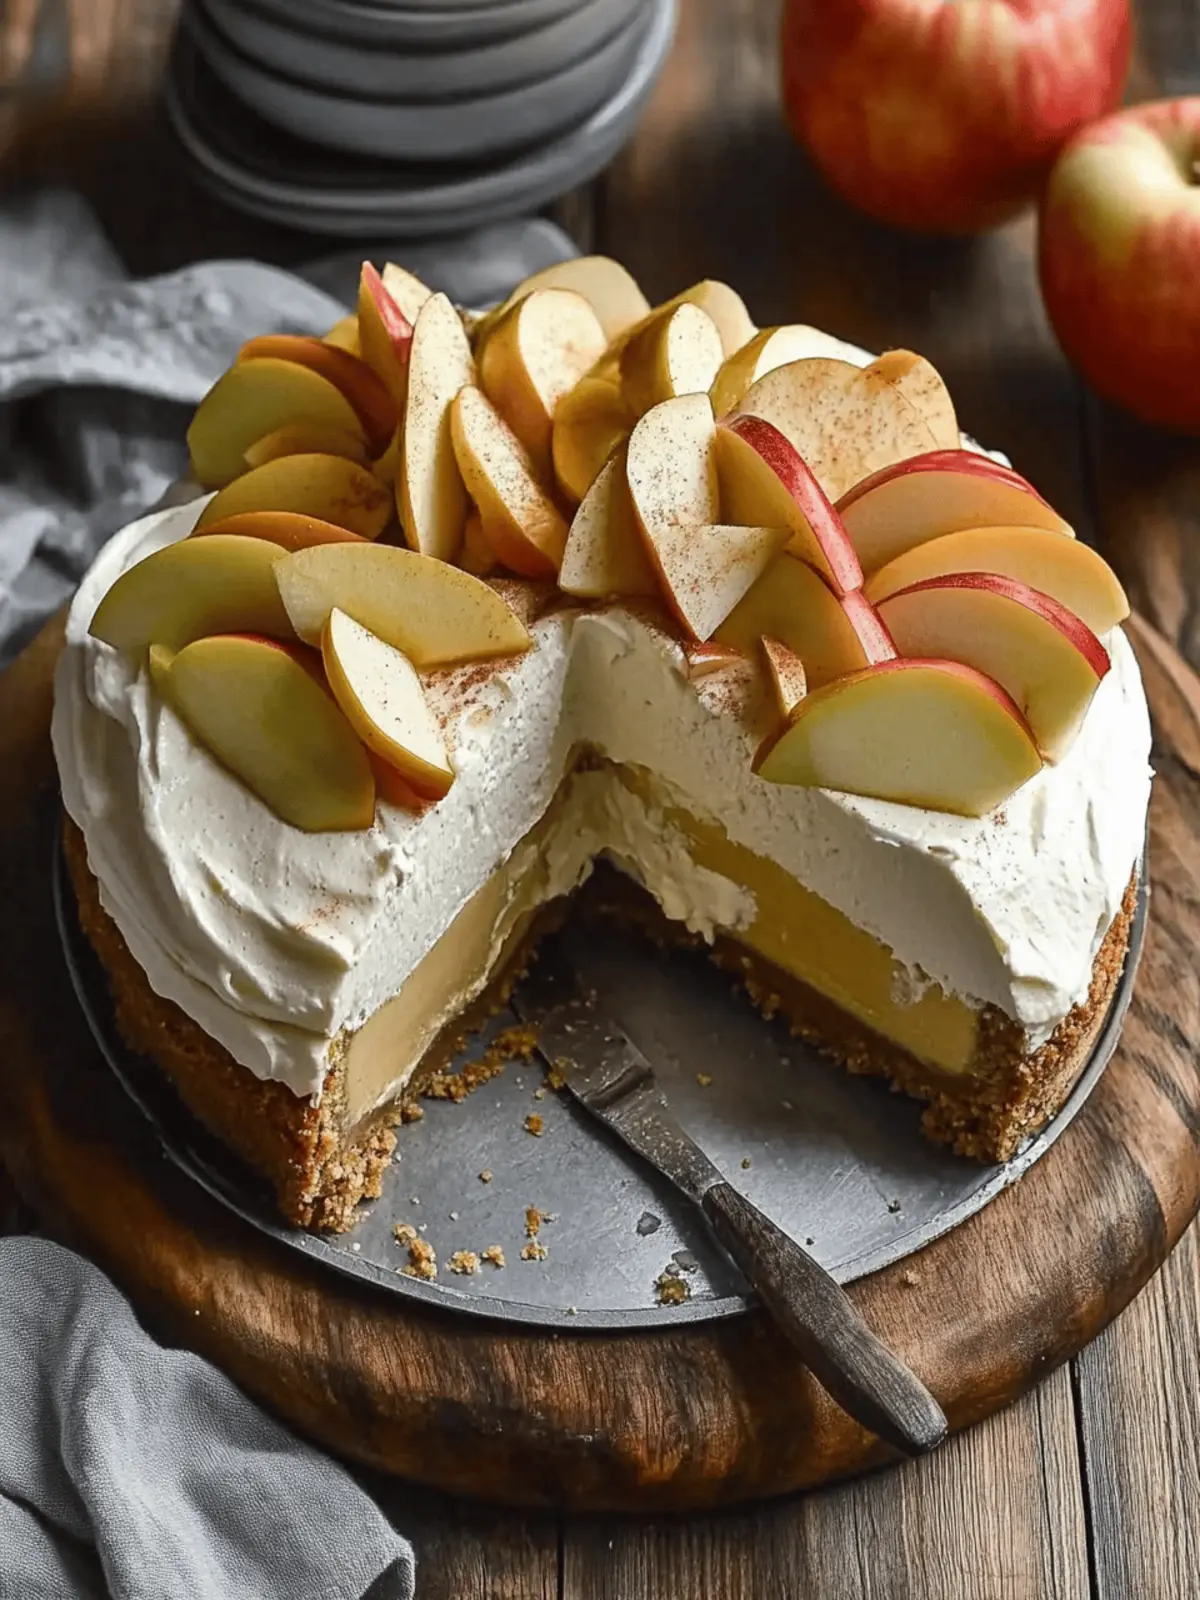
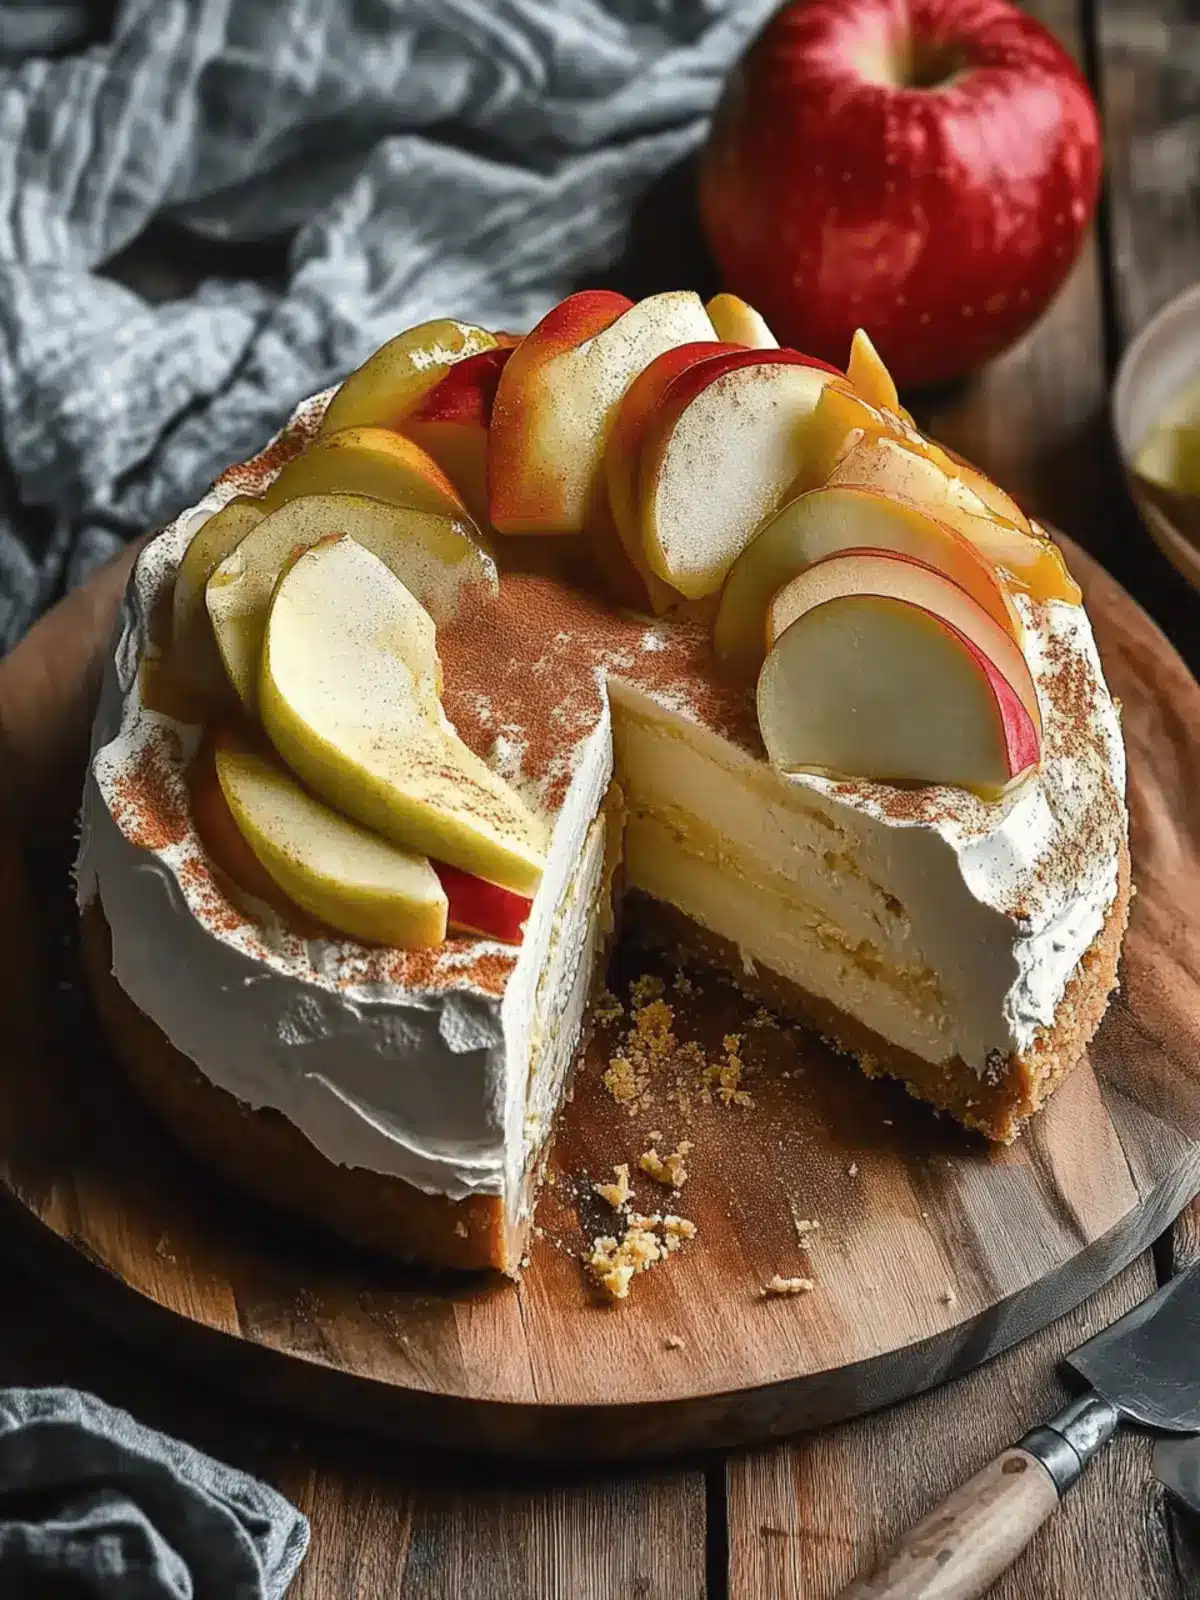
As the crisp autumn air settles in and leaves begin to paint the ground in shades of amber and gold, I find myself yearning for warm, comforting treats that capture the essence of the season. Enter the Apple Cider Cheesecake—a delightful twist on a classic that transforms the rich, creamy texture of traditional cheesecake into something wonderfully refreshing and seasonal. The magic begins with the vibrant flavor of reduced fresh apple cider, which infuses each bite with a tart, tangy essence reminiscent of cozy harvest gatherings.
Imagine the smoothness of cream cheese mingling with hints of mulling spices and the delicate crunch of a perfectly baked cookie crust. This cheesecake not only promises to impress at holiday feasts but will also have your loved ones coming back for seconds, if not thirds! So, dust off your springform pan, and let’s dive into creating this luscious dessert that’s sure to become a staple on your autumn dessert table.
Why is Apple Cider Cheesecake so special?
Irresistible flavor: The rich combination of cream cheese and fresh apple cider creates a unique sweet and tangy burst in every bite.
Seasonal delight: Perfect for autumn, this cheesecake captures the essence of harvest with its warm spices and apple goodness.
Textures that amaze: Enjoy the contrast of a crunchy cookie crust paired with a creamy, dreamy filling that melts in your mouth.
Crowd-pleaser: Its impressive presentation makes it a showstopper at gatherings, ensuring compliments from every guest.
Versatile variations: Customize it with your favorite toppings like whipped cream or caramel sauce for that extra touch of indulgence!
Apple Cider Cheesecake Ingredients
For the Crust
- Digestive Cookies or Graham Crackers – A crunchy base offering a sweet layer that perfectly complements the creamy filling.
- Butter – Unsalted is best to control salt levels and bind the crust together.
- Salt – Enhances the overall flavors and balances the sweetness of the crust.
- Powdered Sugar – Adds a touch of sweetness to the crust for optimal flavor balance.
For the Filling
- Fresh Apple Cider – The key flavor component; opt for Honeycrisp cider to highlight the tartness.
- Mulling Spices – Optional but recommended to elevate the flavor profile beautifully.
- Cream Cheese – Provides a rich, creamy texture; make sure it’s softened for easy mixing.
- Brown Sugar – Adds sweetness with a subtle hint of caramel; choose light or dark according to taste.
- Vanilla Extract – Enhances the dessert’s flavor; use pure extract for the best results.
- Sour Cream – Brings tanginess and moisture; always choose full-fat for creaminess.
- Flour – Helps stabilize the filling for a well-structured cheesecake.
- Eggs – Essential for structure; let them come to room temperature for even mixing.
With these ingredients, your Apple Cider Cheesecake is destined to shine at the heart of your autumn gatherings!
How to Make Apple Cider Cheesecake
-
Reduce Cider: Begin by boiling 3 cups of fresh apple cider with mulling spices in a saucepan. Reduce it for about 30-45 minutes until it thickens into a syrupy consistency. Allow it to cool completely before use.
-
Prep Pan: Preheat your oven to 350°F (175°C). Grease an 8” springform pan or cake pan and line the bottom with parchment paper to prevent sticking.
-
Make Crust: Crush the digestive cookies or graham crackers into fine crumbs. Mix the crumbs with melted butter, powdered sugar, and a pinch of salt. Press this mixture firmly into the bottom of your prepared pan and bake for 10 minutes. Set aside to cool.
-
Mix Filling: In a stand mixer, beat the softened cream cheese and brown sugar until smooth and creamy. Gradually add the sour cream, vanilla, and reduced cider, mixing well. Add flour and incorporate eggs one at a time, mixing just until combined to keep the texture light.
-
Bake Cheesecake: Pour the creamy filling over your cooled crust in the springform pan. Place this pan inside a larger one filled halfway with water (this creates a water bath). Bake for 80-90 minutes until the sides are set, but the center remains slightly wobbly.
-
Cool Slowly: Turn off the oven and crack the door open slightly. Let the cheesecake cool in the oven for about 30 minutes to prevent sudden temperature changes. Then, remove it to the counter to cool completely before refrigerating for at least 8 hours.
Optional: Garnish with a drizzle of caramel sauce or whipped cream before serving.
Exact quantities are listed in the recipe card below.
Apple Cider Cheesecake Variations
Explore these delightful twists to make your Apple Cider Cheesecake even more special!
-
Mulling Spices: Add a mix of cloves, nutmeg, or allspice to the cider reduction for a deeper flavor. Each spice brings unique warmth that enchants your palate in every bite.
-
Gourmet Topping: Drizzle with homemade apple cider caramel to take sweetness to new heights. The rich caramel contrasts beautifully with the cheesecake’s creamy texture.
-
Nutty Crust: Swap digestive cookies for crushed pecans or walnuts in the crust for added crunch and a hint of nuttiness. This will elevate the base and make it extra special.
-
Chocolate Drizzle: For a decadent twist, drizzle melted dark chocolate over the cheesecake before serving. The pairing of dark chocolate and apple flavors creates a delightful surprise!
-
Pumpkin Spice Blend: Incorporate a bit of pumpkin pie spice into the filling for a seasonal twist. This brings warmth and depth, making each bite reminiscent of cozy fall vibes.
-
Fruit Compote: Top with a warm apple compote made from sautéed apples, cinnamon, and sugar for a burst of fruitiness. It’s a lovely homage to traditional apple desserts.
-
Cheesecake Bites: Transform this recipe into bite-sized cheesecakes using a mini muffin pan for easy serving during gatherings. They’ll be a hit as a finger food treat!
-
Sweet & Spicy: Add a pinch of cayenne pepper to the filling for a subtle spicy kick that perfectly balances the sweetness. A little heat enhances the autumn experience!
How to Store and Freeze Apple Cider Cheesecake
Fridge: Store your Apple Cider Cheesecake in the refrigerator for up to 3-4 days. Cover it tightly with plastic wrap or foil to keep it fresh and prevent it from absorbing other odors.
Freezer: If you want to enjoy the cheesecake later, freeze it for up to 2 months. Wrap it well in plastic wrap and place it in an airtight container to maintain its creamy texture.
Thawing: To enjoy your frozen cheesecake, transfer it to the fridge and allow it to thaw overnight. This method keeps the flavor intact and the texture smooth.
Reheating: It’s best served chilled, but if you prefer it slightly warmed, let it sit at room temperature for 15-20 minutes before serving.
What to Serve with Apple Cider Cheesecake?
As the aroma of spiced apples wafts from your kitchen, it’s time to think about the perfect accompaniments for this autumn delight.
-
Cinnamon Whipped Cream: A dollop of lightly sweetened whipped cream infused with cinnamon makes every bite feel like a cozy hug.
-
Caramel Sauce: Drizzling warm caramel sauce over each slice enhances the rich flavors, offering a sweet counterpart to the tangy cheesecake.
-
Fresh Apple Slices: Crisp, tart apple slices complement the creamy richness with their refreshing crunch, making for a delightful contrast.
-
Ginger Snap Cookies: These spicy cookies offer a zesty crunch, pairing beautifully with the smooth cheesecake and adding a lovely textural contrast.
-
Hot Spiced Cider: Sip on a mug of warm, spiced apple cider alongside your dessert for a festive and comforting experience.
-
Fall Fruit Salad: A fresh medley of seasonal fruits like pears and pomegranates brings a burst of color and refreshment that balances the creaminess of the cheesecake.
Imagine savoring your slice of Apple Cider Cheesecake among friends, each accompaniment adding depth and joy to your gathering.
Expert Tips for Apple Cider Cheesecake
-
Avoid Overmixing: Mix the egg mixture gently to prevent air bubbles and cracking during baking. Aim for a smooth texture without excessive mixing.
-
Proper Cooling: Slow cooling is essential. Allow the cheesecake to cool in the oven to help prevent cracks and maintain a creamy texture.
-
Water Bath Technique: Wrap the pan tightly with aluminum foil before placing it in a water bath. This prevents water from seeping into the crust and keeps your Apple Cider Cheesecake intact.
-
Check Temperature: Use a thermometer to ensure your cheesecake is perfectly baked. The center should reach about 150°F (65°C) for the best results.
-
Chill Well: Be patient and let the cheesecake chill for at least 8 hours in the refrigerator. This allows the flavors to meld beautifully and improves the texture.
Make Ahead Options
These Apple Cider Cheesecake preparations are a dream for busy home cooks! You can prepare the crust and the reduced apple cider up to 24 hours in advance, storing them separately in airtight containers in the refrigerator to keep them fresh. When ready to bake, simply mix the filling ingredients and pour them into the prepped crust. Additionally, you can fully bake the cheesecake up to 3 days ahead of time; just allow it to cool completely, then refrigerate it until you’re ready to serve. To maintain the creamy texture and flavors, cover it well with plastic wrap. Serve chilled, optionally topped with whipped cream or caramel, for an effortlessly impressive dessert that tastes just as delicious!
Apple Cider Cheesecake Recipe FAQs
How do I choose the best fresh apple cider for the cheesecake?
Absolutely! For your Apple Cider Cheesecake, I recommend using Honeycrisp cider due to its delightful tartness and crisp flavor. When selecting cider, look for options that are labeled as “fresh” and have no added sugars or preservatives to ensure the purest apple flavor shines through in your cheesecake.
What is the best way to store leftover cheesecake?
Very! Store your Apple Cider Cheesecake in the refrigerator for up to 3-4 days. Make sure to cover it tightly with plastic wrap or aluminum foil to keep it fresh and to prevent any absorption of odors from the fridge. If you find it’s lasting longer than that, you can always freeze it!
Can I freeze the Apple Cider Cheesecake?
Yes, for up to 2 months! To freeze, wrap the cheesecake tightly in plastic wrap and then place it in an airtight container. This helps maintain its creamy texture. When you’re ready to enjoy it, simply transfer the cheesecake to the refrigerator and allow it to thaw overnight.
What can I do if my cheesecake cracks while baking?
No worries; it happens! To avoid cracks, make sure you don’t overmix the egg mixture—mix until just combined. If it does crack, a topping of whipped cream or caramel sauce can beautifully disguise the imperfection. Also, remember the cooling process is essential; letting it cool slowly in the oven will help reduce the risk of cracking.
Is this cheesecake suitable for those with allergies?
Very much! However, be mindful of dietary restrictions. The base of the cheesecake contains dairy, so it may not be suitable for lactose-intolerant individuals. For an allergy-friendly version, consider using alternatives like dairy-free cream cheese and non-dairy sour cream. Always check your ingredients for gluten if using graham crackers as they may contain wheat.
How long should I let the cheesecake cool before refrigerating?
Great question! After baking your Apple Cider Cheesecake, allow it to cool in the oven, with the door slightly cracked, for about 30 minutes. Then, take it out and let it cool at room temperature for an additional 30 minutes before refrigerating it. This slow cooling process helps to maintain a creamy texture and prevents it from cracking.

Irresistible Apple Cider Cheesecake for Cozy Autumn Nights
Ingredients
Equipment
Method
- Reduce Cider: Begin by boiling 3 cups of fresh apple cider with mulling spices in a saucepan. Reduce it for about 30-45 minutes until it thickens into a syrupy consistency. Allow it to cool completely before use.
- Prep Pan: Preheat your oven to 350°F (175°C). Grease an 8” springform pan or cake pan and line the bottom with parchment paper to prevent sticking.
- Make Crust: Crush the digestive cookies or graham crackers into fine crumbs. Mix the crumbs with melted butter, powdered sugar, and a pinch of salt. Press this mixture firmly into the bottom of your prepared pan and bake for 10 minutes. Set aside to cool.
- Mix Filling: In a stand mixer, beat the softened cream cheese and brown sugar until smooth and creamy. Gradually add the sour cream, vanilla, and reduced cider, mixing well. Add flour and incorporate eggs one at a time, mixing just until combined to keep the texture light.
- Bake Cheesecake: Pour the creamy filling over your cooled crust in the springform pan. Place this pan inside a larger one filled halfway with water (this creates a water bath). Bake for 80-90 minutes until the sides are set, but the center remains slightly wobbly.
- Cool Slowly: Turn off the oven and crack the door open slightly. Let the cheesecake cool in the oven for about 30 minutes to prevent sudden temperature changes. Then, remove it to the counter to cool completely before refrigerating for at least 8 hours.
- Optional: Garnish with a drizzle of caramel sauce or whipped cream before serving.


