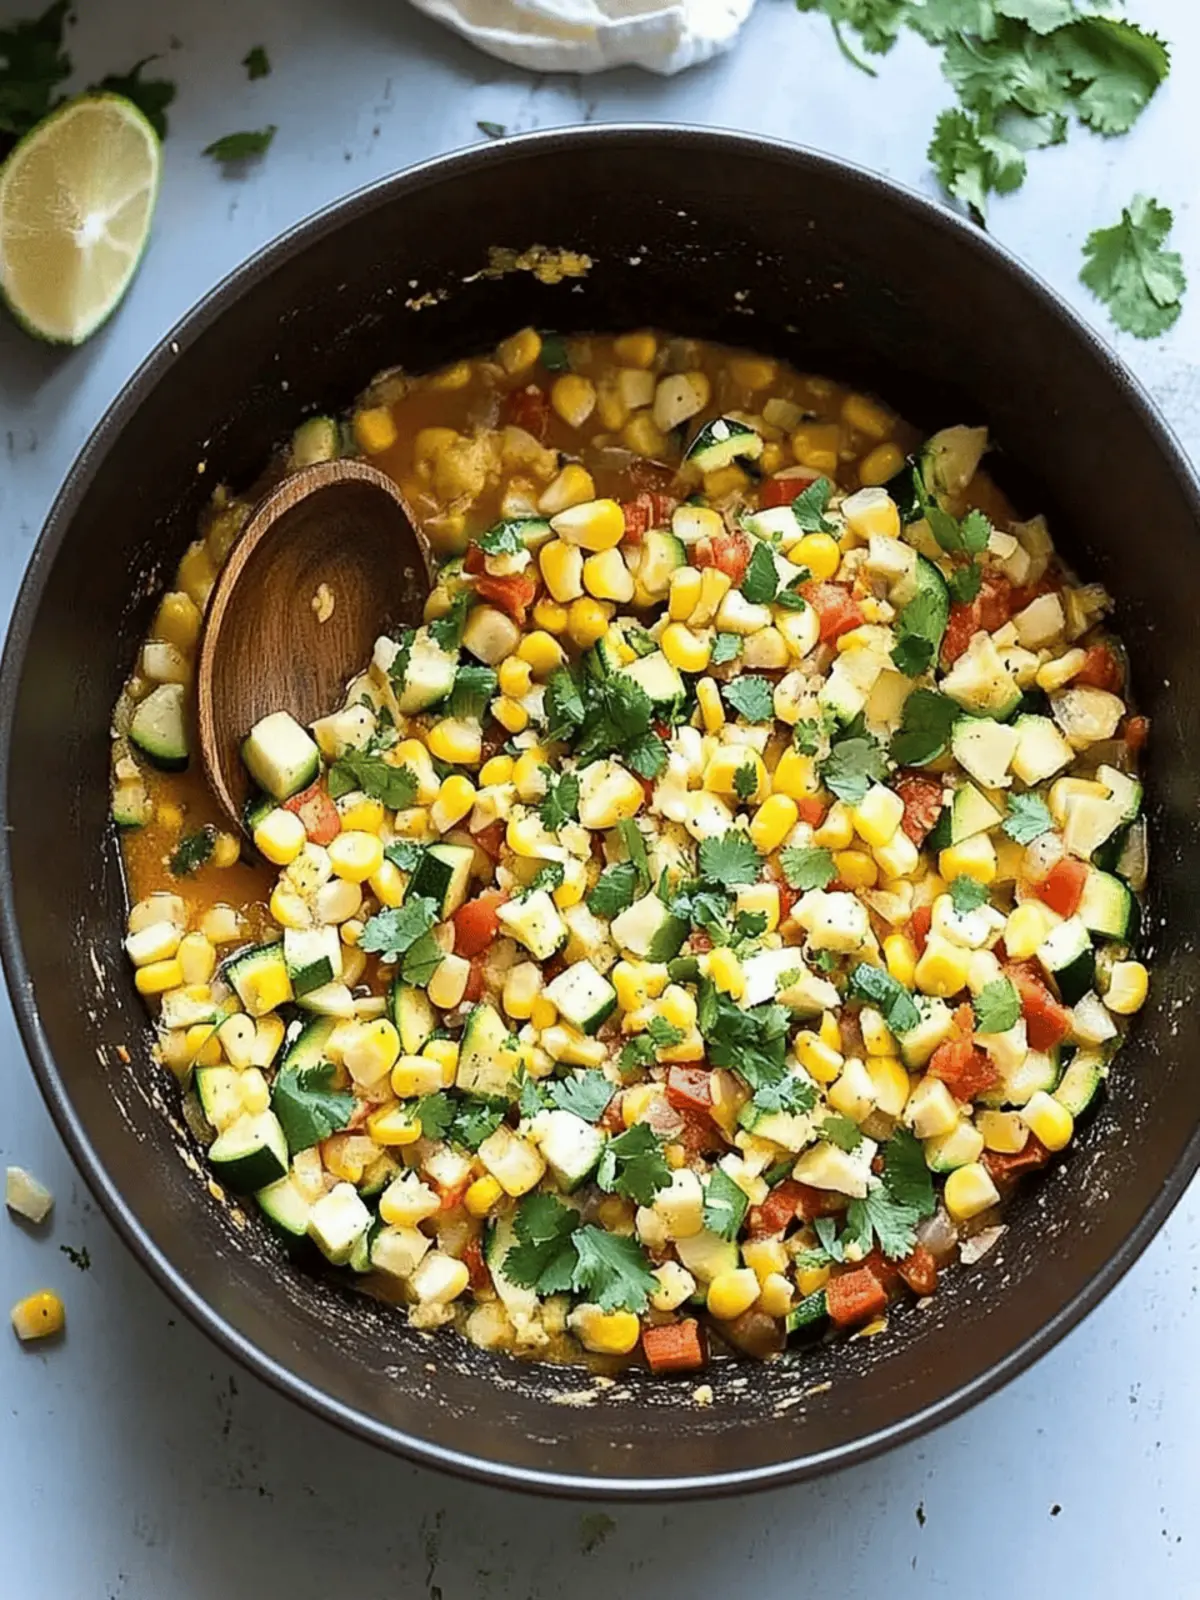
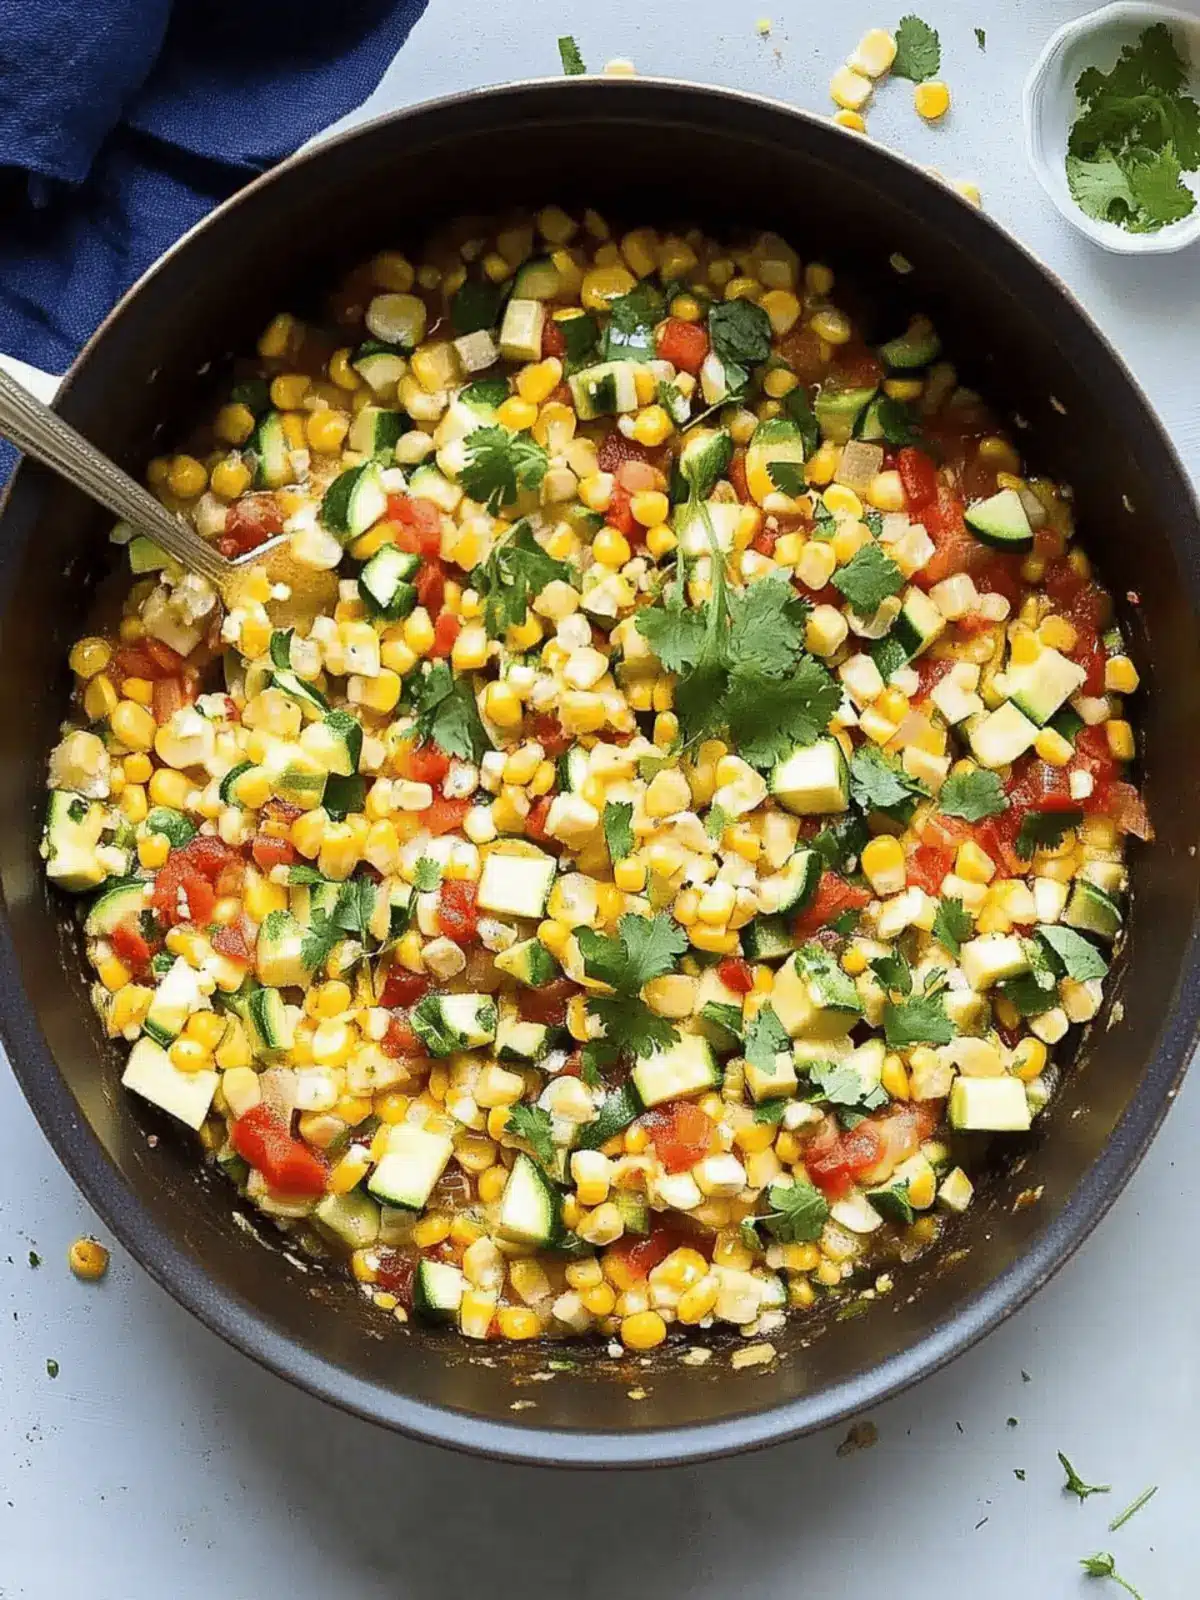
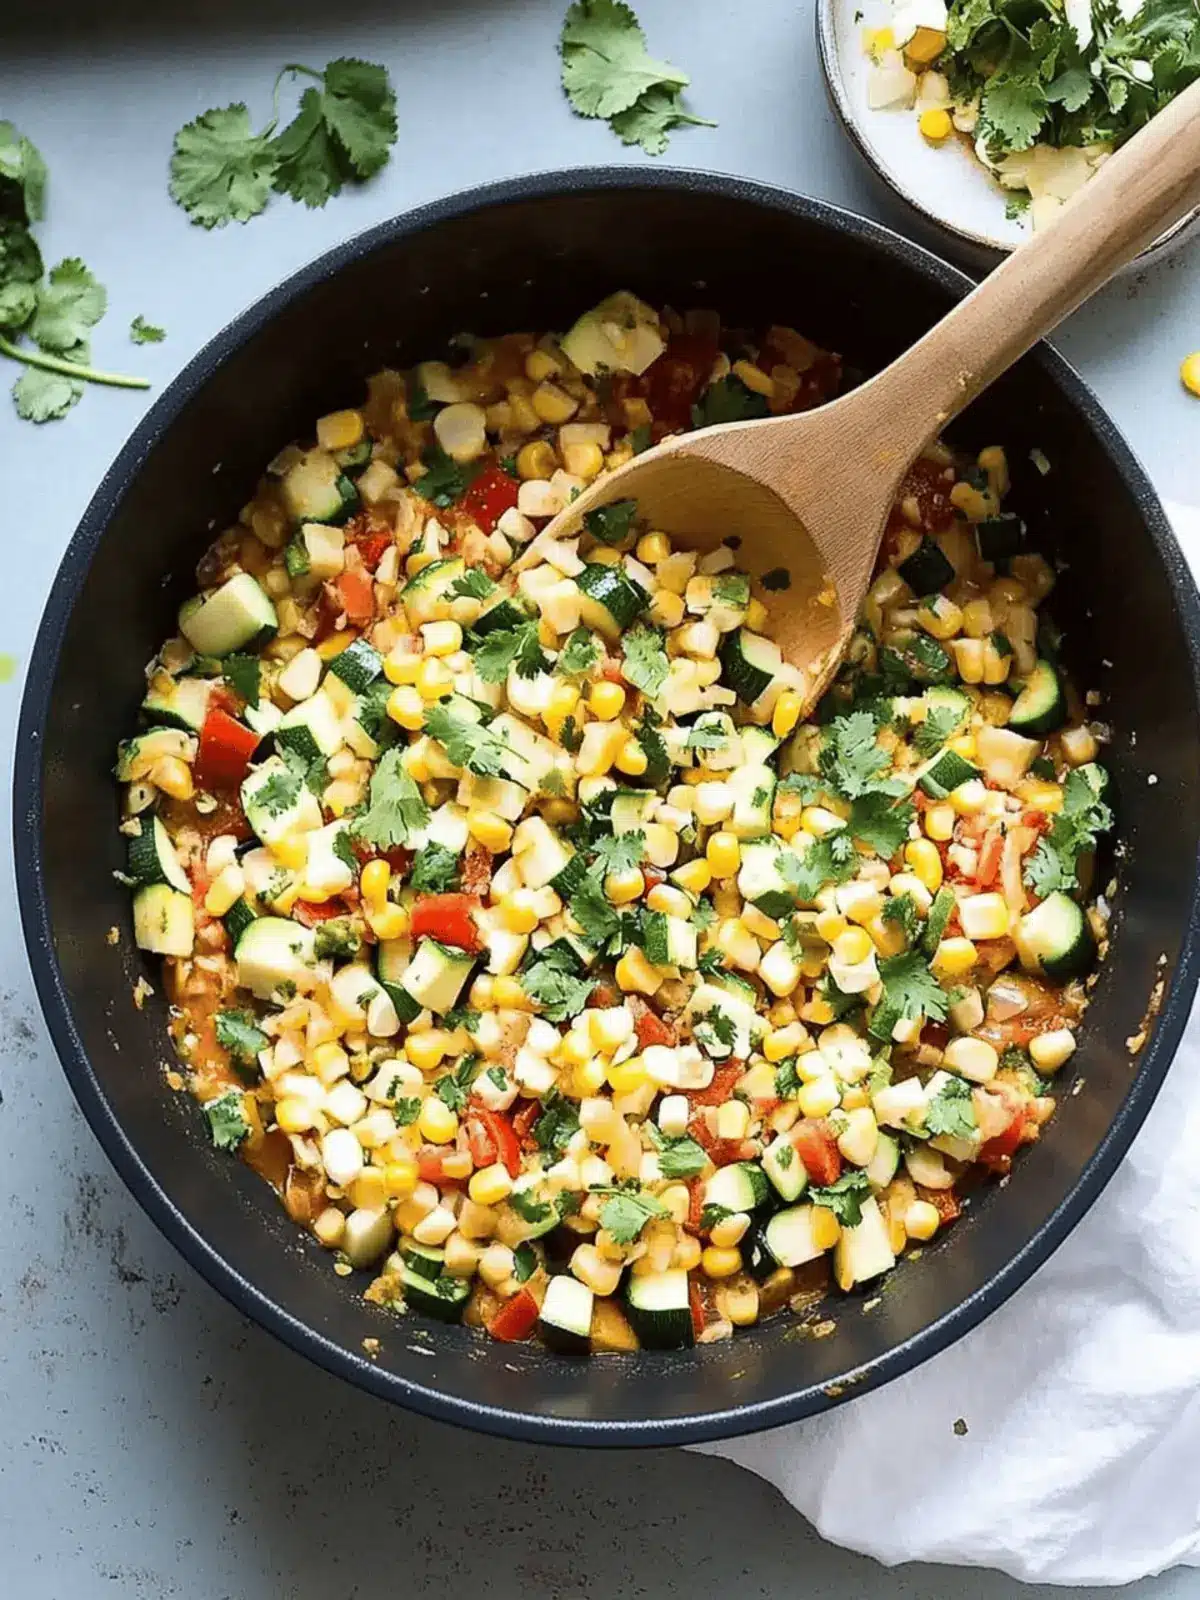
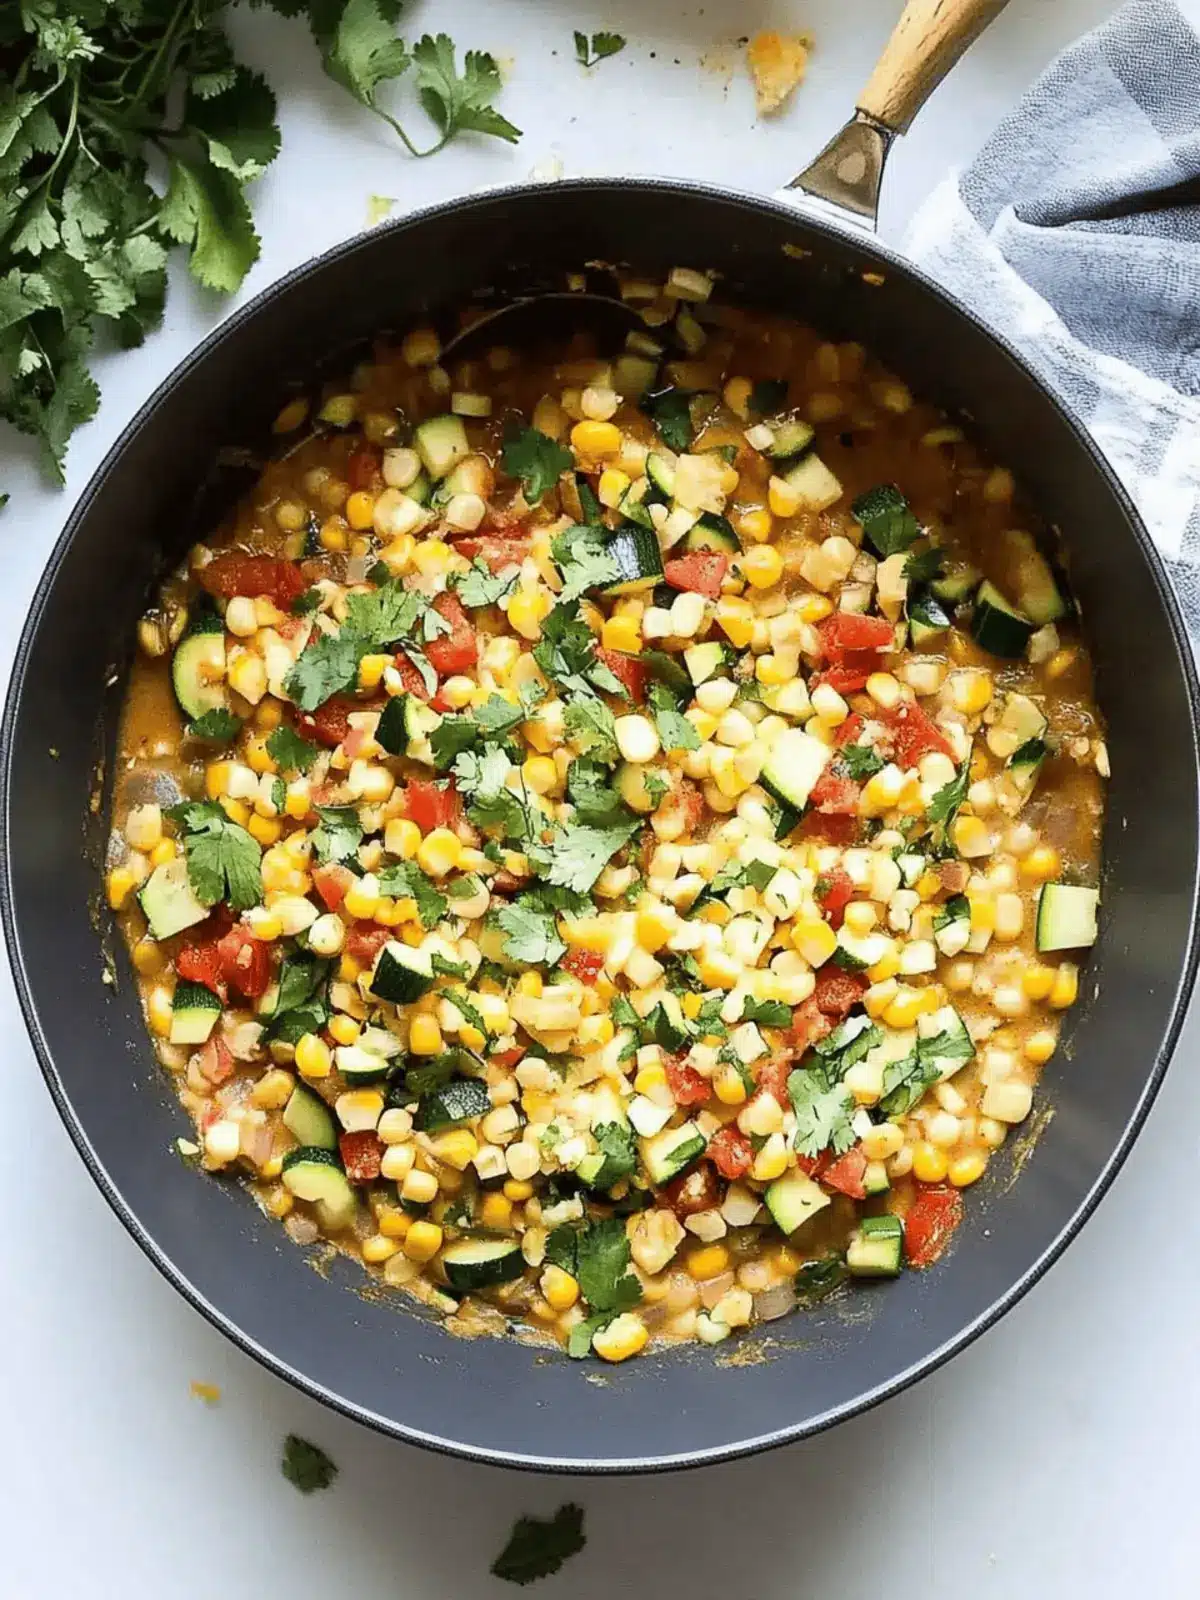
As the sun begins to set, casting a warm glow in the kitchen, I find myself drawn to the colorful bounty of fresh vegetables waiting to be transformed into something delicious. This is how my love for Cheesy Calabacitas was born—a dish that tantalizes the senses with its vibrant zucchini and sweet corn, all brought together with a sprinkle of queso fresco that melts into a creamy delight.
These Mexican-inspired bites are not only easy to whip up, but they also offer a wonderful balance of flavors that please the palate and nourish the body. Perfect as a hearty side to accompany taco night or as a light, satisfying main when nestled in warm tortillas, this dish is a celebration of fresh produce and zesty spices. Whether you’re a seasoned chef or someone looking for a vibrant meal option to shake off the fast-food blues, my recipe for Cheesy Calabacitas will add a splash of color and flavor to your dining table. Let’s dive into this delightful medley and create something that is equally simple and rewarding!
Why choose Cheesy Calabacitas for dinner?
Colorful Vibrance: Bright zucchinis and sweet corn make this dish a feast for the eyes, turning any meal into a celebration.
Delectable Creaminess: The melting queso fresco adds an irresistible creaminess that perfectly complements the crunchy veggies.
Health-Conscious Choice: This vegetarian, gluten-free dish shines with dietary-friendly ingredients, ensuring everyone can savor it.
Quick and Easy: In just a few simple steps, you can whip up a side that impresses without the stress, perfect for busy weeknights.
Customizable Delight: Adjust the spice level or add proteins like black beans to personalize it to your taste.
Crowd Pleaser: Whether for taco night or a casual dinner, this medley appeals to all ages, guaranteeing compliments at the table!
Cheesy Calabacitas Ingredients
For the Vegetables
• Zucchini – Adds moisture and a tender texture; feel free to swap with summer squash.
• Yellow squash – Brings sweetness and vibrant color; additional zucchini can be used if desired.
• Yellow corn – Adds a sweet crunch; fresh corn is best, but frozen works in a pinch.
• Yellow onion – Boosts flavor; no substitutes needed, but shallots can provide a milder note.
• Green bell pepper – Adds crunch and depth; substitute with other bell pepper colors for added sweetness.
• Yellow bell pepper – Offers sweetness and brightness; can replace with orange or red bell peppers.
• Red bell pepper – Introduces delightful sweetness; swap with yellow if unavailable.
• Fresh tomatoes – Enhances juiciness and acidity; canned can be used if needed.
• Jalapeño pepper – Infuses heat; use a milder pepper or omit for a less spicy version.
• Garlic – Elevates overall flavor; can be reduced if preferred.
For Seasoning
• Kosher salt – Enhances flavor; adjust according to your dietary needs.
• Fresh black pepper – Adds depth; customize to your spice preference.
• Dried cumin – Gives a warm spice flavor; coriander works as a substitution.
• Dried oregano – Complements the medley with herbaceous notes; opt for fresh if available.
For Creaminess
• Queso fresco – Melts beautifully to create a creamy texture; for a vegan option, omit or use plant-based cheese alternatives.
This delightful Cheesy Calabacitas is sure to brighten your dining experience while catering to various tastes!
How to Make Cheesy Calabacitas
-
Prepare the Vegetables: Begin by dicing all your vegetables evenly—this helps them cook down beautifully. If using fresh corn, carefully remove it from the cob for that sweet, crisp bite.
-
Sauté the Onion: Heat a splash of oil in your skillet over medium heat. Toss in the chopped onion, sautéing for about 5 minutes until it turns translucent. Add the minced garlic, letting it cook for another 30 seconds just until fragrant.
-
Add Remaining Vegetables: Gently stir in the green, yellow, and red bell peppers alongside zucchini and yellow squash. Sauté them all together for around 5 minutes until they are just softened but still vibrant!
-
Incorporate the Corn and Jalapeños: Next, add the fresh corn and chopped jalapeños to the pan. Sauté everything for an additional 5 minutes, allowing the flavors to meld beautifully.
-
Finish with Tomatoes and Seasoning: Mix in the diced tomatoes, along with the cumin, oregano, salt, and freshly cracked black pepper. Give it a good stir and let it cook for another 2 minutes.
-
Add Queso Fresco: Crumble the queso fresco into the delicious vegetable mix. Stir it in, cover the skillet, and let it warm for a few moments until the cheese is melted and gooey.
-
Garnish and Serve: Finally, dish out your Cheesy Calabacitas and garnish with fresh cilantro and scallions for that extra pop of flavor and color.
Optional: Try adding a squeeze of fresh lime juice for a zesty finish!
Exact quantities are listed in the recipe card below.
Make Ahead Options
Preparing your Cheesy Calabacitas in advance can save you valuable time during busy weeknights! You can chop all the vegetables up to 24 hours ahead of time—store them in an airtight container in the refrigerator to preserve freshness. Additionally, you can sauté the onion, garlic, and bell peppers beforehand, letting them cool before refrigerating. When you’re ready to serve, simply heat the prepared veggies in a skillet, incorporate the corn, jalapeños, and tomatoes, and finish by adding the queso fresco. This way, you’ll enjoy a delicious homemade dish with minimal effort, ensuring your Cheesy Calabacitas taste just as vibrant and delightful as when freshly made!
Cheesy Calabacitas Variations & Substitutions
Feel free to get creative with this vibrant dish—there’s no limit to how you can customize your Cheesy Calabacitas!
- Vegan Delight: Omit queso fresco for a vegan version or replace it with a plant-based cheese alternative for creamy goodness.
- Protein Boost: Add a can of black beans or cooked quinoa for a heartier dish that adds fiber and satisfies hunger.
- Spice it Up: Toss in diced serrano peppers for an extra kick, or keep it mild with sweet mini peppers.
- Garden Fresh: Experiment with different seasonal veggies such as diced carrots or mushrooms to keep every batch unique and exciting!
- Herb-Infused: Add fresh herbs like cilantro or basil towards the end for an aromatic twist that elevates the flavor.
- Cheddar Twist: For a richer cheese experience, substitute with shredded cheddar cheese that melts beautifully, adding a bold flavor.
- Citrus Zing: Squeeze in fresh lime or lemon juice right before serving for a zesty brightness that awakens the dish.
- Nutty Crunch: Top with toasted pumpkin seeds or slivered almonds for a delightful crunch and added nutrition.
With these variations, your Cheesy Calabacitas will be a favorite at the dinner table, delighting those who gather with surprising new flavors each time!
Storage Tips for Cheesy Calabacitas
- Fridge: Store leftovers in an airtight container, where Cheesy Calabacitas will stay fresh for up to 3 days. Reheat gently on the stovetop or in the microwave to maintain flavor and texture.
- Freezer: For longer storage, you can freeze Cheesy Calabacitas in a suitable container for up to 3 months. Let it cool completely before transferring to ensure quality.
- Reheating: Thaw frozen portions overnight in the fridge before reheating. Warm them on the stovetop with a splash of water to revive the vegetables’ crispness.
- Serving Tip: When reheating, consider adding a little extra queso fresco for that delightful creaminess to bring the dish back to its original glory!
What to Serve with Cheesy Calabacitas?
Elevate your dining experience by pairing Cheesy Calabacitas with options that complement its vibrant and creamy flavors.
- Warm Flour Tortillas: Soft tortillas make the perfect vessel for these cheesy bites, adding a comforting and satisfying element to your meal.
- Savory Black Beans: Rich in protein and fiber, black beans add a heartiness that balances the fresh veggies beautifully. A mild seasoning can enhance their flavor without overpowering the dish!
- Guacamole: The creamy, rich texture of guacamole offers a luxurious contrast and fresh avocado flavor that elevates each bite of Cheesy Calabacitas.
- Cilantro Lime Rice: The zesty notes from lime and fresh cilantro provide a refreshing counterpart, ensuring each forkful is bursting with flavor.
- Spicy Salsa: A side of fresh salsa brings a punchy, spicy kick that complements the mildness of the zucchini and corn medley. Use roasted salsa for a deeper, smokier flavor!
- Chilled Mexican Beer: A light, crisp beer balances the warmth of this comforting dish, making it a refreshing choice for any meal.
- Churros: End your meal on a sweet note! These crispy, cinnamon-dusted treats offer a delightful contrast to your savory Cheesy Calabacitas, creating a memorable culinary experience.
Helpful Tricks for Cheesy Calabacitas
-
Even Dice: Cut your vegetables into similar-sized pieces to ensure they cook evenly and create a harmonious texture throughout your Cheesy Calabacitas.
-
Fresh Corn: For the sweetest flavor, use fresh corn off the cob. If using frozen, add it towards the end of cooking to prevent overcooking.
-
Monitor Spice: Adjust the jalapeño quantity to control the heat level. Always start with less—you can add more if you want a spicier kick!
-
Quick Melting: When adding queso fresco, cover the skillet for a couple of minutes after mixing it in. This steams the cheese and helps it melt more smoothly.
-
Garnish Wisely: Don’t skip the fresh cilantro and scallions; they add freshness and brighten the flavors of your Cheesy Calabacitas!
-
Customize to Taste: Feel free to throw in black beans or other seasonal vegetables for added nutrition and flavor, ensuring your dish remains exciting!
Cheesy Calabacitas Recipe FAQs
What type of zucchini should I use for Cheesy Calabacitas?
Absolutely! For Cheesy Calabacitas, you can use either standard green zucchini or summer squash. Both will add moisture and a soft texture. If you can’t find zucchini, feel free to swap it out entirely for summer squash for a delightful twist!
How should I store leftovers of Cheesy Calabacitas?
Leftovers can be stored in an airtight container in the fridge for up to 3 days. When you’re ready to enjoy them again, simply reheat on the stovetop or in the microwave until warmed through to maintain its delightful flavors.
Can I freeze Cheesy Calabacitas?
Yes! To freeze Cheesy Calabacitas, allow it to cool completely before transferring to a suitable freezer-safe container. It can be frozen for up to 3 months. For the best quality, make sure you’re sealing it tightly to prevent freezer burn.
What can I do if my Cheesy Calabacitas ends up too watery?
If you find that your Cheesy Calabacitas has released too much liquid, don’t worry! You can help to absorb the excess moisture by cooking it on medium-high heat for a few additional minutes with the lid off. This will allow some of the liquid to evaporate, thickening the dish and enhancing the flavor!
Is Cheesy Calabacitas suitable for a gluten-free diet?
Very! Cheesy Calabacitas is naturally gluten-free since it primarily consists of vegetables and queso fresco. Just be sure to check any additional ingredients you might add, such as seasonings or sauces, to ensure they are also gluten-free.
Can I make Cheesy Calabacitas vegan?
Absolutely! To make Cheesy Calabacitas vegan, simply omit the queso fresco, or replace it with a plant-based cheese alternative. You can also amp up the protein by adding black beans for a hearty and nutritious twist!

Cheesy Calabacitas: A Vibrant Twist on Zucchini and Corn
Ingredients
Equipment
Method
- Prepare the Vegetables: Begin by dicing all your vegetables evenly—this helps them cook down beautifully.
- Sauté the Onion: Heat a splash of oil in your skillet over medium heat. Toss in the chopped onion, sautéing for about 5 minutes until it turns translucent. Add the minced garlic, letting it cook for another 30 seconds just until fragrant.
- Add Remaining Vegetables: Gently stir in the green, yellow, and red bell peppers alongside zucchini and yellow squash. Sauté them all together for around 5 minutes until they are just softened but still vibrant!
- Incorporate the Corn and Jalapeños: Next, add the fresh corn and chopped jalapeños to the pan. Sauté everything for an additional 5 minutes, allowing the flavors to meld beautifully.
- Finish with Tomatoes and Seasoning: Mix in the diced tomatoes, along with the cumin, oregano, salt, and freshly cracked black pepper. Give it a good stir and let it cook for another 2 minutes.
- Add Queso Fresco: Crumble the queso fresco into the delicious vegetable mix. Stir it in, cover the skillet, and let it warm for a few moments until the cheese is melted and gooey.
- Garnish and Serve: Finally, dish out your Cheesy Calabacitas and garnish with fresh cilantro and scallions for that extra pop of flavor and color.


