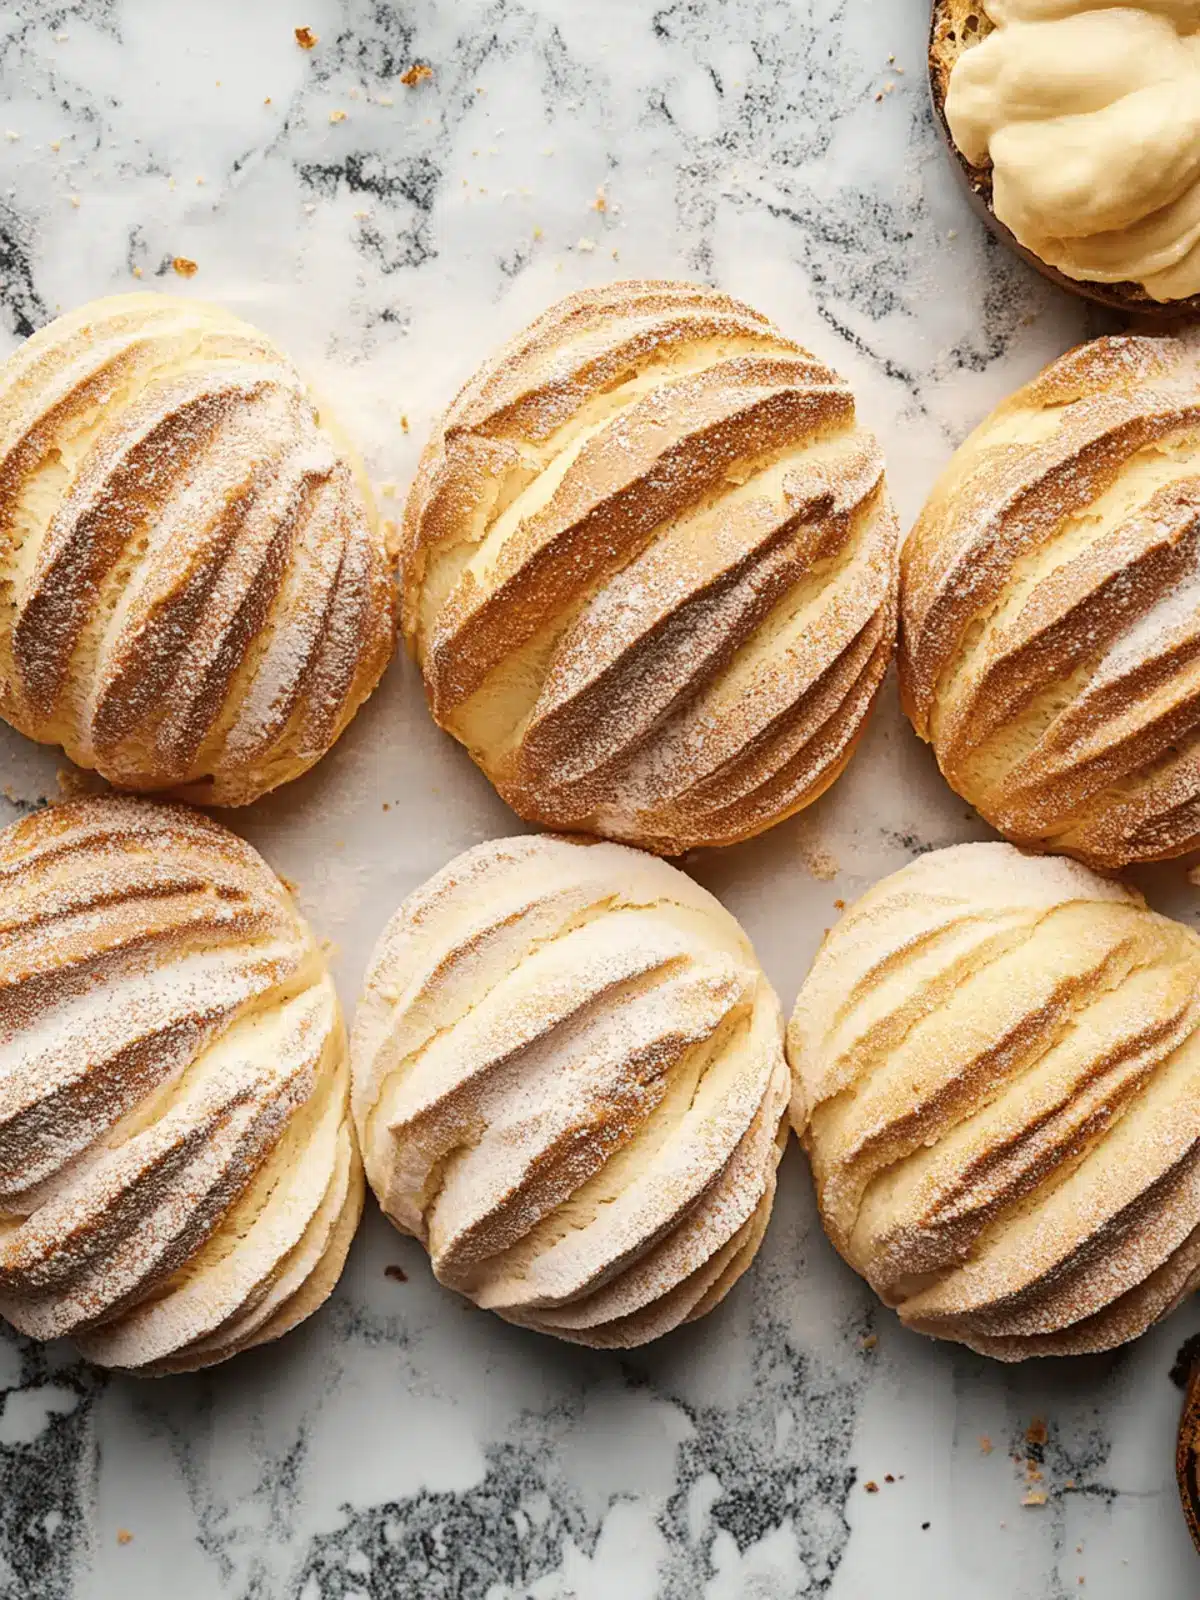
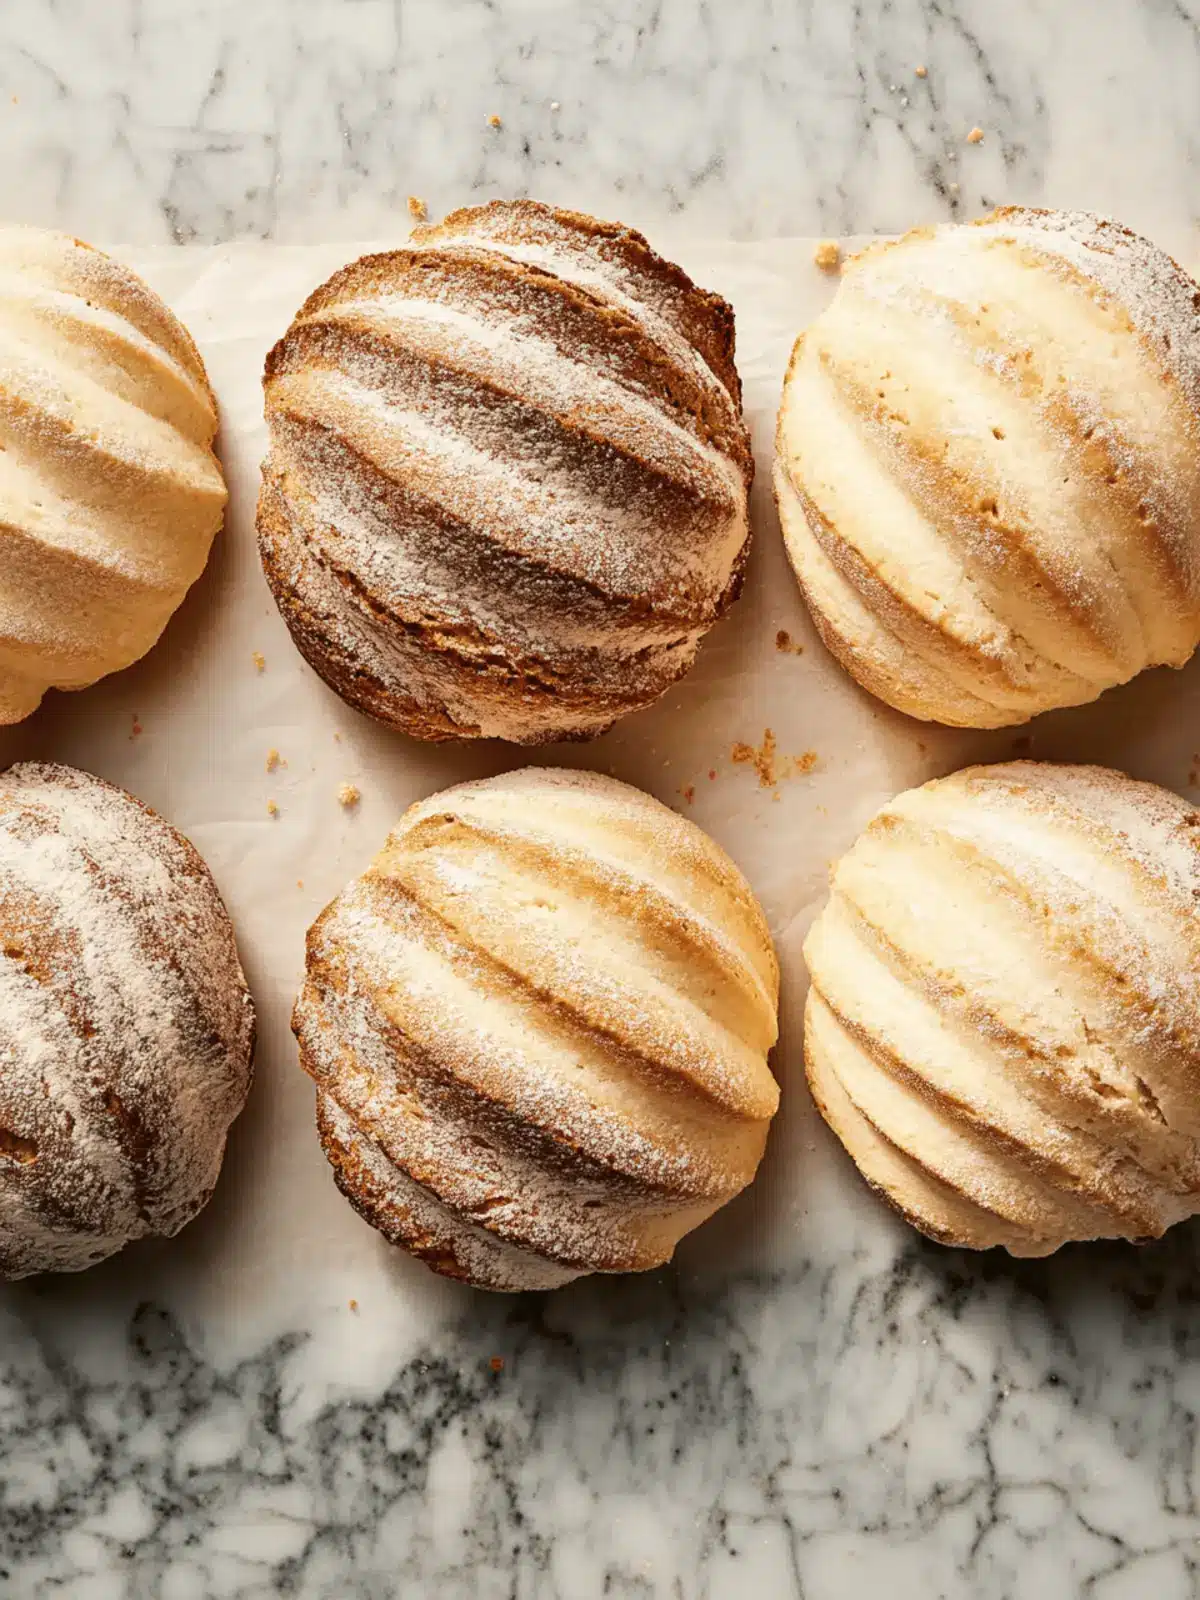
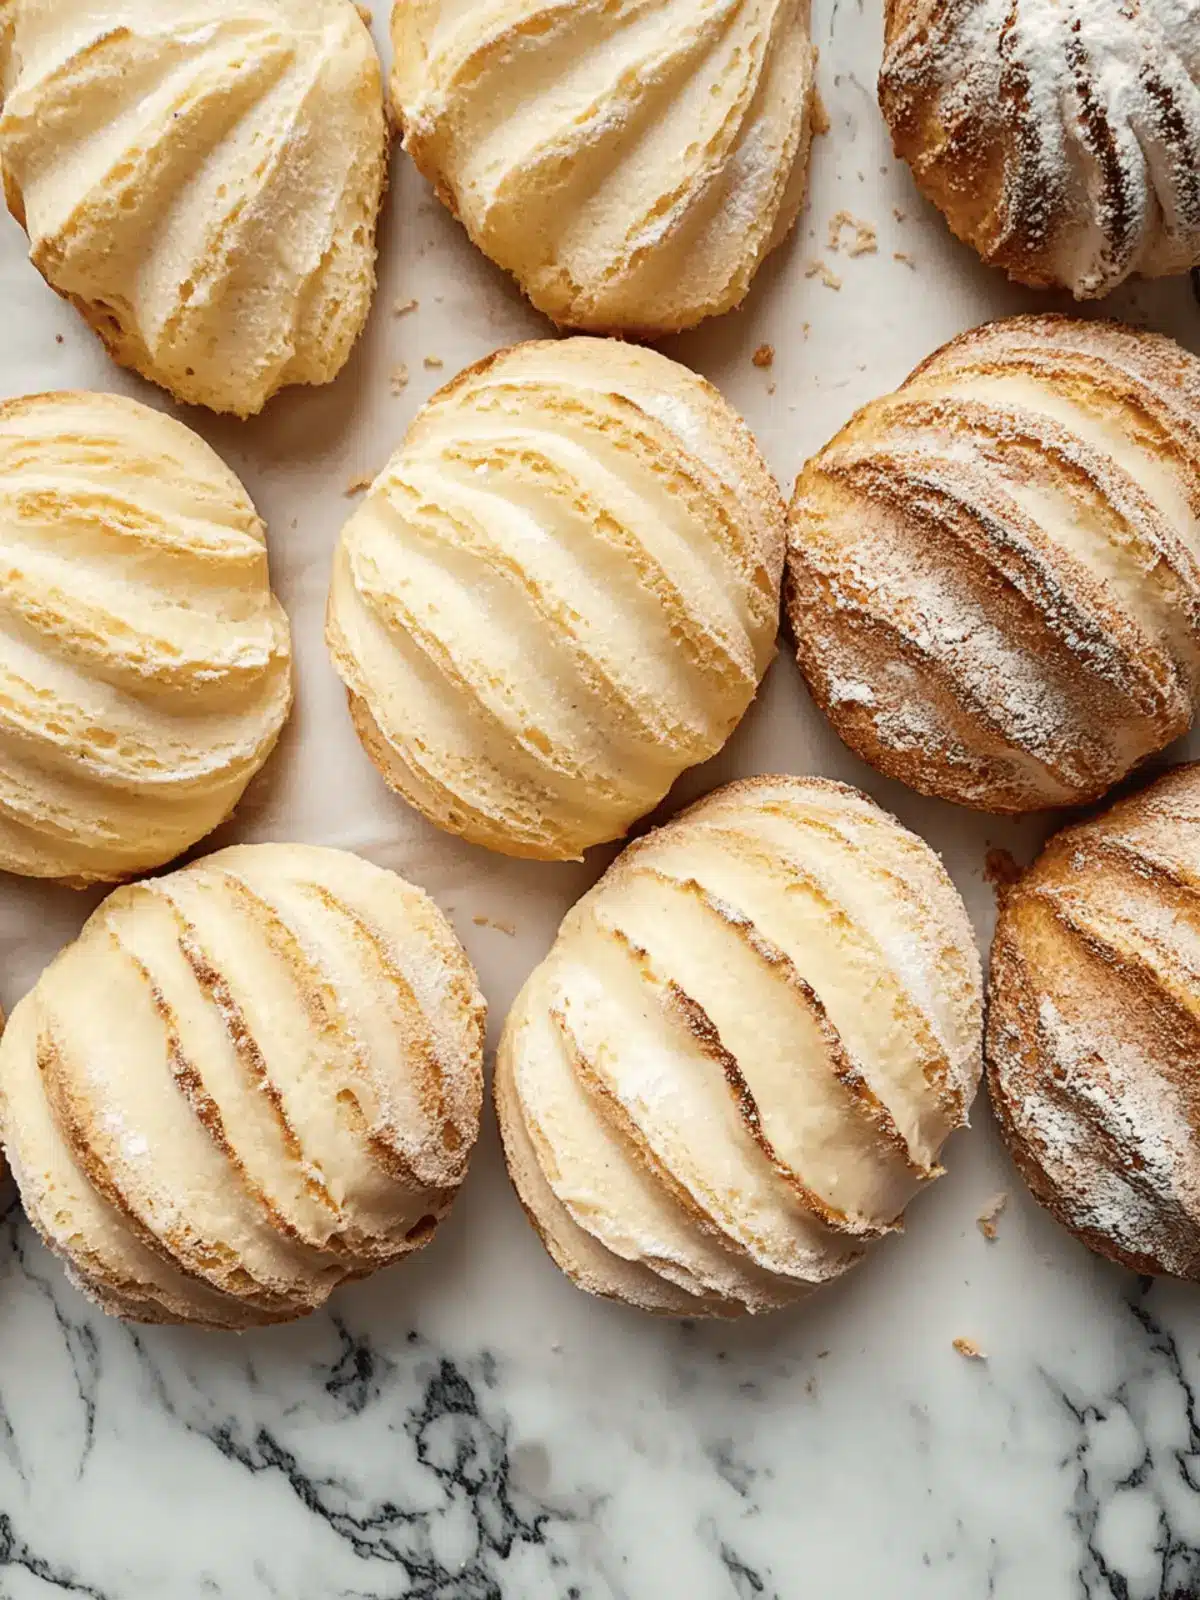
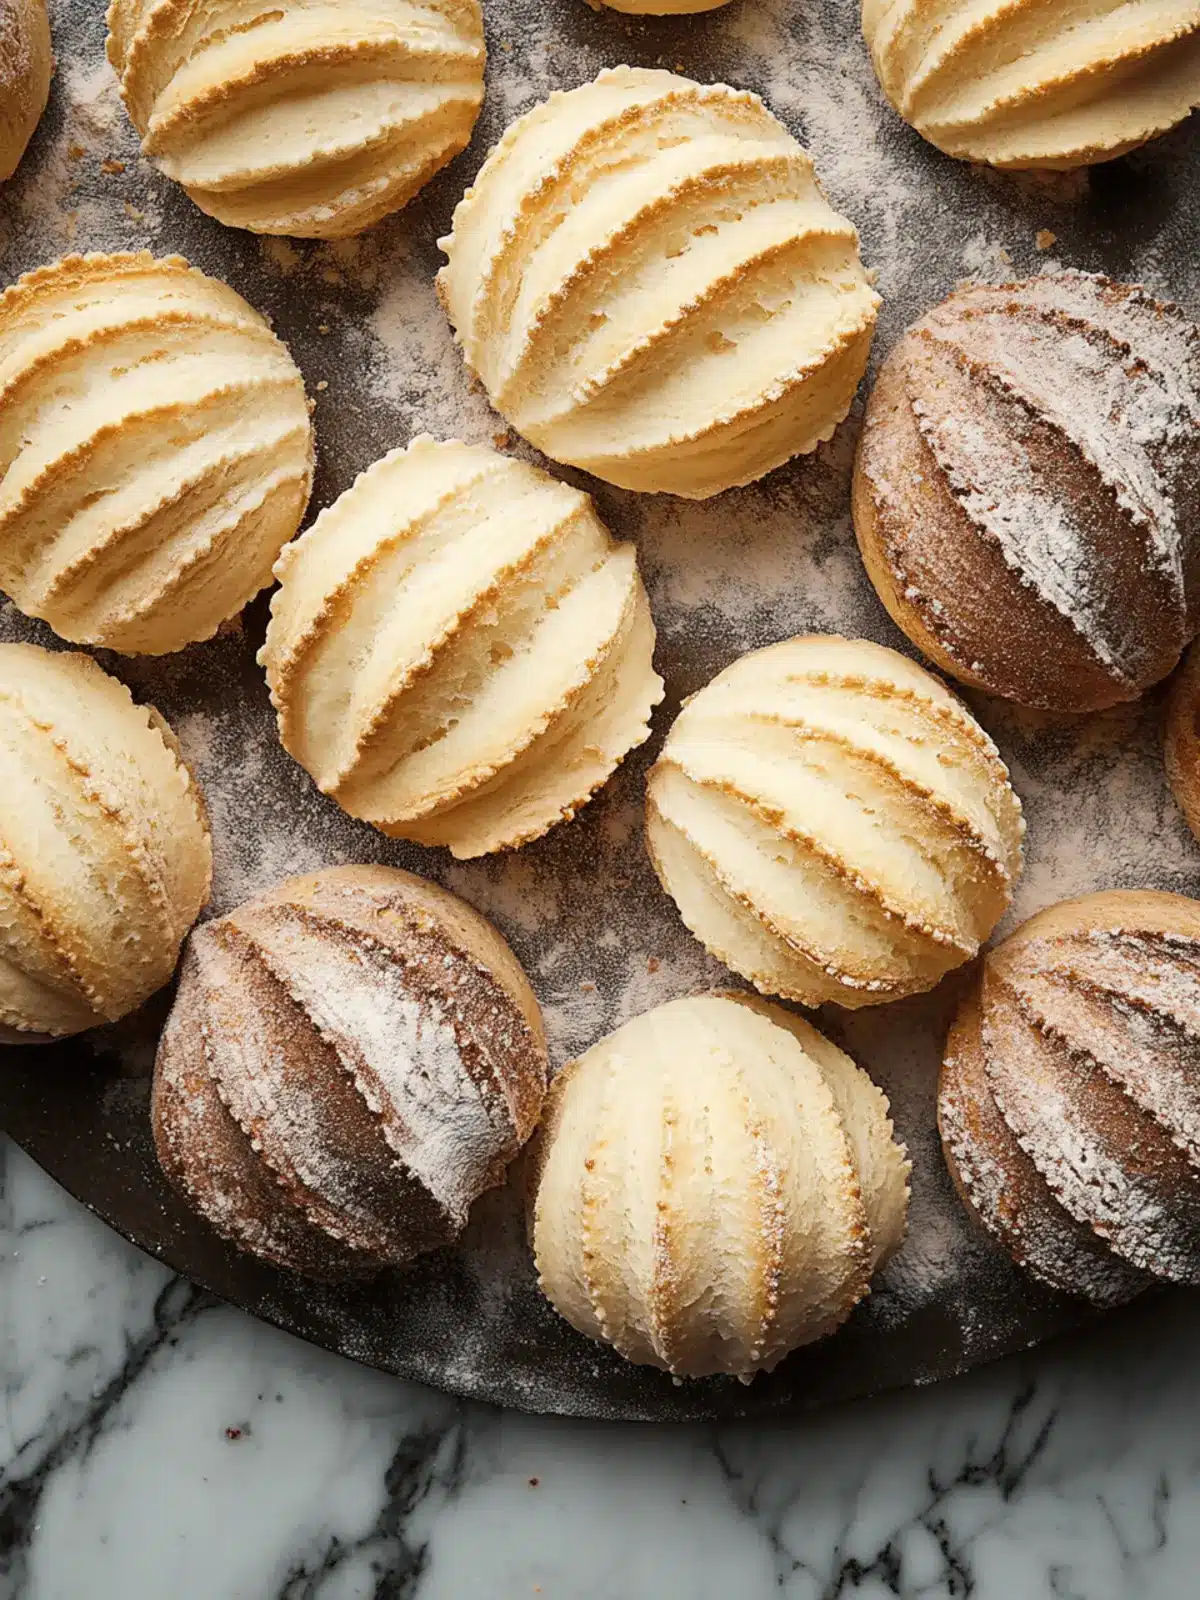
There’s something truly comforting about the warm, inviting aroma of freshly baked conchas wafting through the kitchen. These delightful Mexican sweet breads, with their iconic seashell design, instantly transport me to bustling bakeries filled with laughter and lively conversation. I remember the pure joy of sinking my teeth into their soft, pillowy texture, topped with a sugary crust that either whispers of vanilla or sings with rich chocolate. Whether enjoyed alongside a steaming cup of coffee or as a sweet afternoon snack, conchas are so much more than just dessert—they’re an experience.
As someone who enjoys making homemade treats, I was thrilled to master this recipe, allowing me to recreate those cherished moments in my own home. Best of all, these conchas are surprisingly easy to prepare, making them perfect for both baking veterans and novices alike. Let’s dive into this mouthwatering recipe and bring a little slice of Mexico to your kitchen!
Why is Concha Bread so special?
Baking conchas at home brings the delightful experience of a traditional Mexican bakery right to your kitchen.
Subtle sweetness: The balance of flavors in these sweet breads makes every bite a joy.
Beautiful design: Their iconic seashell shape adds charm and creativity, perfect for impressing guests or family.
Customizable toppings: Choose between classic vanilla or indulge in chocolate, catering to everyone’s taste buds.
Nostalgic aroma: The warm scent of fresh bread evokes wonderful memories, making it a treat for the senses.
Easily shared: Conchas are ideal for gatherings, turning any occasion into a delightful feast.
Dive into this fun recipe and make your own Mexican pan dulce today!
Concha Bread Ingredients
For the Dough
- Whole Milk – Hydration and richness; can substitute with almond milk for a dairy-free version.
- Active Dry Yeast (2 1/4 tsp) – Essential for leavening; ensure it is fresh for best results.
- Granulated Sugar (4 1/4 tsp) – Adds sweetness and helps activate the yeast; adjust according to taste preferences.
- All-Purpose Flour (4 to 4 1/2 cups) – Provides the bread’s structure; substitute with a gluten-free blend for a gluten-free option.
- Kosher Salt (2 tsp) – Enhances flavor; you can use sea salt as an alternative.
- Large Eggs (4) – Contributes moisture and richness; an egg substitute or flaxseed meal can work for a vegan option.
- Unsalted Butter (1/2 cup) – Adds a delightful richness and softness; can be replaced with margarine or coconut oil for a dairy-free treat.
For the Topping
- Powdered Sugar (1 cup) – Used for that sugary topping; avoid substitutions for traditional conchas.
- Vegetable Shortening (3/4 cup) – Ensures a great texture for the topping; a combination of butter and coconut oil can be used.
- Unsweetened Cocoa Powder (2 Tbsp, optional) – For a chocolate twist on the topping; omit for classic vanilla flavor.
- Pure Vanilla Extract (2 tsp) – Acts as a flavor enhancer; almond extract offers a unique alternative.
- Pinch of Kosher Salt – Balances out the sweetness of the toppings, ensuring a perfect flavor.
Embrace the joy of baking with this traditional concha bread recipe, where each ingredient contributes to the soft, pillowy delights that are the hallmark of Mexican pan dulce.
How to Make Concha Bread
-
Prepare Yeast: Warm the whole milk until it’s just starting to steam, then mix in the active dry yeast and 1 tsp of sugar. Let it foam for about 5-10 minutes to ensure it’s active.
-
Combine Ingredients: In a large mixing bowl, whisk together 4 cups of all-purpose flour, the remaining sugar, and kosher salt. Then, pour in the yeast mixture, add the eggs, and soften the unsalted butter. Stir until a dough forms.
-
Knead Dough: Transfer the dough onto a floured surface and knead it until smooth and elastic, about 8-10 minutes. Place it in a greased bowl, cover it with a cloth, and let it rise in a warm place until doubled in size, around 1-2 hours.
-
Shape the Rolls: After the dough has risen, gently punch it down and divide it into 12 equal pieces. Roll each piece into a ball and let them rest on a floured surface for 30 minutes.
-
Make the Topping: In a medium bowl, mix the powdered sugar, vegetable shortening, cocoa powder (if using), and vanilla extract until it forms a sticky dough.
-
Decorate the Conchas: Flatten each dough ball slightly, then place a piece of the topping on each one. Use a knife or mold to create the signature seashell design.
-
Final Rise: Cover the decorated conchas and let them rise again for about 30 minutes, ensuring they become fluffy.
-
Bake the Conchas: Preheat your oven to 350°F and bake the conchas for 15-20 minutes, until they are golden brown and the topping looks set.
-
Cool and Serve: Allow the conchas to cool on a wire rack for a few minutes before indulging in their delightful warmth.
Optional: Dust with a little extra powdered sugar before serving for a sweet finishing touch.
Exact quantities are listed in the recipe card below.
How to Store and Freeze Concha Bread
- Room Temperature: Keep conchas in an airtight container at room temperature for up to 3 days. This helps maintain their soft, pillowy texture and delicious flavor.
- Fridge: Avoid refrigerating conchas, as this can dry them out. Instead, enjoy them fresh or at room temperature for optimal taste.
- Freezer: For longer storage, freeze conchas in a well-sealed bag or container for up to 1 month. Thaw at room temperature or reheat in the oven at 350°F for a few minutes before serving.
- Reheating: If you prefer warm conchas, reheat them at 350°F for 5-7 minutes, ensuring they regain their lovely softness, just like when first baked.
What to Serve with Concha Bread?
There’s something truly magical about pairing conchas with delightful sides that enhance their sweet charm.
-
Fresh Fruit Salad: A vibrant mix of seasonal fruits brightens up your plate, adding a refreshing contrast to the sweetness of the conchas.
-
Rich Hot Chocolate: Indulge in a warm cup of creamy hot chocolate, its chocolatey richness complementing the vanilla or cocoa topping of each concha.
-
Creamy Cream Cheese Spread: A dollop of tangy cream cheese adds a luscious texture, balancing the sweetness while bringing a touch of decadence.
-
Café de Olla: This traditional Mexican coffee, brewed with cinnamon and piloncillo, makes a cozy partner to your sweet bread, enhancing the experience.
-
Whipped Cinnamon Butter: Spread a light layer of whipped butter flavored with cinnamon on your warm conchas, creating a buttery, spicy delight that’ll keep you coming back for more.
-
Nutty Granola: For a crunchy texture, enjoy a sprinkle of nutty granola on the side, providing an earthy contrast to the soft, sweet conchas.
-
Milk or Almond Milk: A classic pairing with conchas, a glass of cold milk or almond milk adds chill and creaminess, making every bite more satisfying.
-
Vanilla Ice Cream: For a fun twist, serve warm conchas with a scoop of vanilla ice cream. The contrast of temperatures will be a decadent treat!
Let the sweet, warm flavors of conchas shine through with these delightful accompaniments.
Expert Tips for Perfect Concha Bread
-
Check Yeast Freshness: Using fresh active dry yeast is crucial for a good rise. Always check the expiration date before starting your recipe.
-
Warm Milk Matters: Heat the milk to around 110°F for optimal yeast activation. Too hot may kill the yeast, while too cold won’t activate it properly.
-
Don’t Over-Knead: Knead the dough just until smooth and elastic. Over-kneading can make the conchas tough instead of soft and pillowy.
-
Perfect Seashell Design: Use a sharp knife or a mold for a beautiful seashell pattern. Practice on a scrap piece of dough if you’re unsure.
-
Serve Fresh: Conchas are best enjoyed the same day they are baked. If you need to store them, keep them in an airtight container for up to three days at room temperature.
-
Variations are Fun: Spice things up by adding zest or flavored extracts. Experimenting with toppings keeps the joy of making concha bread alive!
Make Ahead Options
These delightful concha bread rolls are perfect for meal prep, allowing you to enjoy fresh-baked treats with minimal effort! You can prepare the dough up to 24 hours in advance; simply follow steps 1-4 and refrigerate the shaped balls covered in plastic wrap to prevent drying out. For the topping, you can also mix it up to 3 days ahead and store it in an airtight container in the fridge. When you’re ready to bake, let the dough rise for about 30 minutes at room temperature, then finish up by decorating and baking as directed. This way, you can savor the warm, fluffy taste of traditional conchas without the last-minute rush!
Concha Bread Variations
Feel free to unleash your inner baker and customize these delicious conchas to suite your palate!
-
Dairy-Free: Substitute whole milk with almond milk and replace butter with coconut oil for a creamy, dairy-free delight.
A gentle swap, yet it opens the door to a world of delightful flavors! -
Gluten-Free: Use a gluten-free flour blend instead of all-purpose flour to create a delightful treat for those with gluten sensitivities.
Enjoy your conchas without a worry, and savor every bite! -
Chocolaty Delight: Add 1/2 cup of chocolate chips directly into the dough for a sweet and rich twist.
Each bite offers a burst of chocolatey joy that’ll leave you smiling! -
Citrus Zest: Incorporate 1 tablespoon of orange or lemon zest into the dough for a zesty, refreshing flavor.
It brings a bright, sunny note, reminding you of warm, sun-kissed days. -
Almond Extract: Swap vanilla extract with almond extract in both the dough and topping for a unique flavor profile.
The nutty aroma envelops your kitchen, inviting sweet memories with every bite! -
Spicy Kick: Add a pinch of cayenne pepper to the topping for an unexpected spicy twist.
The heat complements the sweetness beautifully, transforming conchas into a daring adventure. -
Nutty Crunch: Fold in 1/2 cup of finely chopped nuts, like pecans or almonds, into the dough for added texture and nuttiness.
The delightful crunch adds depth and interest to your soft, sweet treat! -
Sweet Spice: Sprinkle ground cinnamon into the topping mixture for a warm and cozy flavor infusion.
Each concha becomes a sweet, spiced embrace that’s simply irresistible.
Embrace the joy of baking and delight your taste buds with these creative variations!
Concha Bread Recipe FAQs
How do I choose the best milk for concha bread?
I recommend using whole milk for the richest flavor and texture; however, almond milk is a great dairy-free alternative that still adds moisture to the dough. Opt for unsweetened varieties to keep sweetness balanced.
How should I store conchas after baking?
Store the conchas in an airtight container at room temperature for up to 3 days to maintain their delightful softness. Avoid refrigerating them, as this can dry out the bread and affect texture.
Can I freeze concha bread for later?
Absolutely! To freeze conchas, place them in a well-sealed freezer bag or container so they don’t get freezer burn. They can be stored for up to 1 month. When you’re ready to enjoy, thaw them at room temperature or reheat in the oven at 350°F for about 5-7 minutes to restore warmth and softness.
What should I do if my dough doesn’t rise?
If your dough doesn’t rise properly, there may be a few reasons. First, check the freshness of your active dry yeast – it should be within the expiration date. Also, ensure that the milk wasn’t too hot when combined with the yeast; the ideal temperature is around 110°F. If the dough is in a cool environment, try placing it in a warm, draft-free area to help the rising process.
Are conchas safe for pets?
It’s best to keep conchas out of your pet’s reach. Ingredients like sugar and butter can be harmful to pets, particularly dogs, so it’s advisable to enjoy these sweet treats yourself!
What if I want a different flavor for my concha topping?
You can definitely customize the topping! Consider using almond or orange extract to replace the vanilla for a unique flavor profile. You could also try adding citrus zest to the dough for an invigorating twist!

Delightful Concha Bread: Easy Recipe for Sweet Mexican Joy
Ingredients
Equipment
Method
- Warm the whole milk until it’s just starting to steam, then mix in the active dry yeast and 1 tsp of sugar. Let it foam for about 5-10 minutes to ensure it’s active.
- In a large mixing bowl, whisk together 4 cups of all-purpose flour, the remaining sugar, and kosher salt. Then, pour in the yeast mixture, add the eggs, and soften the unsalted butter. Stir until a dough forms.
- Transfer the dough onto a floured surface and knead it until smooth and elastic, about 8-10 minutes. Place it in a greased bowl, cover it with a cloth, and let it rise in a warm place until doubled in size, around 1-2 hours.
- After the dough has risen, gently punch it down and divide it into 12 equal pieces. Roll each piece into a ball and let them rest on a floured surface for 30 minutes.
- In a medium bowl, mix the powdered sugar, vegetable shortening, cocoa powder (if using), and vanilla extract until it forms a sticky dough.
- Flatten each dough ball slightly, then place a piece of the topping on each one. Use a knife or mold to create the signature seashell design.
- Cover the decorated conchas and let them rise again for about 30 minutes, ensuring they become fluffy.
- Preheat your oven to 350°F and bake the conchas for 15-20 minutes, until they are golden brown and the topping looks set.
- Allow the conchas to cool on a wire rack for a few minutes before indulging in their delightful warmth.


