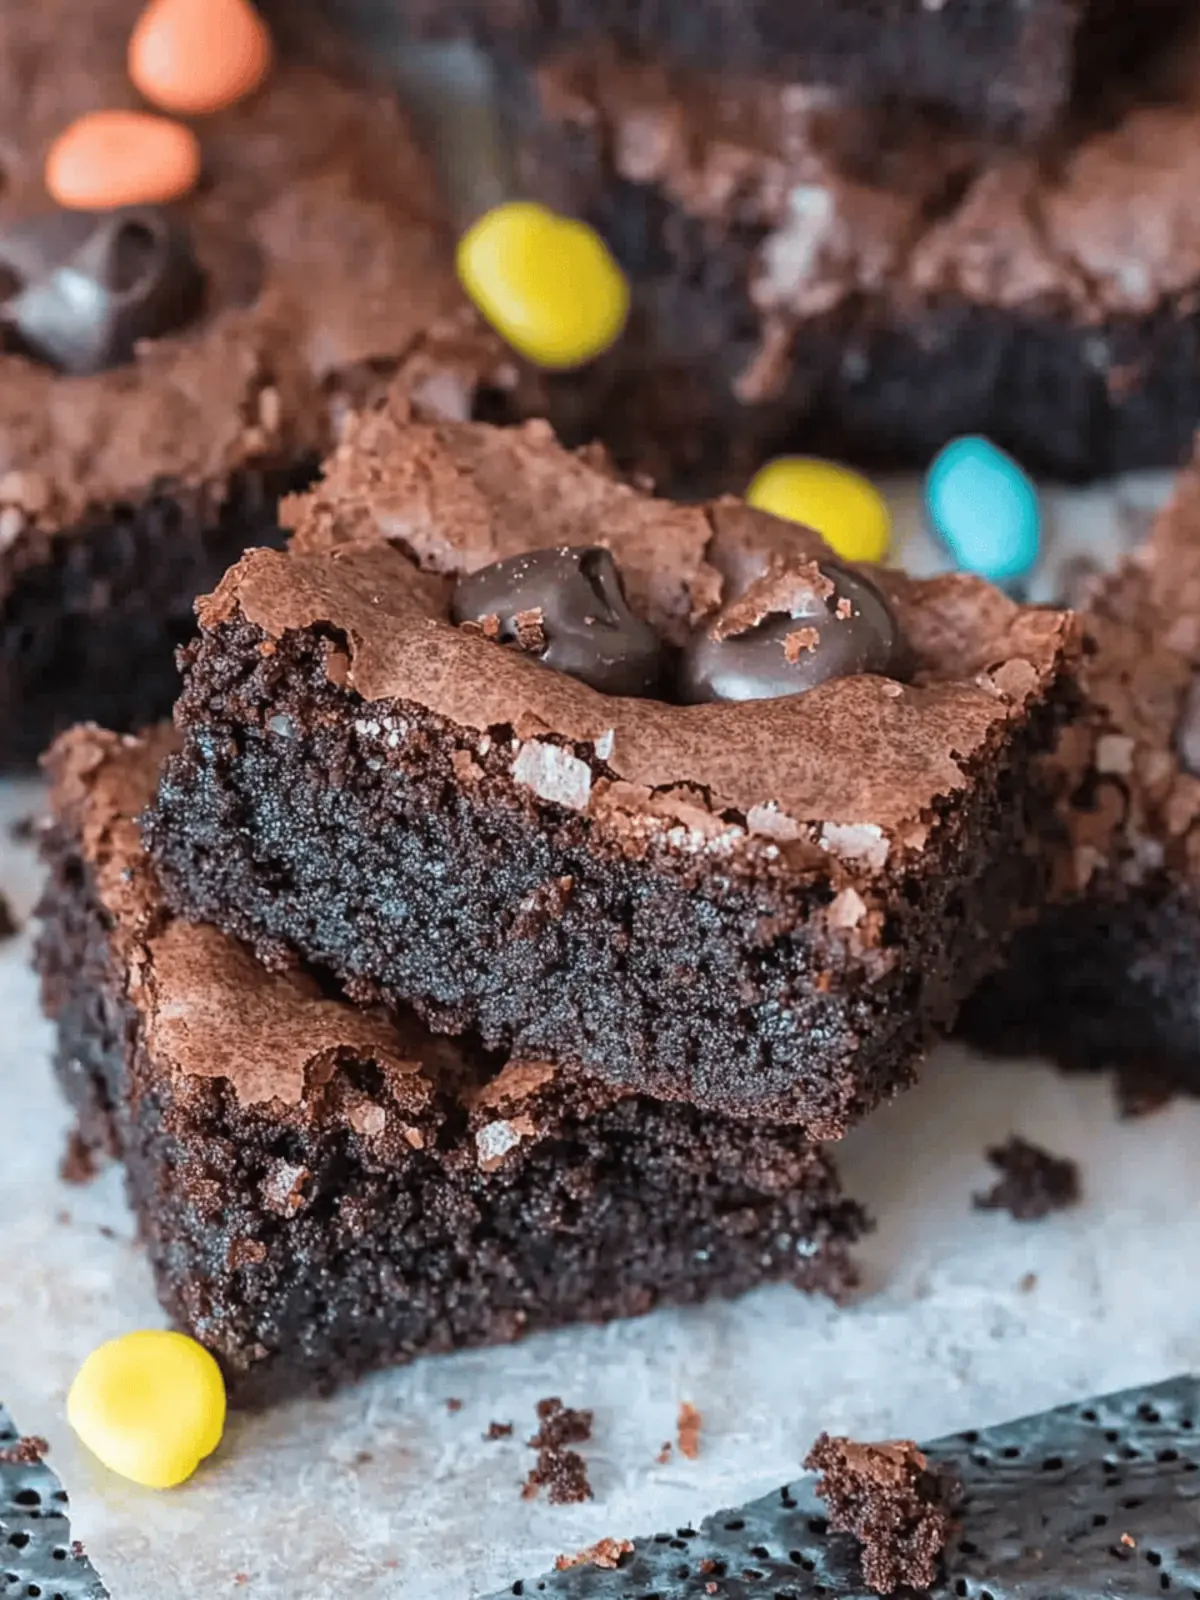
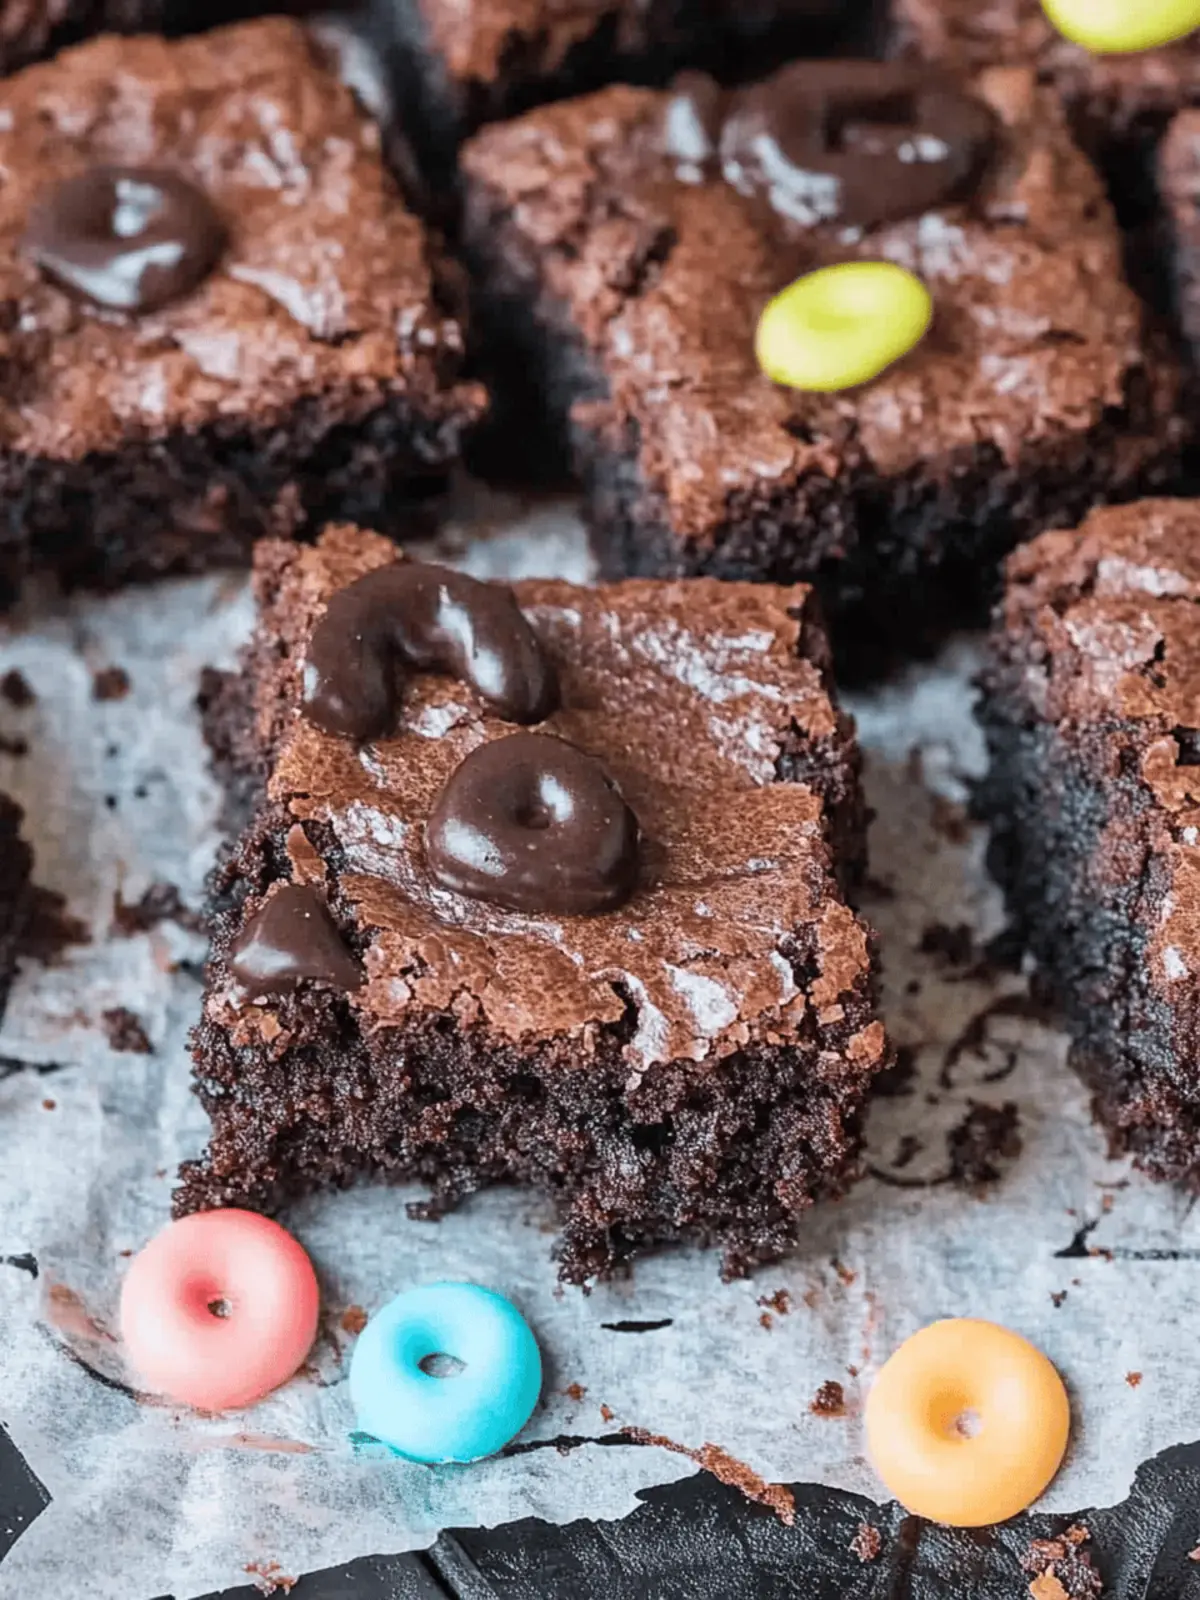
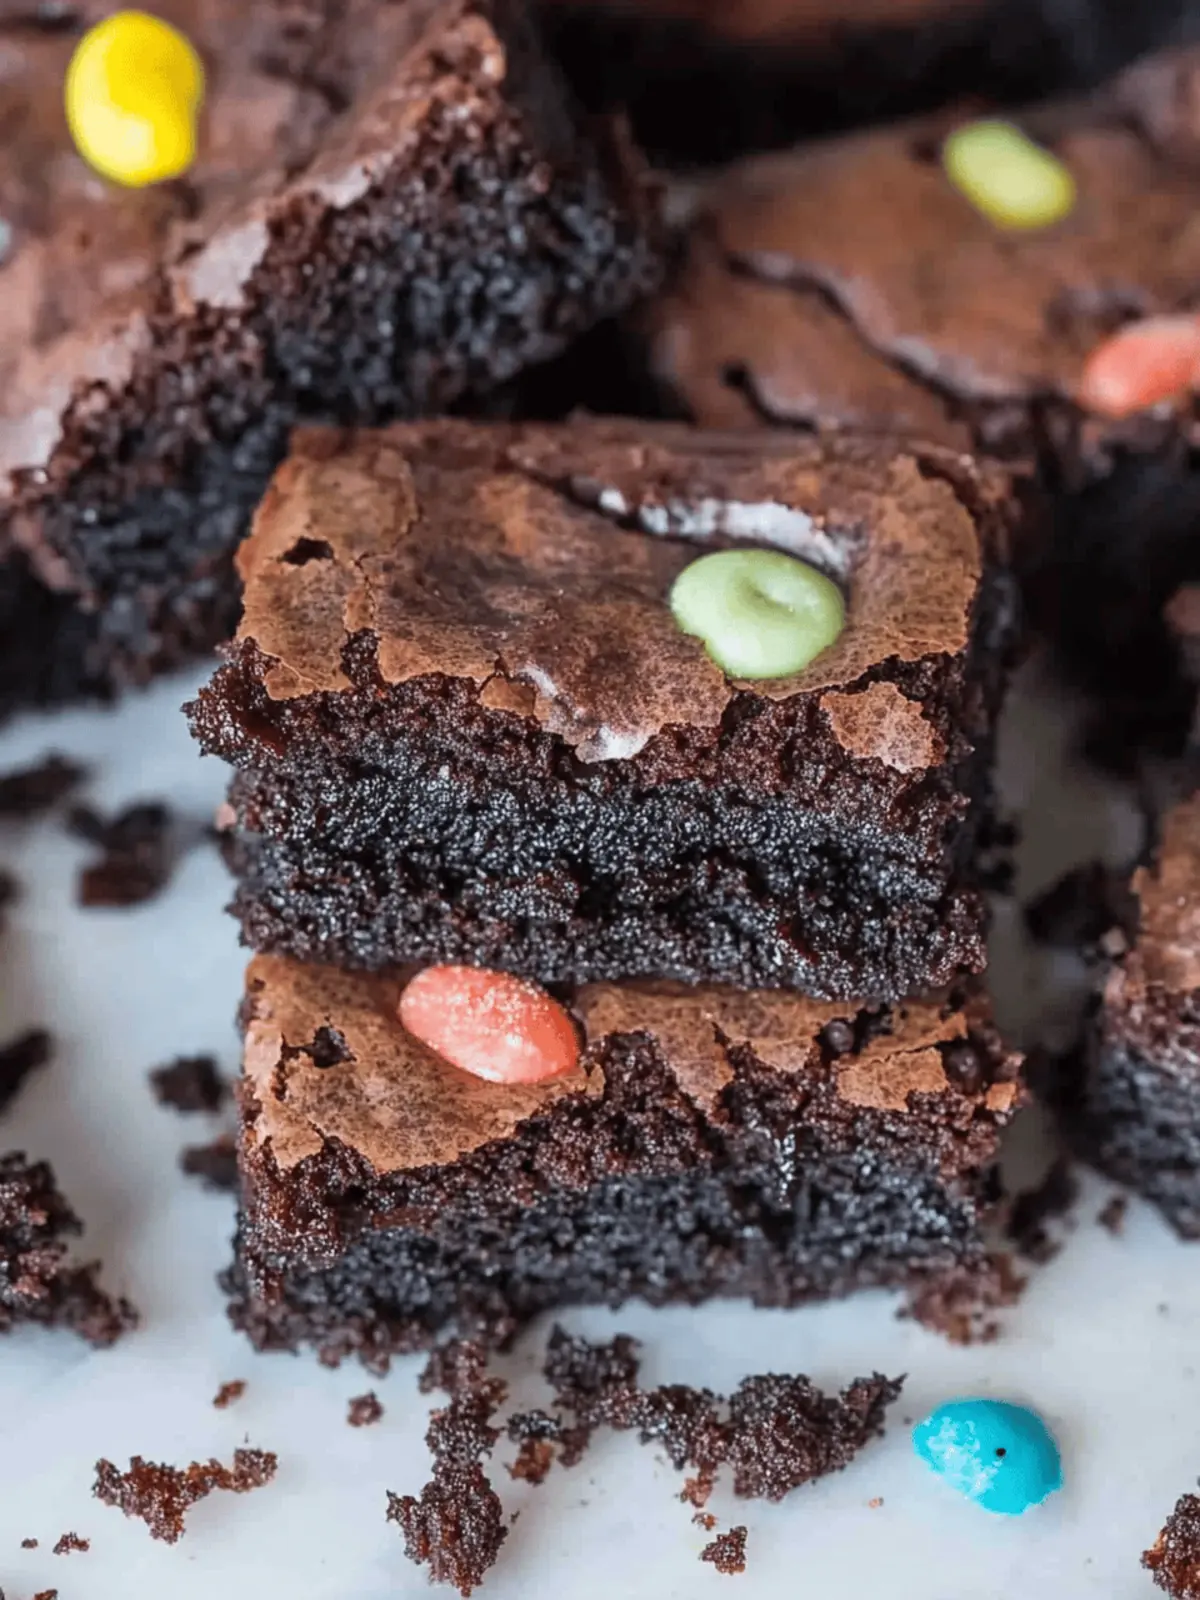
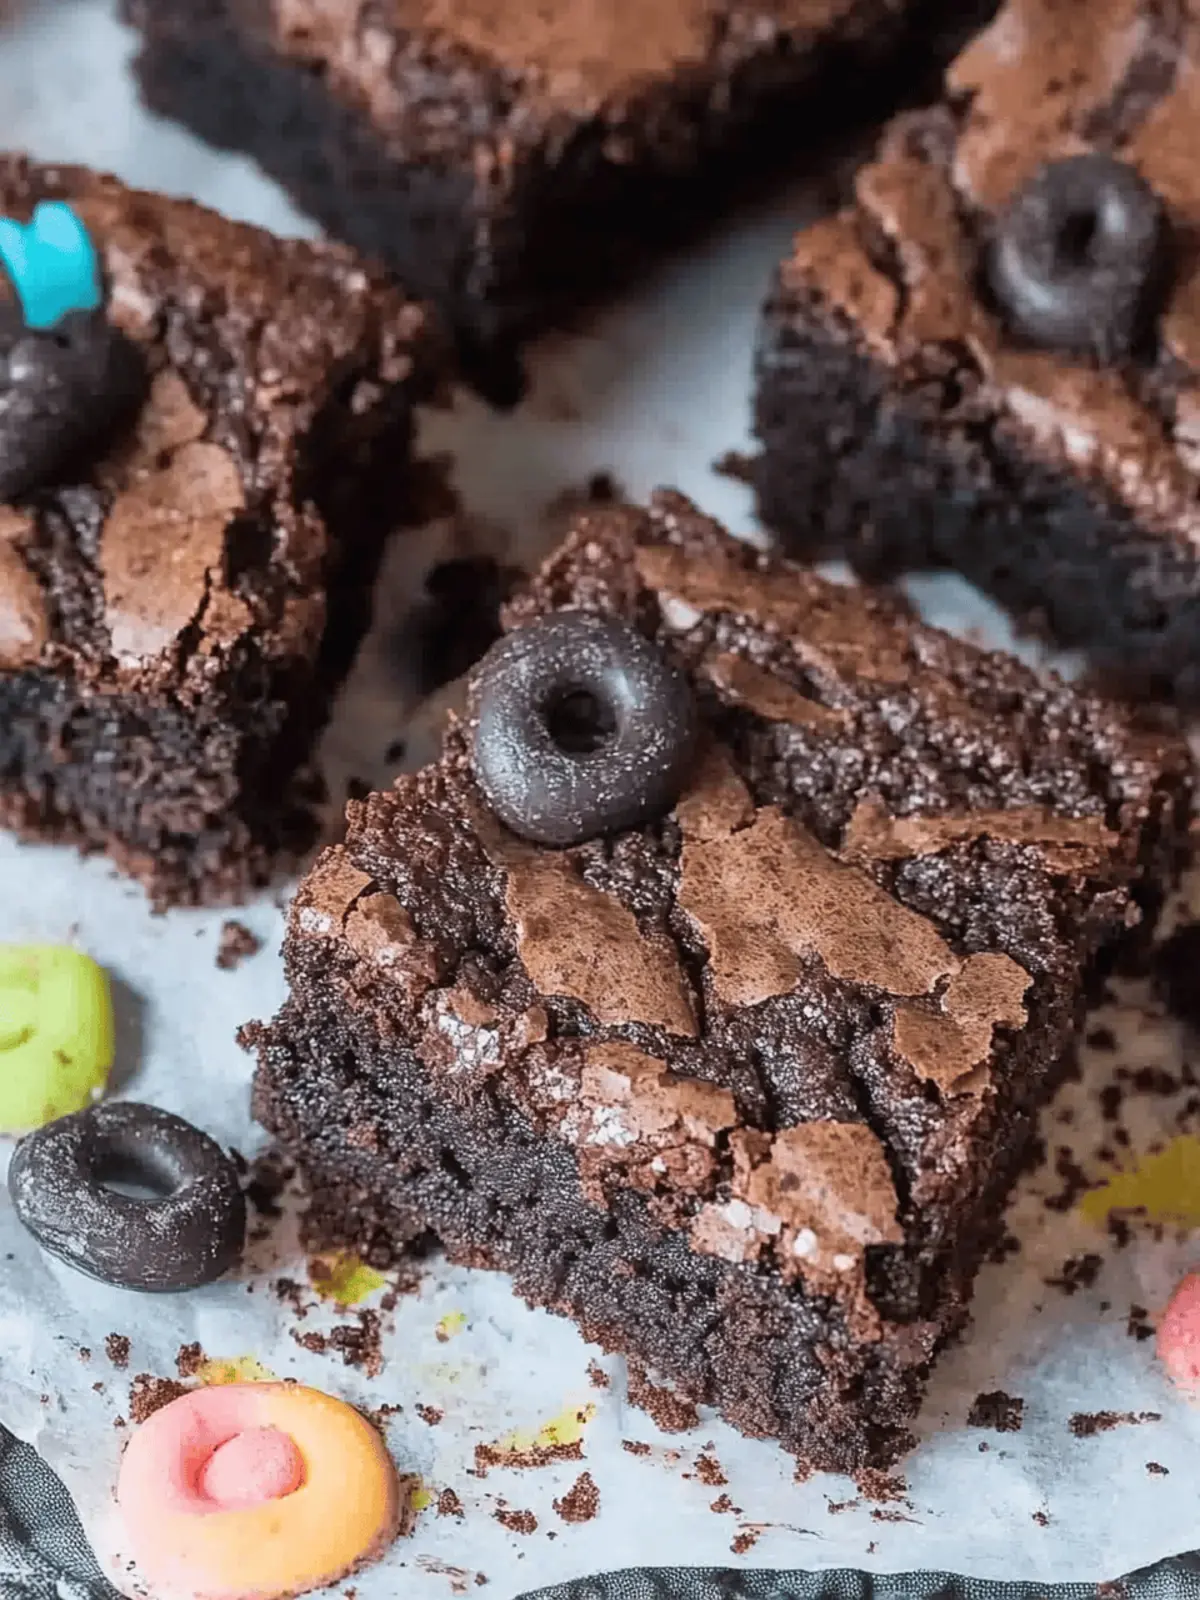
As the days grow shorter and the air turns crisp, the thrill of Halloween begins to creep in, and with it comes the perfect excuse to indulge in sweet treats. I’ll never forget the delight on my niece’s face when I surprised her with these Halloween Dirt Cup Brownies. Picture this: rich and fudgy brownies, layered with creamy chocolate fudge, then crowned with a playful sprinkle of crushed Oreos, and topped off with gummy worms that wiggle right off the plate!
This easy, customizable recipe is perfect for both kids and adults, making it a fantastic choice for Halloween parties or cozy nights in. Whether you have time to whip up homemade brownies or prefer the convenience of a store-bought mix, these treats come together in no time to create an irresistible concoction that’s sure to impress.
Get ready to dig in—these Dirt Brownies are about to become your favorite go-to sweet for all your spooky celebrations!
Why are Dirt Brownies a Must-Try?
Irresistible flavor and fun: These Dirt Brownies boast a rich chocolate flavor, complemented by crunchy Oreos and gooey fudge that everyone will adore.
Customization options galore: Whether opting for a store-bought mix or showcasing your baking skills, you can easily personalize this recipe with various toppings.
Kid-friendly and festive: Perfect for Halloween gatherings, kids will love the playful gummy worms, making them a hit for all ages.
Memorable dessert experience: Create lasting memories as you serve these delightful treats at your next party or family gathering.
Quick and easy to make: With simple steps and minimal prep time, you’ll have these delicious brownies ready to impress in no time!
Dirt Brownies Ingredients
For the Brownies
- Unsalted Butter – Adds richness and moisture; substitute with margarine if needed.
- Canola Oil – Helps create a tender texture; can be replaced with any neutral oil.
- Granulated Sugar – Provides sweetness and structure; brown sugar can be used for a moister brownie.
- Large Eggs – Binds the ingredients and adds moisture; no egg substitutes recommended for structure.
- Pure Vanilla Extract – Enhances flavor; use imitation vanilla if necessary.
- Milk – Adds moisture to the batter; almond or oat milk can be used as alternatives.
- Ground Cinnamon – Adds a warm spice note; can be omitted if undesired.
- All-Purpose Flour – Provides structure to the brownies; can substitute with a gluten-free flour blend.
- Unsweetened Cocoa Powder – Essential for a chocolatey flavor; use Dutch-process cocoa for a different depth.
- Salt – Balances sweetness and enhances flavors; essential for brownie baking.
- Chocolate Chips – Adds melty pockets of chocolate; substitute with white or peanut butter chips.
- Oreos – Provides a crunchy topping and decorative element; any sandwich cookie can serve as a substitute.
- Gummy Worms – A fun topping; substitute with other Halloween-themed candies or edible decorations.
For the Fudge Topping
- Condensed Milk – Acts as a base for the fudge; can be substituted with coconut cream for a dairy-free version.
- Dark Chocolate Chips – Essential for fudgy consistency; use semi-sweet or milk chocolate for variations.
- Brewed Espresso Coffee – Enhances chocolate flavor; omit if you prefer a non-coffee flavor.
How to Make Dirt Brownies
-
Preheat Oven: Begin by setting your oven to 350°F (175°C) and lining an 8-inch square baking pan with parchment paper. This ensures easy removal of the brownies once baked.
-
Mix Wet Ingredients: In a large mixing bowl, combine melted butter, canola oil, and granulated sugar. Whisk them together until well blended, then add the eggs, milk, and vanilla extract, mixing until the batter is lighter in color and smooth.
-
Incorporate Dry Ingredients: Gently sift in the all-purpose flour, cocoa powder, ground cinnamon, chocolate chips, and salt. Carefully fold the mixture until just combined; be cautious not to overmix, which can make your brownies dense.
-
Bake: Pour the rich brownie batter into your prepared pan, smoothing the top for even baking. Place it in the oven and bake for 45-50 minutes, or until the center is set and a toothpick comes out with a few moist crumbs.
-
Make Fudge Topping: While the brownies cool, prepare the fudge topping. Melt dark chocolate chips and condensed milk in a saucepan over low heat, stirring regularly. Add brewed espresso coffee to elevate the chocolate flavor, mixing until fully combined.
-
Cool & Decorate: Once your brownies have cooled completely, cut them into 9 squares. Pipe the luscious fudge topping over each brownie, generously sprinkle with crushed Oreos, and finish off by placing a gummy worm on top of each for that spooky flair.
Optional: Drizzle with extra fudge for an even more decadent treat!
Exact quantities are listed in the recipe card below.
Dirt Brownies Variations & Substitutions
Feel free to explore these exciting twists that will make your Dirt Brownies even more delightful!
- Gluten-Free: Use a gluten-free flour blend in place of all-purpose flour for a deliciously inclusive treat.
- Nutty Addition: Fold in chopped nuts like walnuts or pecans for a delightful crunch that complements the fudgy texture.
- Dairy-Free: Swap the butter and chocolate for dairy-free alternatives, ensuring everyone can enjoy them!
- Minty Fresh: Add a few drops of mint extract to the batter for a refreshing twist that pairs beautifully with chocolate.
- Spicy Kick: Mix in a pinch of cayenne or chili powder for a surprising heat that contrasts with the sweet chocolate.
These variations not only elevate the dish but also invite creativity. Imagine the looks on your guests’ faces when they discover a thrilling surprise in each bite!
- Flavorful Add-Ins: Consider adding peanut butter or Nutella swirls in the brownie batter, creating rich layers of flavor throughout.
- Creative Toppings: Experiment with different gummy candies, like candy eyeballs or spiders, for an extra spooky touch during Halloween.
Allow your imagination to run wild and tailor these Dirt Brownies to fit your family’s taste buds and dietary needs!
What to Serve with Halloween Dirt Cup Brownies?
Prepare for a delightful feast that pairs perfectly with your spooky treats and gets everyone into the Halloween spirit.
- Vanilla Ice Cream: The creamy, cool texture creates a delightful contrast with the rich brownie, making each bite even more indulgent.
- Pumpkin Spice Latte: Embrace the fall flavors with this beloved drink; the warm spices complement the chocolate beautifully.
- Ghostly Meringues: Light and airy, these whimsical treats can add a fun twist and are perfect for the Halloween theme.
- Spooky Fruit Skewers: Fresh fruit adds a refreshing touch after the richness of the brownies, balancing flavors and textures beautifully.
- Hot Chocolate Bar: Set up a fun station with marshmallows and whipped cream to create an ultimate cozy treat that pairs delightfully with brownies.
- Chocolate-Covered Pretzels: Sweet and salty, these crunchy bites provide a satisfying contrast to the soft, fudgy brownies.
- Caramel Dipped Apples: Crisp apples coated in smooth caramel give a festive fall vibe while keeping the experience fun and interactive.
- Halloween-themed Cocktails: Get festive with drinks inspired by the season—think “Witch’s Brew” or “Vampire’s Kiss” for adult gatherings.
- Whipped Cream Topping: A dollop of fluffy whipped cream on top of the brownies makes them extra decadent.
- Chocolate Chip Cookies: The classic cookie never goes out of style; warm cookies alongside these brownies create an absolutely delightful dessert platter!
Make Ahead Options
These Halloween Dirt Cup Brownies are perfect for meal prep enthusiasts looking to save time on busy days! You can prepare the brownie base and the fudge topping up to 24 hours in advance. Simply follow the recipe until the brownies are baked and cooled, then store them in an airtight container at room temperature to maintain their moistness. The fudge topping can be made and refrigerated until you’re ready to decorate. When it’s time to serve, warm the fudge slightly to ensure it pipes easily, then layer it over the brownies, sprinkle with crushed Oreos, and finish off with gummy worms for that festive touch. Enjoy these spooky delights just as deliciously fresh, with minimal fuss!
Expert Tips for Dirt Brownies
-
Mix Gently: Avoid overmixing the batter; this keeps your Dirt Brownies light and prevents them from becoming dense and cakey.
-
Customize Wisely: When choosing toppings, ensure they complement the rich chocolate flavor; too many sweets can overpower the brownie base.
-
Baking Time: Check for doneness a few minutes early, as every oven bakes differently. A toothpick should come out with a few moist crumbs for perfect texture.
-
Let Cool: Allow brownies to cool completely before cutting to maintain cleaner edges; this will help showcase the delicious layers.
-
Serving Suggestions: Enhance the experience by pairing these Dirt Brownies with a scoop of vanilla ice cream on the side; the contrast is heavenly!
Storage Tips for Dirt Brownies
- Room Temperature: Store Brownies in an airtight container at room temperature for up to 3 days. This keeps them fresh while maintaining their fudgy texture.
- Fridge: If you’d like to extend shelf life, keep them in the fridge for up to a week. Make sure they are well-wrapped to prevent them from drying out.
- Freezer: For longer storage, wrap each brownie in plastic wrap and place in a freezer-safe bag. They can be frozen for up to 3 months—just thaw at room temperature before enjoying!
- Reheating: If you prefer warm brownies, microwave them for about 10-15 seconds. This revives the fudgy texture and melts the chocolate chips for extra delight!
Halloween Dirt Cup Brownies Recipe FAQs
How do I select the best brownie ingredients?
Absolutely! For the best results, choose high-quality cocoa powder and chocolate chips; they significantly enhance the flavor of your brownies. When selecting eggs, look for fresh ones with clean shells and a well-graded label. If using fresh butter, check for a creamy texture and no discoloration. For any substitutions, organic or specialty products can often add a unique twist!
How do I store leftover Dirt Brownies?
Very simple! Store your Dirt Brownies in an airtight container at room temperature for up to 3 days. If you want to keep them fresh a bit longer, place them in the fridge for up to a week; just be sure they’re well-wrapped to prevent drying out. If they harden, try adding a slice of bread to the container—this helps absorb moisture and keeps them moist!
Can I freeze Dirt Brownies?
Yes, indeed! To freeze your delectable Dirt Brownies, wrap each brownie separately in plastic wrap, ensuring there are no gaps. Then, place them in a freezer-safe bag or container, labeling with the date. They can be frozen for up to 3 months. When you’re ready to enjoy, simply thaw at room temperature for a couple of hours, or pop them in the microwave for about 10-15 seconds for a freshly-baked taste!
What if my brownies turn out too dense?
If your brownies come out dense, it may be due to overmixing the batter or using too much flour. Ensure to mix gently and only until combined, as this keeps them light and fudgy. If you find yourself adding mix-ins like nuts or dried fruits, just remember to adjust your baking time slightly to accommodate the added ingredients since they can alter the texture.
Are there any dietary considerations for Dirt Brownies?
Absolutely! To make these brownies gluten-free, you can use a gluten-free flour blend in place of all-purpose flour. For a dairy-free option, substitute the condensed milk with coconut cream and use dairy-free chocolate chips. Keep in mind any allergies when adding toppings; if you’re including gummy candies, double-check the ingredients for allergens like gelatin or specific colorings, especially for kids with food sensitivities!

Devilishly Delicious Dirt Brownies for Halloween Fun
Ingredients
Equipment
Method
- Preheat your oven to 350°F (175°C) and line an 8-inch square baking pan with parchment paper.
- In a large mixing bowl, combine melted butter, canola oil, and granulated sugar. Whisk them together and then add the eggs, milk, and vanilla extract, mixing until light in color and smooth.
- Gently sift in the flour, cocoa powder, ground cinnamon, chocolate chips, and salt. Carefully fold the mixture until just combined.
- Pour the brownie batter into the prepared pan, smoothing the top. Bake for 45-50 minutes, or until the center is set.
- While the brownies cool, prepare the fudge topping by melting dark chocolate chips and condensed milk in a saucepan over low heat, stirring regularly. Add brewed espresso for enhanced flavor.
- Once cooled, cut brownies into squares, pipe the fudge topping, sprinkle with crushed Oreos, and place gummy worms on top.


