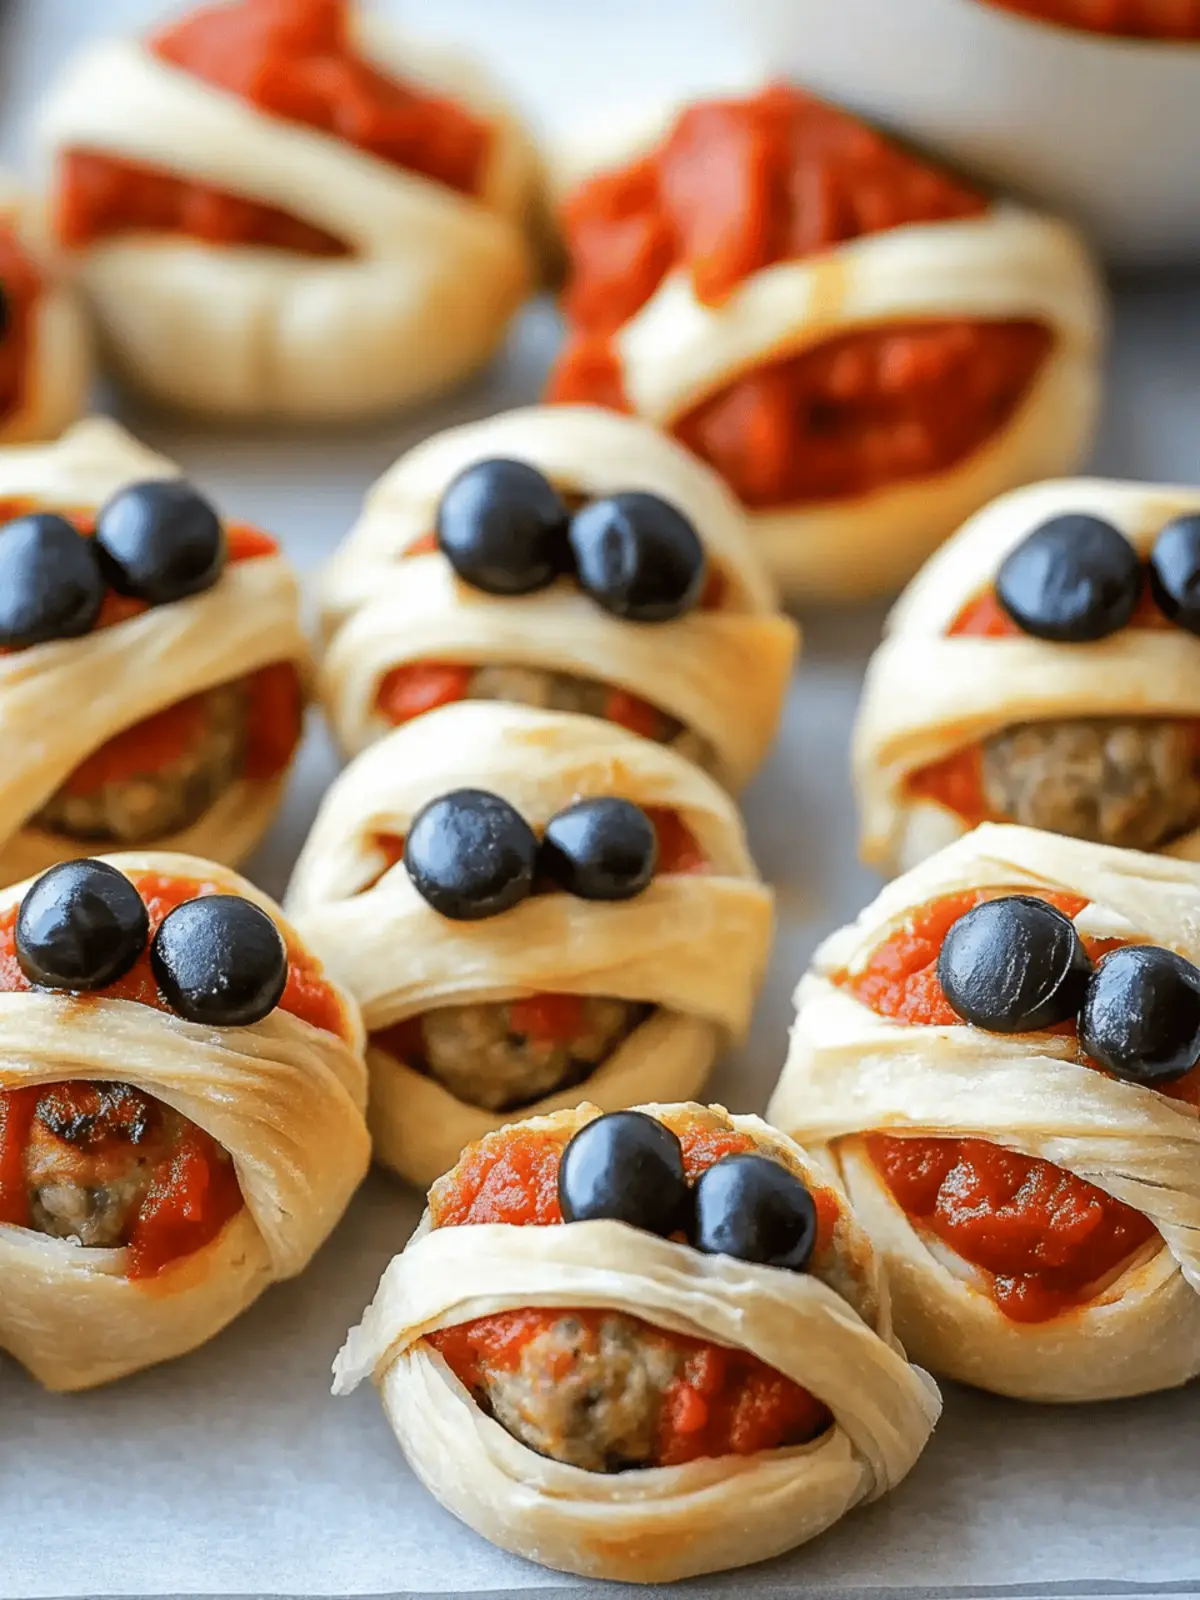
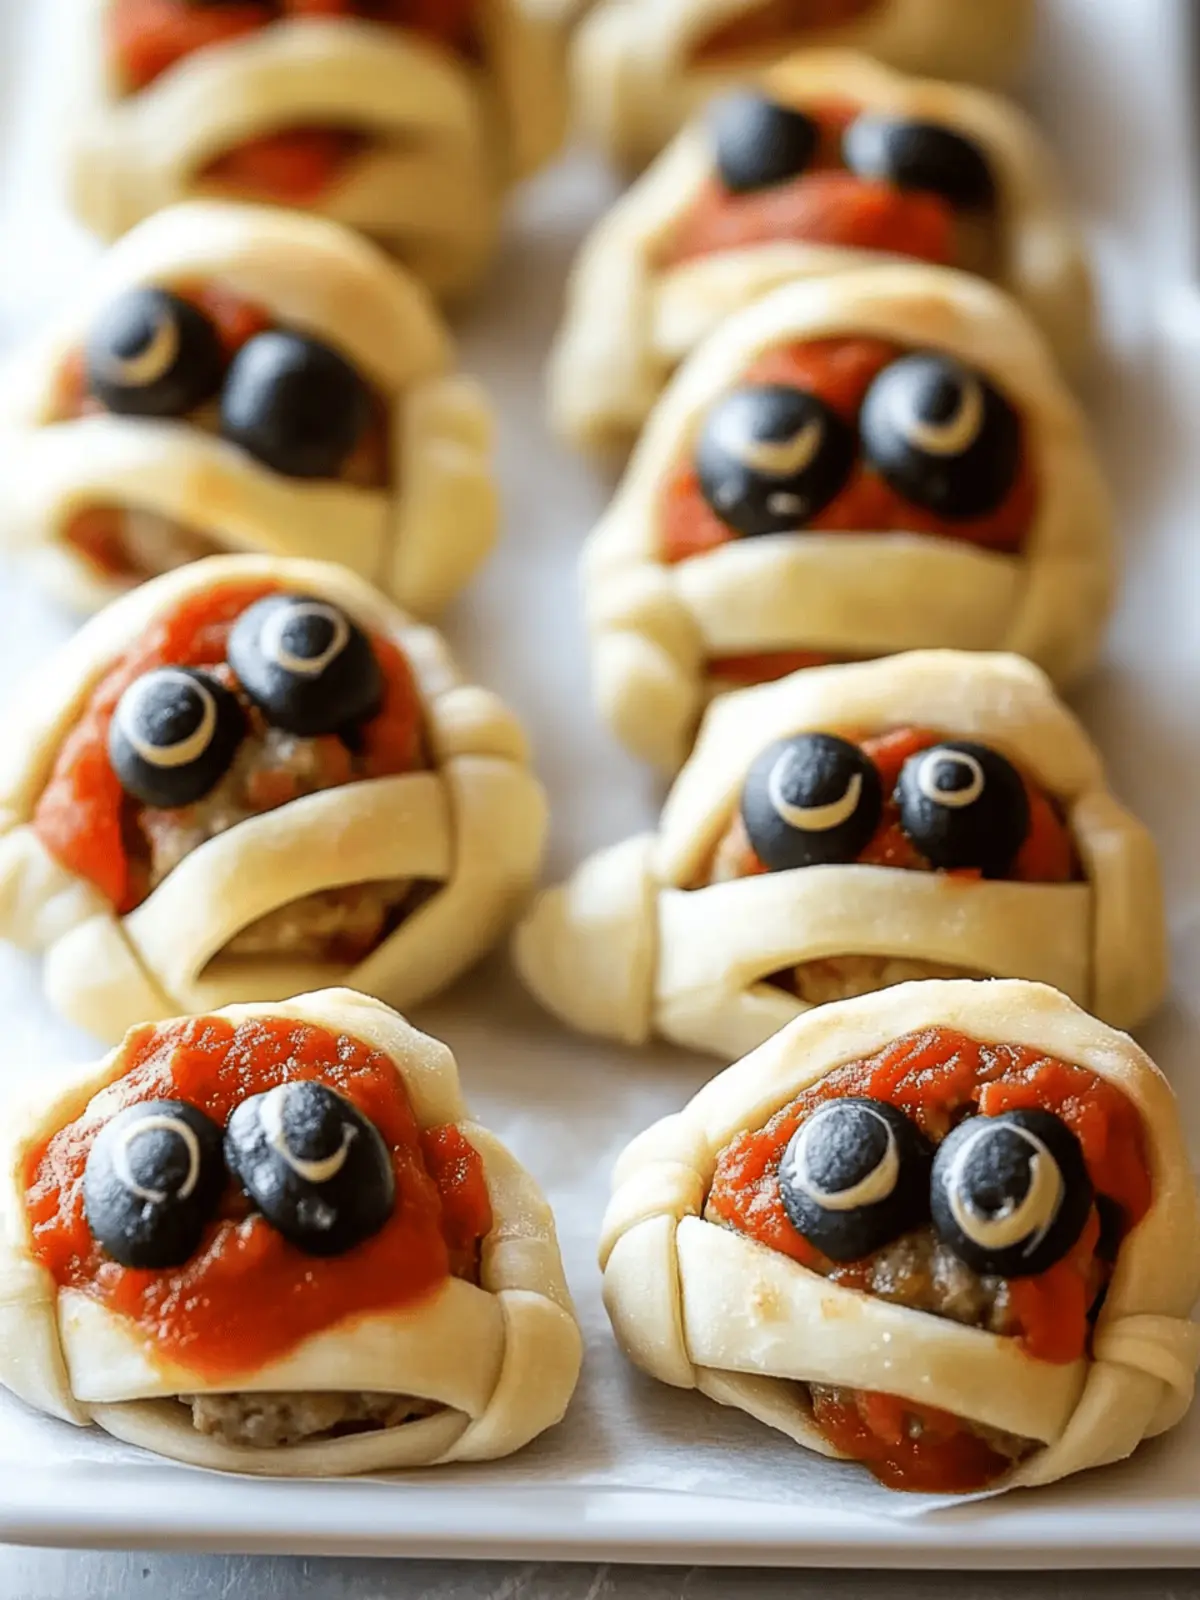
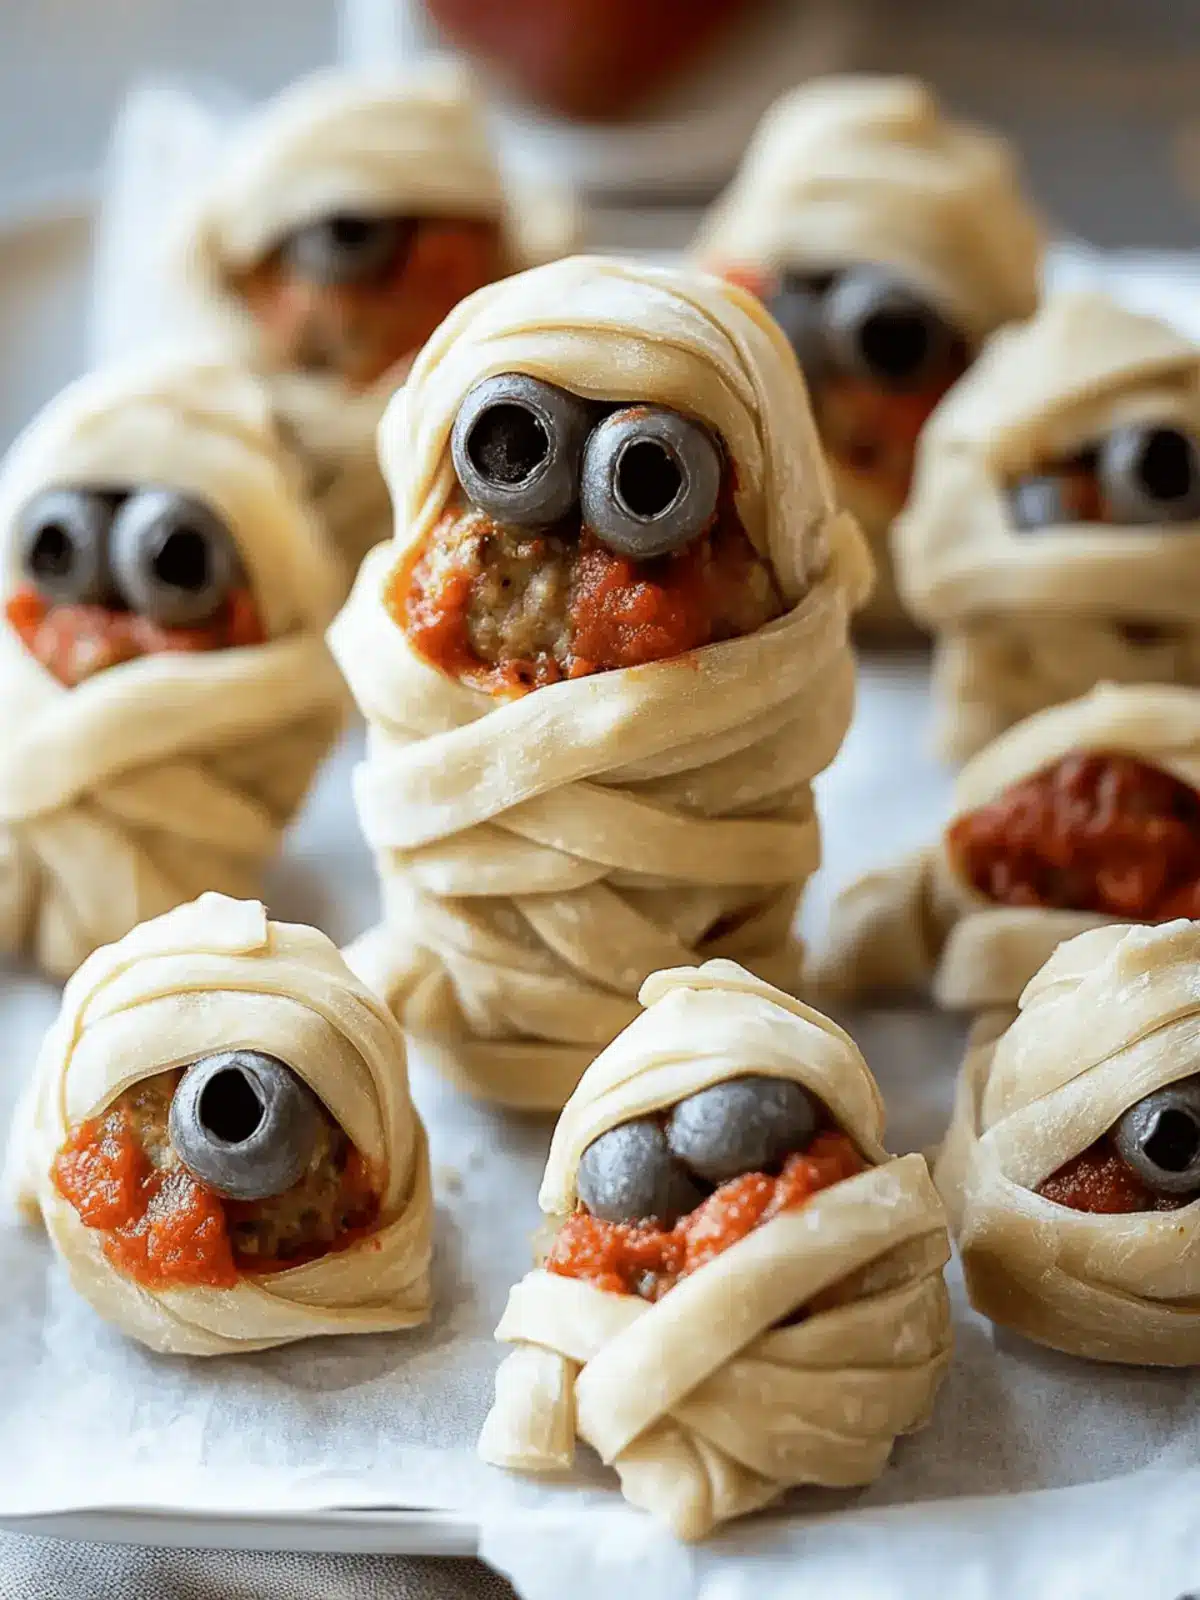
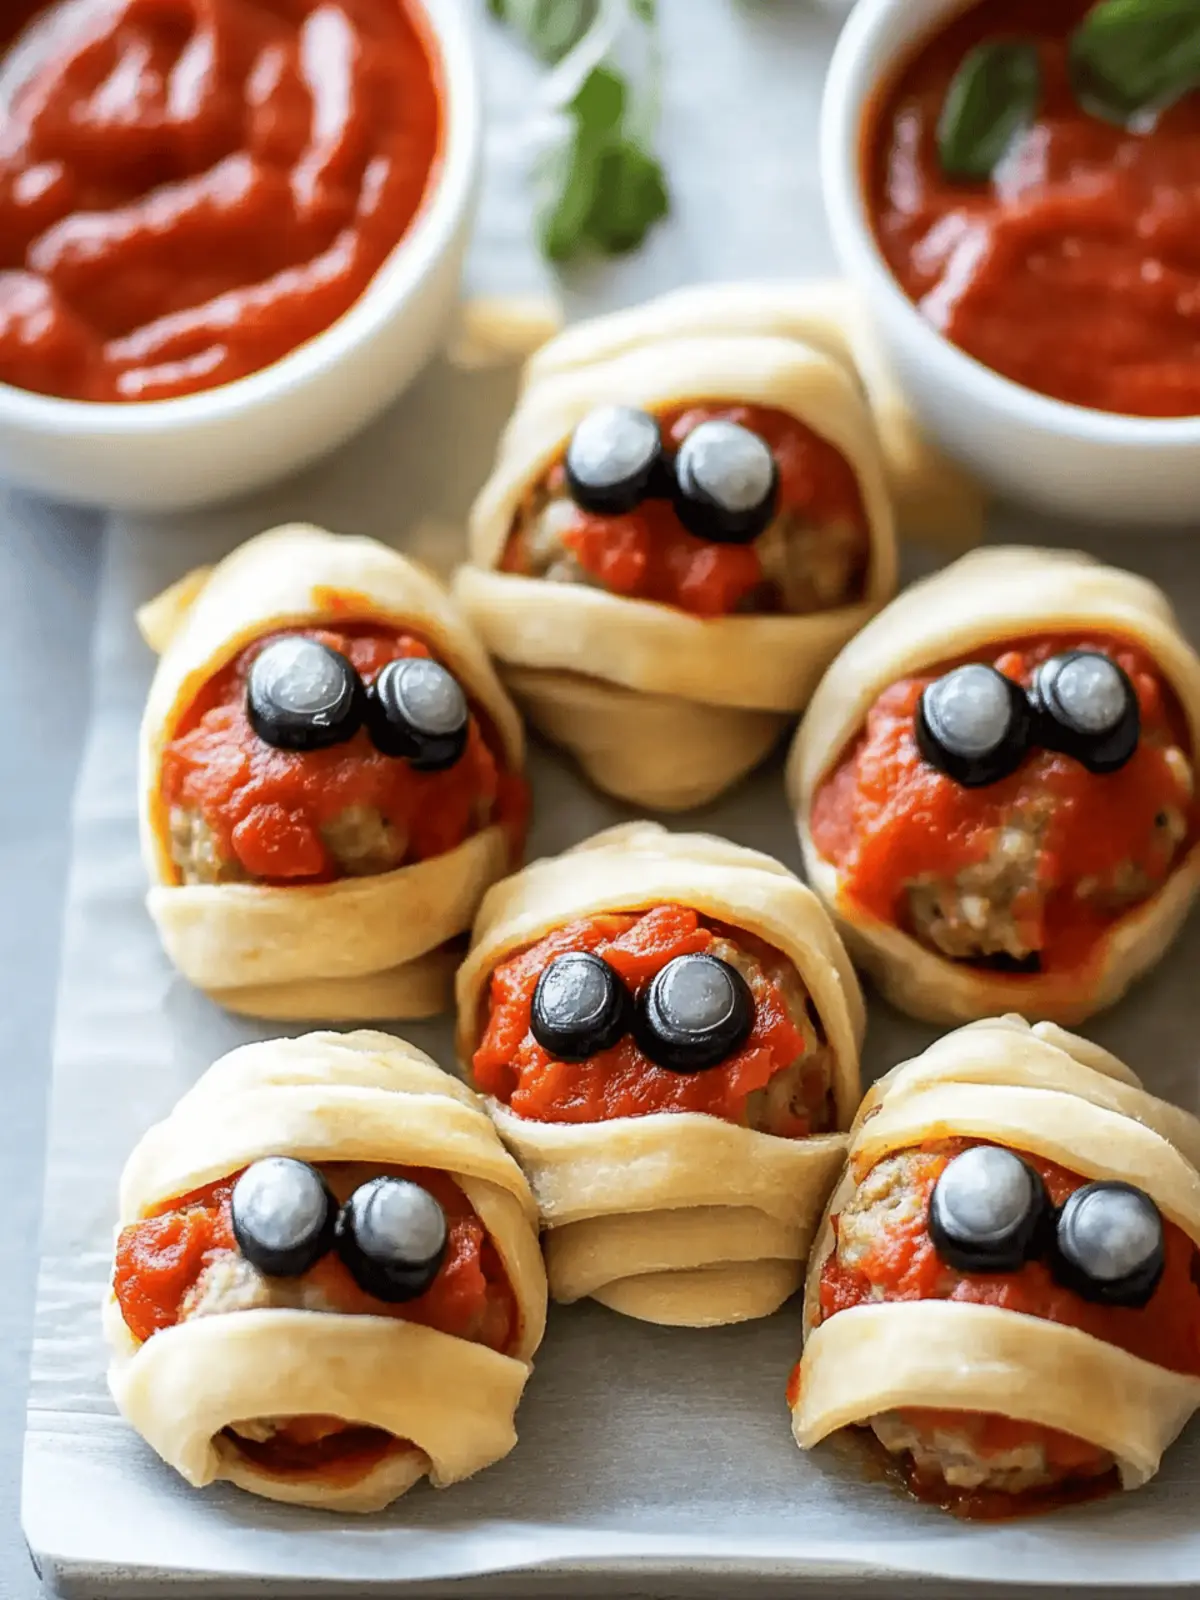
When the leaves start to change and the air turns crisp, I can’t help but feel the excitement of Halloween creeping in. This year, I wanted to whip up something not just delicious but also delightfully spooky — enter these adorable Spooky Meatball Mummies! Imagine a plate filled with flaky, golden mummies that are both fun to look at and even more fun to eat. The savory meatball filling, snuggled beneath a charmingly chaotic layer of crescent dough, brings warmth to cool autumn nights.
These little creatures don’t just look the part; they are easy to prepare, coming together in just 20 minutes! Great for a Halloween party, a themed family dinner, or even a playful weeknight meal, they’re bound to be a hit with both kids and adults. And the best part? You can customize them with your favorite ingredients, making them as unique as your Halloween spirit! So, roll up your sleeves, and let’s bring some fun into the kitchen with these enchanting meatball mummies!
Why are Meatball Mummies so irresistible?
Simplicity: The recipe is a breeze, perfect for both novice cooks and seasoned chefs looking for a quick Halloween snack.
Creepy Fun: These mummies are sure to impress guests of all ages, making your gathering unforgettable.
Flavor Burst: The combination of savory meatballs with a flaky, buttery wrap creates a delightful explosion of taste.
Customizable: Feel free to experiment with different ingredients, from fillings to dips, ensuring your mummies are uniquely yours.
Quick Prep: With just 20 minutes from start to finish, you’ll have a spooky treat ready before the trick-or-treaters arrive!
Crowd-Pleaser: Serve them at parties or get-togethers, and watch them vanish in no time—everyone will be begging for the recipe!
Meatball Mummies Ingredients
For the Mummy Wraps
• Frozen Meatballs – Use bite-sized ones for easy eating; think ping-pong ball size.
• Crescent Dough – This flaky dough creates the mummy effect; ensure to pinch seams tightly if using regular crescent rolls.
For the Eyes
• Olives (Black or Green) – Add a briny pop as eyes; cherry tomatoes can be used for a colorful twist.
For Assembly
• Marinara Sauce – Functions as both glue for the olive eyes and a tasty dipping sauce to enhance the flavor of your Meatball Mummies.
How to Make Meatball Mummies
-
Prep Your Kitchen: Begin by preheating your oven to 350°F (175°C). Line a baking sheet with parchment paper to keep your mummies from sticking and allow for easy cleanup.
-
Create the Mummy Wraps: Roll out your crescent dough and cut it into 1/4 inch strips. Gently wrap the strips around each meatball, leaving some areas exposed to capture that charming mummy look.
-
Add the Spooky Eyes: Take your olives and dab a bit of marinara sauce on the back of each slice. Press them onto the meatball mummies, creating their eerie little eyes that will turn these goodies into chilling treats.
-
Bake to Perfection: Place your mummy creations in the preheated oven. Bake for 15-20 minutes, or until the dough turns a delightful golden brown and the meatballs inside are heated through.
Optional: Serve with extra marinara sauce for dipping!
Exact quantities are listed in the recipe card below.
Expert Tips for Meatball Mummies
-
Avoid Overwrapping: To keep the Meatball Mummies looking charming, don’t overwrap the meatballs. This ensures they maintain their spooky aesthetic and prevents sogginess.
-
Secure the Eyes: Use plenty of marinara sauce to ensure the olive eyes stick firmly. A secure attachment means they won’t fall off when serving, keeping your mummies intact.
-
Customize Your Sauces: Feel free to mix it up with different dipping sauces like ranch or spicy mayo. This not only enhances flavor but also adds a fun twist for your guests!
-
Make Ahead: For an even easier prep, assemble your Meatball Mummies a day in advance and refrigerate. Bake them right before serving for a fresh, warm treat.
-
Herb Infusions: Consider adding Italian seasoning or fresh herbs to your meatballs for extra flavor. A little sprinkle can take your mummies to the next level!
How to Store and Freeze Meatball Mummies
Fridge: Store leftover Meatball Mummies in an airtight container for up to 3 days. This keeps them fresh and ready for a quick snack!
Freezer: If you want to make them in advance, Meatball Mummies can be frozen before baking. Wrap tightly and they’ll last up to 1 month.
Reheating: For best results, reheat in the oven at 350°F (175°C) for about 10-15 minutes to regain crispiness. You want them hot throughout!
Make-Ahead: Assemble but don’t bake your mummies up to a day in advance. Simply refrigerate until you’re ready to pop them in the oven for baking.
What to Serve with Meatball Mummies?
When you’re hosting a spooktacular gathering, it’s all about creating a memorable spread that elevates your amazing meatball mummies to new heights!
-
Crispy Caesar Salad: A classic salad with crunchy croutons and creamy dressing balances the savory meatballs perfectly.
-
Roasted Vegetables: Seasonal veggies roasted to caramelized perfection add a colorful, healthy element that complements the rich flavors of the mummies.
-
Garlic Breadsticks: Soft, buttery breadsticks brushed with garlic provide a delightful dipper for any extra marinara sauce alongside your mummies.
-
Spooky Punch: A festive cocktail or mocktail in eerie hues brings a cheerful spirit to the table, drawing in both kids and adults.
-
Pumpkin Soup: Smooth and creamy, a pumpkin soup adds seasonal flair and can be served as a warming appetizer before the main event.
-
Candy Corn Cupcakes: For dessert, these colorful treats pay homage to Halloween while wrapping up your meal with a sweet touch that everyone loves.
-
Cheesy Queso Dip: A warm, cheesy dip served with tortilla chips lends an extra layer of fun and flavor, making your gathering even more festive.
-
Fruit Skewers: Assemble skewers with vibrant seasonal fruits for a refreshing, light option that contrasts beautifully with the rich mummies.
Meatball Mummies Variations & Substitutions
Feel free to get creative with these playful meatball mummies! Customize them to suit your taste and surprise your guests.
-
Chicken Meatballs: Swap beef for chicken or turkey meatballs for a lighter, leaner option that’s just as delicious.
-
Cheesy Surprise: Place a small cube of mozzarella inside each meatball before wrapping to create a melty cheese center. Kids will love the gooey surprise!
-
Herb-Infused: Sprinkle Italian seasoning or dried herbs over the mummies for an aromatic enhancement that brings additional warmth and depth to the flavors.
-
Crunchy Coating: For an extra texture twist, roll the wrapped mummies in crushed breadcrumbs before baking to achieve a crispy outer layer.
-
Veggie Delight: Incorporate finely chopped spinach or kale into the meatball mixture for a healthy boost that adds color and nutrients.
-
Play with Dough: Try using puff pastry instead of crescent dough for a flakier, more indulgent wrap that offers a delightful bite.
-
Spicy Kick: Mix some red pepper flakes or chopped jalapeños into the meatball mix for those who enjoy a little heat in their festive snacks.
-
Alternative Eyes: Replace olives with halved cherry tomatoes for a sweeter, colorful alternative that can brighten up your spooky platter.
Make Ahead Options
These Spooky Meatball Mummies are perfect for meal prep, ensuring your Halloween celebrations are stress-free! You can assemble the mummies up to 24 hours in advance by wrapping the meatballs in the crescent dough and placing them on the baking sheet. After assembling, simply cover them tightly with plastic wrap and refrigerate to maintain their freshness. When you’re ready to enjoy your spooky delight, preheat your oven and bake the mummies as directed, giving you that delicious, oven-fresh taste without the last-minute rush. This make-ahead approach not only saves time but keeps your meatball mummies just as delightful!
Meatball Mummies Recipe FAQs
What type of meatballs should I use for my Meatball Mummies?
Absolutely! I recommend using bite-sized frozen meatballs, about the size of a ping-pong ball, for easy eating. If you prefer a lighter option, try using chicken or turkey meatballs which work just as well and make for a delightful twist.
How should I store leftover Meatball Mummies?
Very straightforward! Simply place your leftover Meatball Mummies in an airtight container and refrigerate them. They’ll stay fresh for up to 3 days, perfect for a quick snack or meal later in the week!
Can I freeze Meatball Mummies?
Definitely! To freeze your Meatball Mummies, assemble them but do not bake. Instead, wrap them tightly in plastic wrap or aluminum foil and place them in a freezer-safe container. They can be stored for up to 1 month. When you’re ready to enjoy them, just bake from frozen; they may need a few extra minutes in the oven.
What if my crescent dough tears while wrapping?
No worries at all! If you find that your crescent dough tears, you can simply patch it up with a small piece from the scrap dough. Pinch the seams together to seal it; they’ll still bake up nicely and look fantastic!
Are there any dietary considerations for Meatball Mummies?
Absolutely, always good to consider! If you’re serving these to guests, be aware of allergies—particularly to gluten found in the crescent dough and any specific ingredients in the meatballs. For a gluten-free option, look for gluten-free meatballs and dough. Also, if you’re making these for little ones or pets, ensure the olives are safely removed before serving.
Can I prepare Meatball Mummies a day in advance?
Yes, indeed! You can assemble your Meatball Mummies up to a day ahead of time. Just cover them in the refrigerator, and when you’re ready to bake, pop them into the preheated oven as instructed. They’ll come out warm and delicious, perfect for serving!

Meatball Mummies: A Fun Halloween Snack Everyone Will Love
Ingredients
Equipment
Method
- Begin by preheating your oven to 350°F (175°C). Line a baking sheet with parchment paper.
- Roll out your crescent dough and cut it into 1/4 inch strips. Wrap the strips around each meatball.
- Dab a bit of marinara sauce on the back of each olive slice and press them onto the meatball mummies.
- Bake for 15-20 minutes, or until the dough turns golden brown and the meatballs are heated through.


