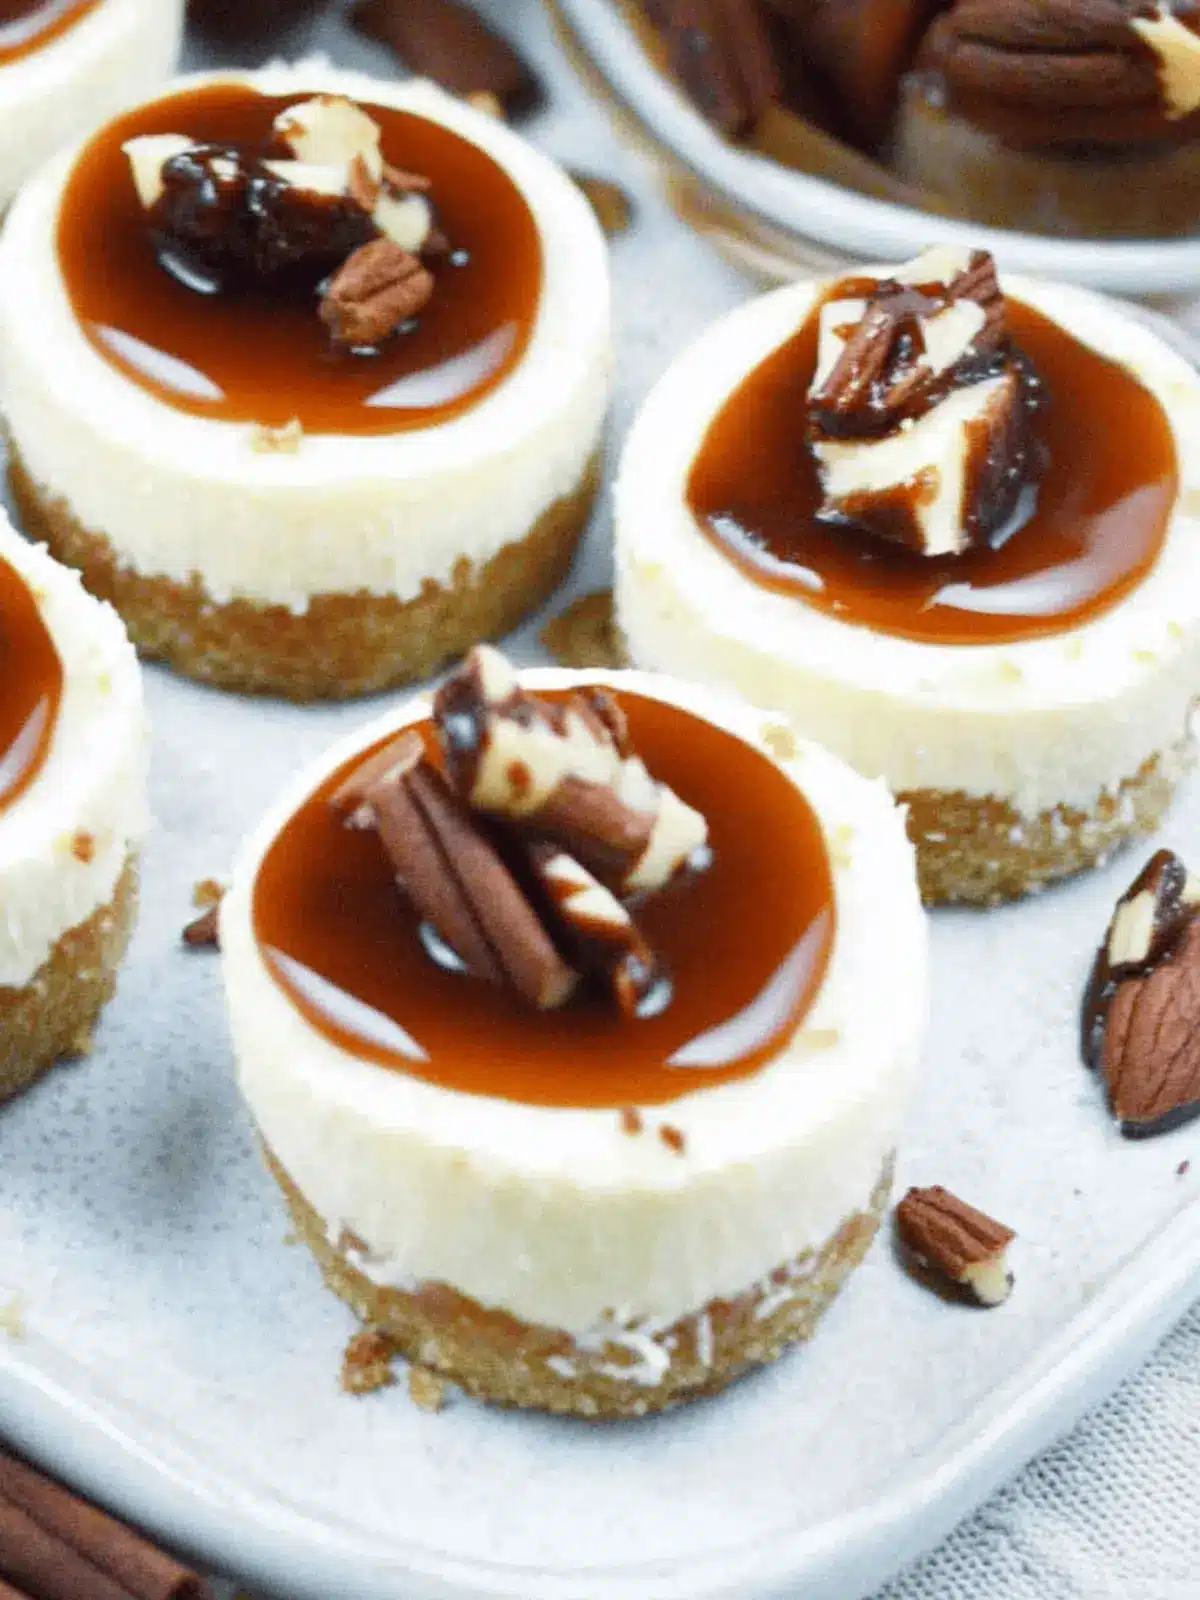
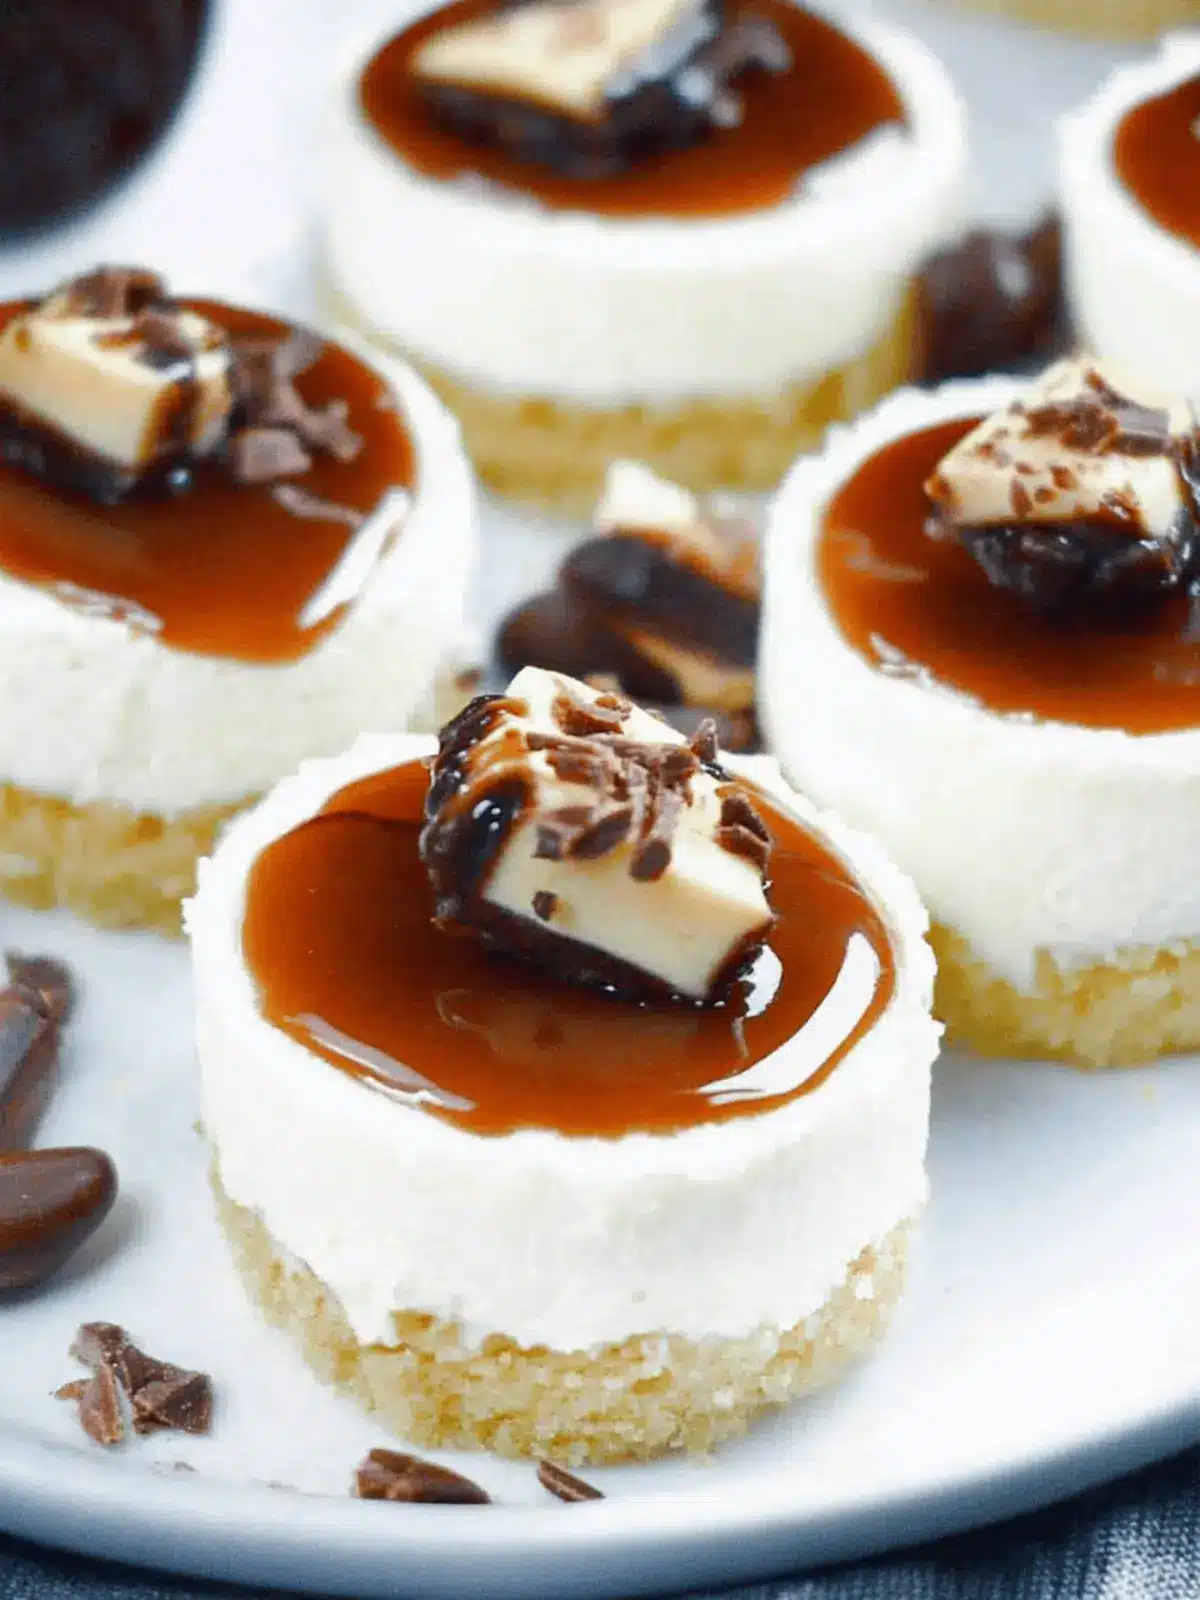
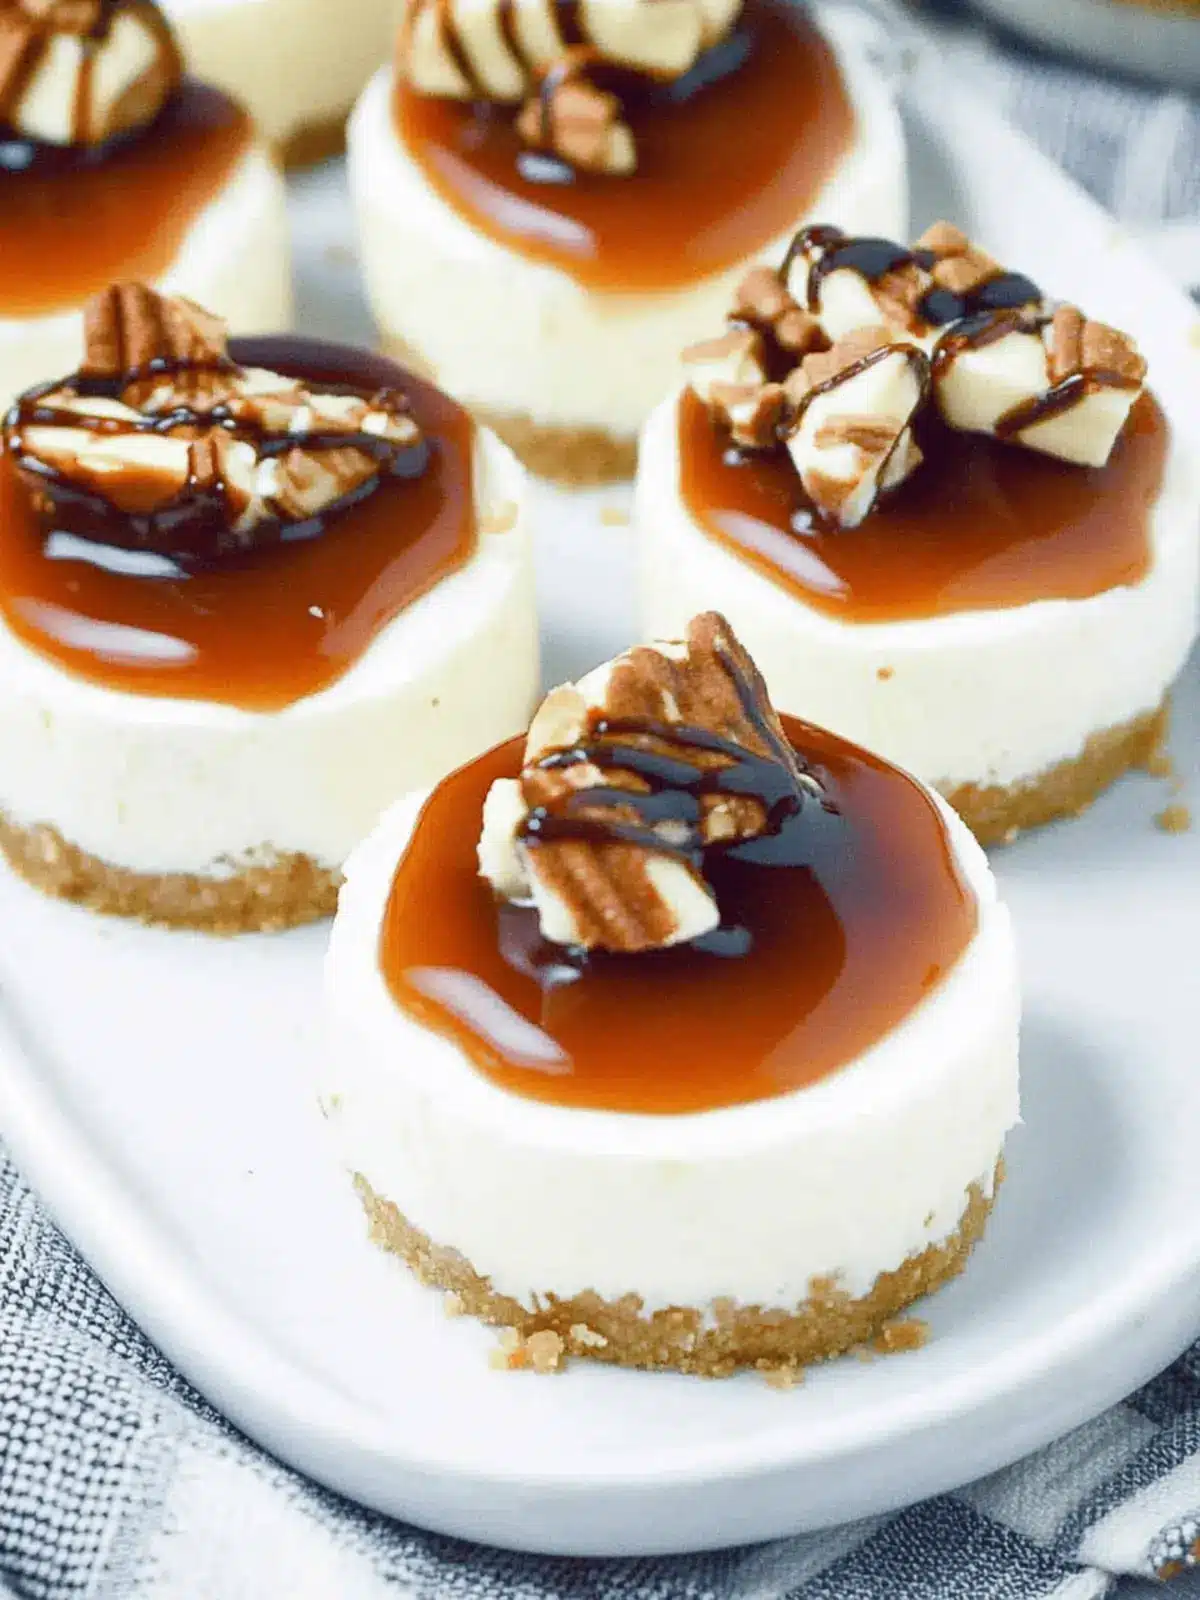
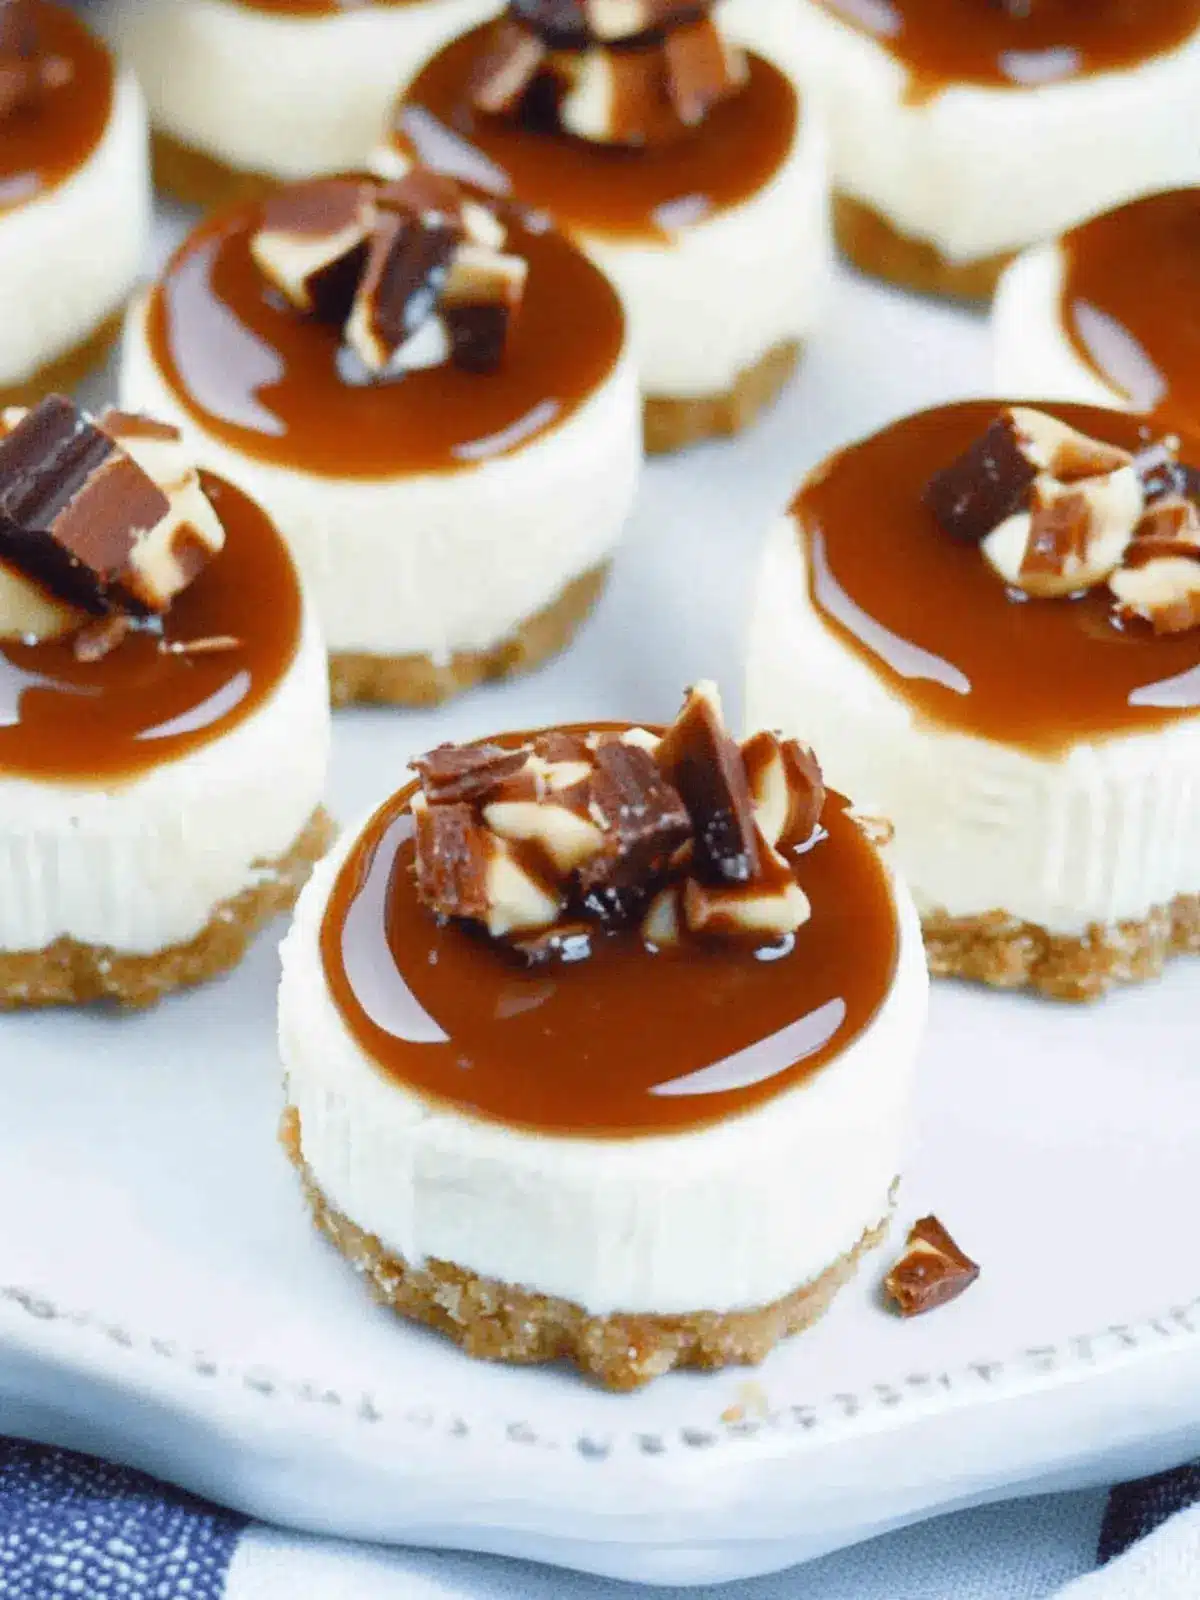
There’s a certain joy that comes from sharing a dessert that not only looks beautiful but also delivers an explosion of flavor. That’s exactly what you get with these Best No-Bake Mini Turtle Cheesecakes. Picture this: the luscious creaminess of cheesecake enveloped in a buttery graham cracker crust, with gooey caramel and drizzles of rich chocolate cascading down the sides. Top it all off with a sprinkle of crunchy pecans, and you have a bite-sized treat that’s both decadent and oh-so-satisfying.
I stumbled upon this delightful recipe while trying to impress guests at a last-minute gathering, and I can confidently say it was a hit. Not only is this dessert quick and easy to whip together—no oven required—but its adorable mini portions make it perfect for sharing. If you’re tired of the usual fast food desserts or just in the mood for something homemade that will wow your friends and family, these mini turtle cheesecakes are sure to hit the spot! Let’s dive right into making these irresistible treats!
Why are Mini Turtle Cheesecakes a Must-Try?
Irresistible flavors collide: The creamy cheesecake, rich caramel, and chocolate layers create a dessert experience that tantalizes the taste buds.
Simple assembly: With no baking necessary, you can whip these up quickly, making them perfect for spontaneous cravings or last-minute gatherings.
Perfectly portioned: These mini treats allow everyone to indulge without overindulging, making them great for sharing.
Versatile options: Customize with different flavors or toppings to match your mood or occasion, ensuring each batch is uniquely yours.
Guaranteed crowd-pleaser: Witness the smiles and compliments from your guests as they savor these delightful, bite-sized gems—they’ll be the talk of the party!
Mini Turtle Cheesecakes Ingredients
For the Crust
- Graham Crackers – Provides the crust foundation; feel free to use digestive biscuits as a tasty substitute.
- Unsalted Butter – Binds the graham cracker crust for a firm base; coconut oil works well for a dairy-free option.
For the Cheesecake Filling
- Cream Cheese – The primary ingredient for the cheesecake filling, offering that rich creaminess; consider mascarpone for a different flavor twist.
- Sugar – Adds the essential sweetness; powdered erythritol can be used for a low-calorie alternative.
- Vanilla Extract – Enhances flavor in the cheesecake; look for all-natural vanilla essence for the best taste.
- Heavy Whipping Cream – Contributes to the luxurious texture of the filling; coconut cream serves as a lighter substitute.
For the Toppings
- Caramel Sauce – Gives that signature turtle flavor; making homemade caramel results in optimal freshness but a vegan version is also available.
- Semi-Sweet/Dark Chocolate – Drizzled on top for richness; white chocolate can be used for a different and delightful twist.
- Chopped Pecans – Adds crunch and texture; walnuts or almonds make great alternatives if you prefer.
Embrace the delightful flavors and textures of these Mini Turtle Cheesecakes that will surely impress your guests!
How to Make Mini Turtle Cheesecakes
-
Prepare Muffin Pan: Line a muffin pan with cupcake liners to ensure easy removal of the mini cheesecakes later. This will save you from any sticking mishaps!
-
Make Graham Cracker Crust: Crush the graham crackers into fine crumbs in a bowl. Mix them with melted butter until it resembles wet sand—this is your delightful crust!
-
Form the Crust: Press the graham cracker mixture firmly into the bottom of each lined muffin cup, creating a solid base. Set aside to allow the crust to firm up slightly.
-
Mix Cheesecake Filling: In a stand mixer, beat the cream cheese and sugar together until smooth and creamy, then add the vanilla extract and heavy whipping cream, whipping until everything is well blended and fluffy.
-
Fill Cupcake Liners: Spoon the luscious cheesecake mixture into each muffin liner, filling them right to the top. Make sure each one is generously packed!
-
Chill: Place the muffin tin in the refrigerator and allow the cheesecakes to chill for 2-4 hours, or until set—this step helps achieve the ideal creamy consistency.
-
Add Toppings: Once firm, drizzle caramel sauce generously over the cheesecakes, then layer on the melted chocolate, finishing with a sprinkle of chopped pecans for that perfect crunch.
Optional: Drizzle a little extra chocolate sauce for a beautiful presentation!
Exact quantities are listed in the recipe card below.
Expert Tips for Mini Turtle Cheesecakes
-
Chill Properly: Chilling is key for achieving a smooth texture in your mini turtle cheesecakes. Allow them to set for at least 2-4 hours before serving.
-
Crust Texture Matters: Aim for a graham cracker blend that resembles wet sand. If it crumbles, add more melted butter to bind it perfectly.
-
Quality Counts: For the best flavor, opt for high-quality cream cheese and vanilla extract. These ingredients can greatly enhance the overall taste of your cheesecake.
-
Butter Substitutions: If you’re seeking a dairy-free option, coconut oil works wonderfully in place of unsalted butter for the crust!
-
Layer for Flavor: Drizzle the caramel and chocolate in layers for a beautiful presentation and a delightful mix of tastes in every bite.
-
Experiment with Toppings: Feel free to swap pecans for walnuts or almonds, or even add fresh fruit for a festive twist on these delightful mini turtle cheesecakes!
Storage Tips for Mini Turtle Cheesecakes
Fridge: Store mini turtle cheesecakes in an airtight container in the fridge for up to 3 days to preserve their delightful texture and flavor.
Freezer: For longer storage, wrap each cheesecake individually in plastic wrap and place them in a freezer-safe container. They can be frozen for up to 3 months.
Thawing: To enjoy a cheesecake straight from the freezer, transfer it to the fridge for a few hours or overnight to thaw gently. This ensures the perfect consistency returns without affecting taste.
Reheating: These no-bake mini turtle cheesecakes are best enjoyed chilled, so there’s no need for reheating—just let them shine as they are!
What to Serve with Mini Turtle Cheesecakes?
Elevate your dessert experience with these delightful pairings that will complement the rich flavors of your mini turtle cheesecakes.
-
Fresh Berries: The tartness of raspberries or strawberries contrasts beautifully with the sweetness of the cheesecakes, creating a harmonious balance on the palate.
-
Espresso or Coffee: A strong cup of espresso enhances the creamy, decadent nature of the cheesecakes, making each bite feel even more indulgent.
-
Whipped Cream: A dollop of fluffy whipped cream adds a light touch that beautifully balances the rich cheesecake, inviting indulgence without overwhelming.
-
Chocolate Sauce: Drizzling additional chocolate sauce over your cheesecakes brings an extra layer of indulgence, enhancing both aesthetics and flavor.
-
Caramel Drizzle: For caramel lovers, a bit more caramel sauce reinforces the classic turtle flavor, creating a delightful experience that complements the cheesecake’s richness.
-
Milk or Milkshakes: A glass of cold milk or a delicious milkshake provides a classic pairing that echoes childhood nostalgia, enhancing the overall treat experience.
-
Ice Cream: Serve with a scoop of vanilla or salted caramel ice cream for an irresistible dessert extravaganza—perfect for any special occasion.
Make Ahead Options
These Mini Turtle Cheesecakes are perfect for busy home cooks looking to save time during special occasions or family gatherings! You can prepare the graham cracker crust and cheesecake filling up to 24 hours in advance. Simply crush the graham crackers, mix with melted butter, and press into the muffin cups. For the filling, beat together cream cheese, sugar, vanilla extract, and heavy whipping cream, then store it in an airtight container in the refrigerator. When you’re ready to serve, just fill the crusts with the cheesecake mixture, refrigerate until set (2-4 hours), and then add the toppings just before serving. This ensures they remain fresh and delicious, making dessert effortless and stress-free!
Mini Turtle Cheesecakes Variations & Substitutions
Feel free to get creative with these delightful mini turtle cheesecakes; there are so many ways to customize them to suit your taste!
-
Dairy-Free: Substitute cream cheese with a dairy-free cream cheese alternative and use coconut cream for a luscious filling.
-
Low-Sugar: Switch regular sugar with powdered erythritol to lower calories without compromising sweetness.
-
Gluten-Free: Use gluten-free graham crackers or crushed nuts to create a delicious gluten-free crust alternative.
-
Flavor Boost: Add a tablespoon of cocoa powder to the cheesecake mixture for a rich chocolate twist; it’s an indulgent surprise!
-
Seasonal Spice: Mix in a pinch of cinnamon or pumpkin spice for a festive flair—perfect for autumn or holiday gatherings.
-
Nut-Free: For a nut-free version, omit the pecans completely or substitute with sunflower seeds for that desired crunch without the allergy.
-
Topping Twist: Experiment with different toppings like crushed Oreo cookies, fresh berries, or even a swirl of peanut butter for a unique flavor profile.
-
Extra Indulgence: For a gourmet touch, drizzle some espresso over the chocolate layer for a mocha-inspired mini cheesecake experience; it’ll add depth and richness.
Mini Turtle Cheesecakes Recipe FAQs
How do I choose the right ripeness for the cream cheese?
Absolutely! For the best results, use cream cheese that is at room temperature for an easy mix and creamy texture. Avoid cream cheese that has dark spots or an off smell, as this can impact the flavor of your cheesecakes.
What’s the best way to store mini turtle cheesecakes?
Very! Store your mini turtle cheesecakes in an airtight container in the fridge for up to 3 days to keep them fresh. It’s important to avoid excess air exposure to maintain their creamy texture and delightful flavor.
Can I freeze the mini turtle cheesecakes?
Certainly! To freeze these mini treats, wrap each cheesecake individually in plastic wrap and place them in a freezer-safe container. They can be frozen for up to 3 months. When you’re ready to enjoy one, simply transfer it to the refrigerator and let it thaw for a few hours or overnight.
What if my graham cracker crust falls apart?
No worries! If your crust crumbles too much, it likely needs more butter to help it hold together. Aim for a consistency resembling wet sand when mixing your graham cracker crumbs with melted butter. If it doesn’t hold shape when pressed, just add a tablespoon or two more of melted butter until it firms up nicely.
Are these mini turtle cheesecakes safe for those with nut allergies?
If you’re serving guests with nut allergies, it’s best to skip the pecans altogether. You could explore alternatives such as crushed cookies for garnish or even topping with fresh berries instead, as these mini turtle cheesecakes can easily accommodate different dietary preferences!
How long do mini turtle cheesecakes need to chill?
To achieve the best texture, refrigerate your mini turtle cheesecakes for at least 2-4 hours or until set. Chilling them properly allows the flavors to meld beautifully, creating a decadent treat that’s just perfect for indulging!

Irresistible Mini Turtle Cheesecakes You'll Adore
Ingredients
Equipment
Method
- Line a muffin pan with cupcake liners.
- Crush the graham crackers into fine crumbs and mix with melted butter.
- Press the graham cracker mixture into the bottom of each lined muffin cup.
- In a stand mixer, beat cream cheese and sugar until smooth. Add vanilla extract and heavy whipping cream, then whip until fluffy.
- Spoon the cheesecake mixture into each muffin liner, filling them generously.
- Chill in the refrigerator for 2-4 hours until set.
- Drizzle caramel over the cheesecakes, then layer with melted chocolate and sprinkle with chopped pecans.


