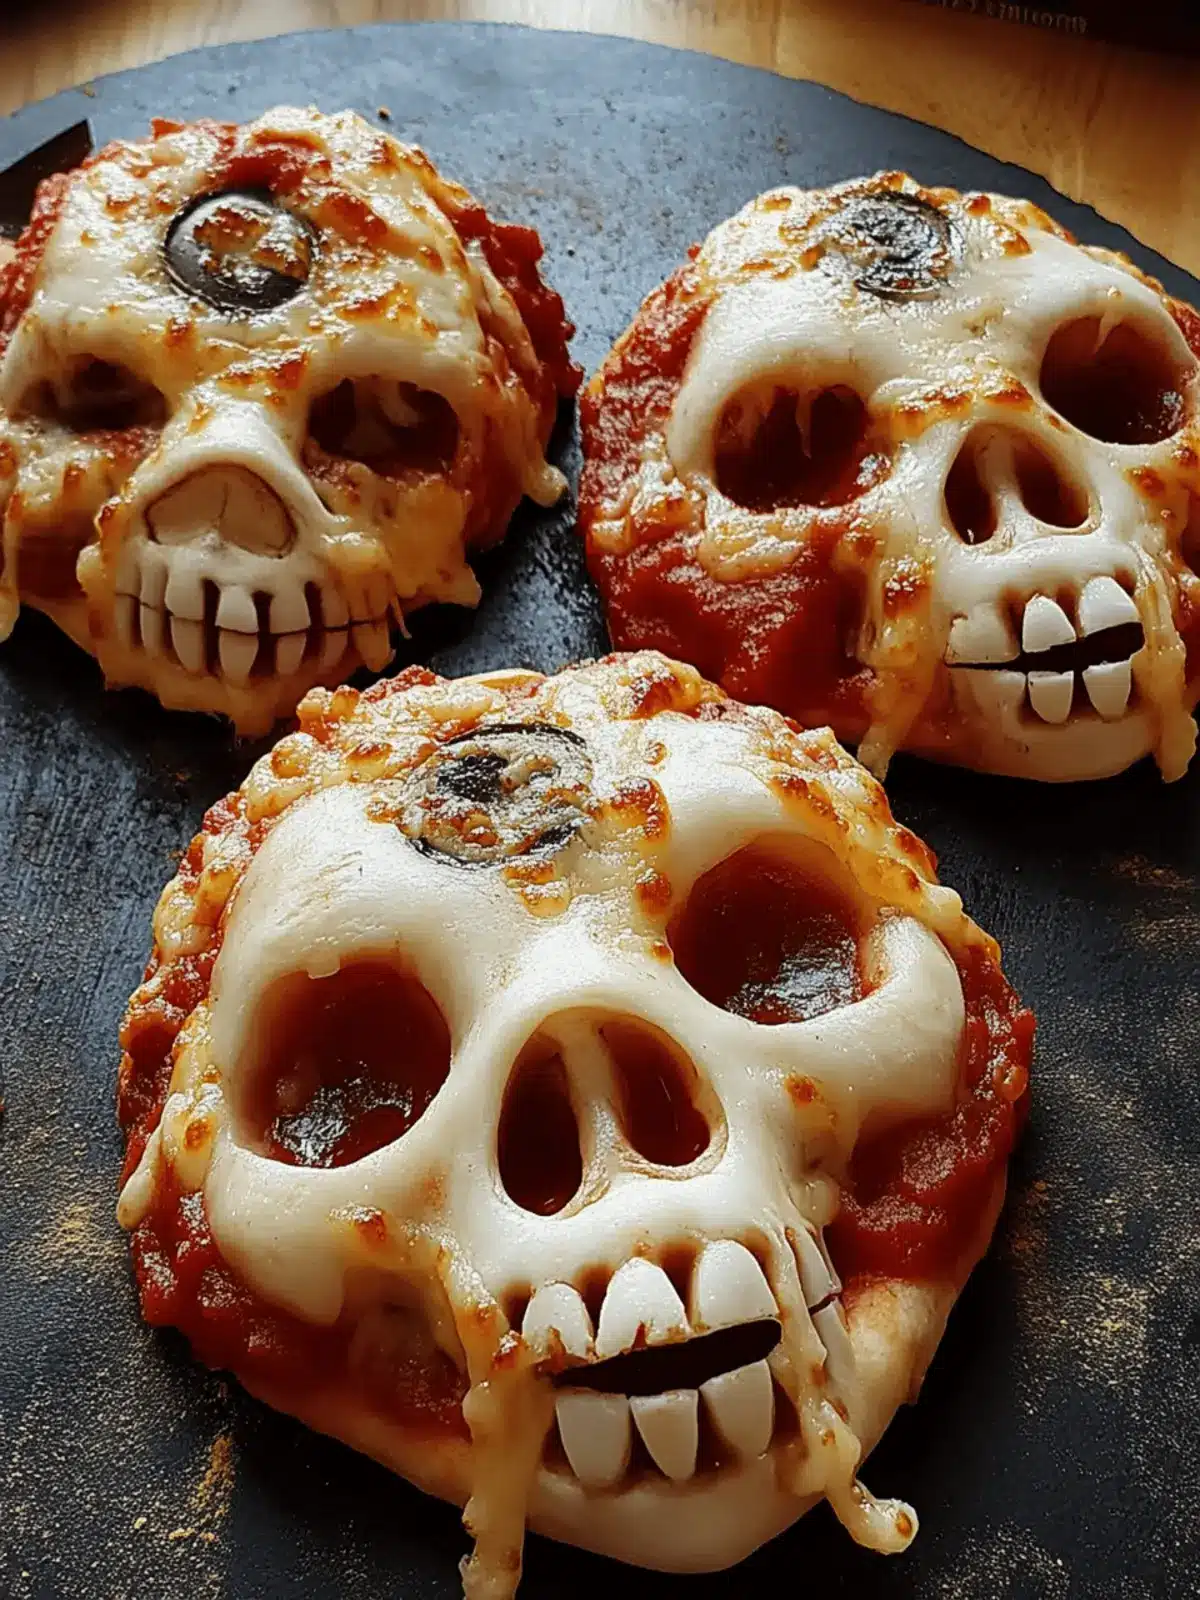
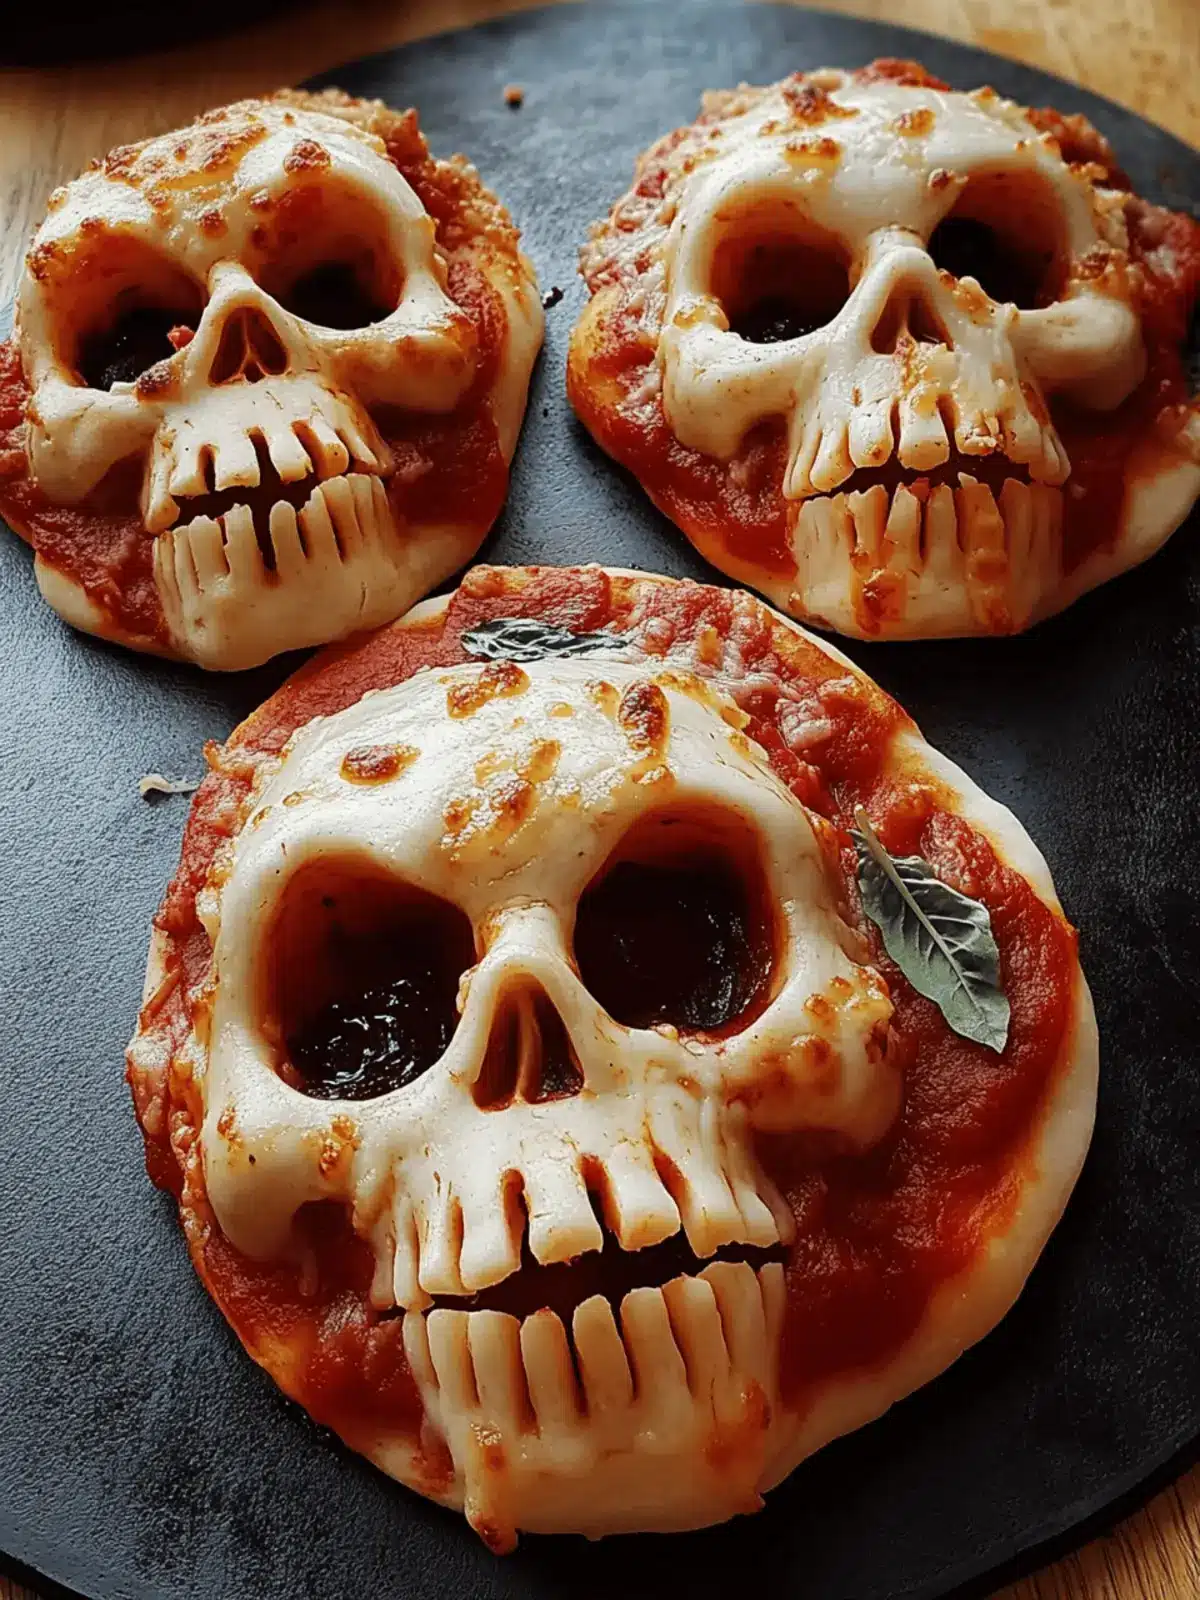
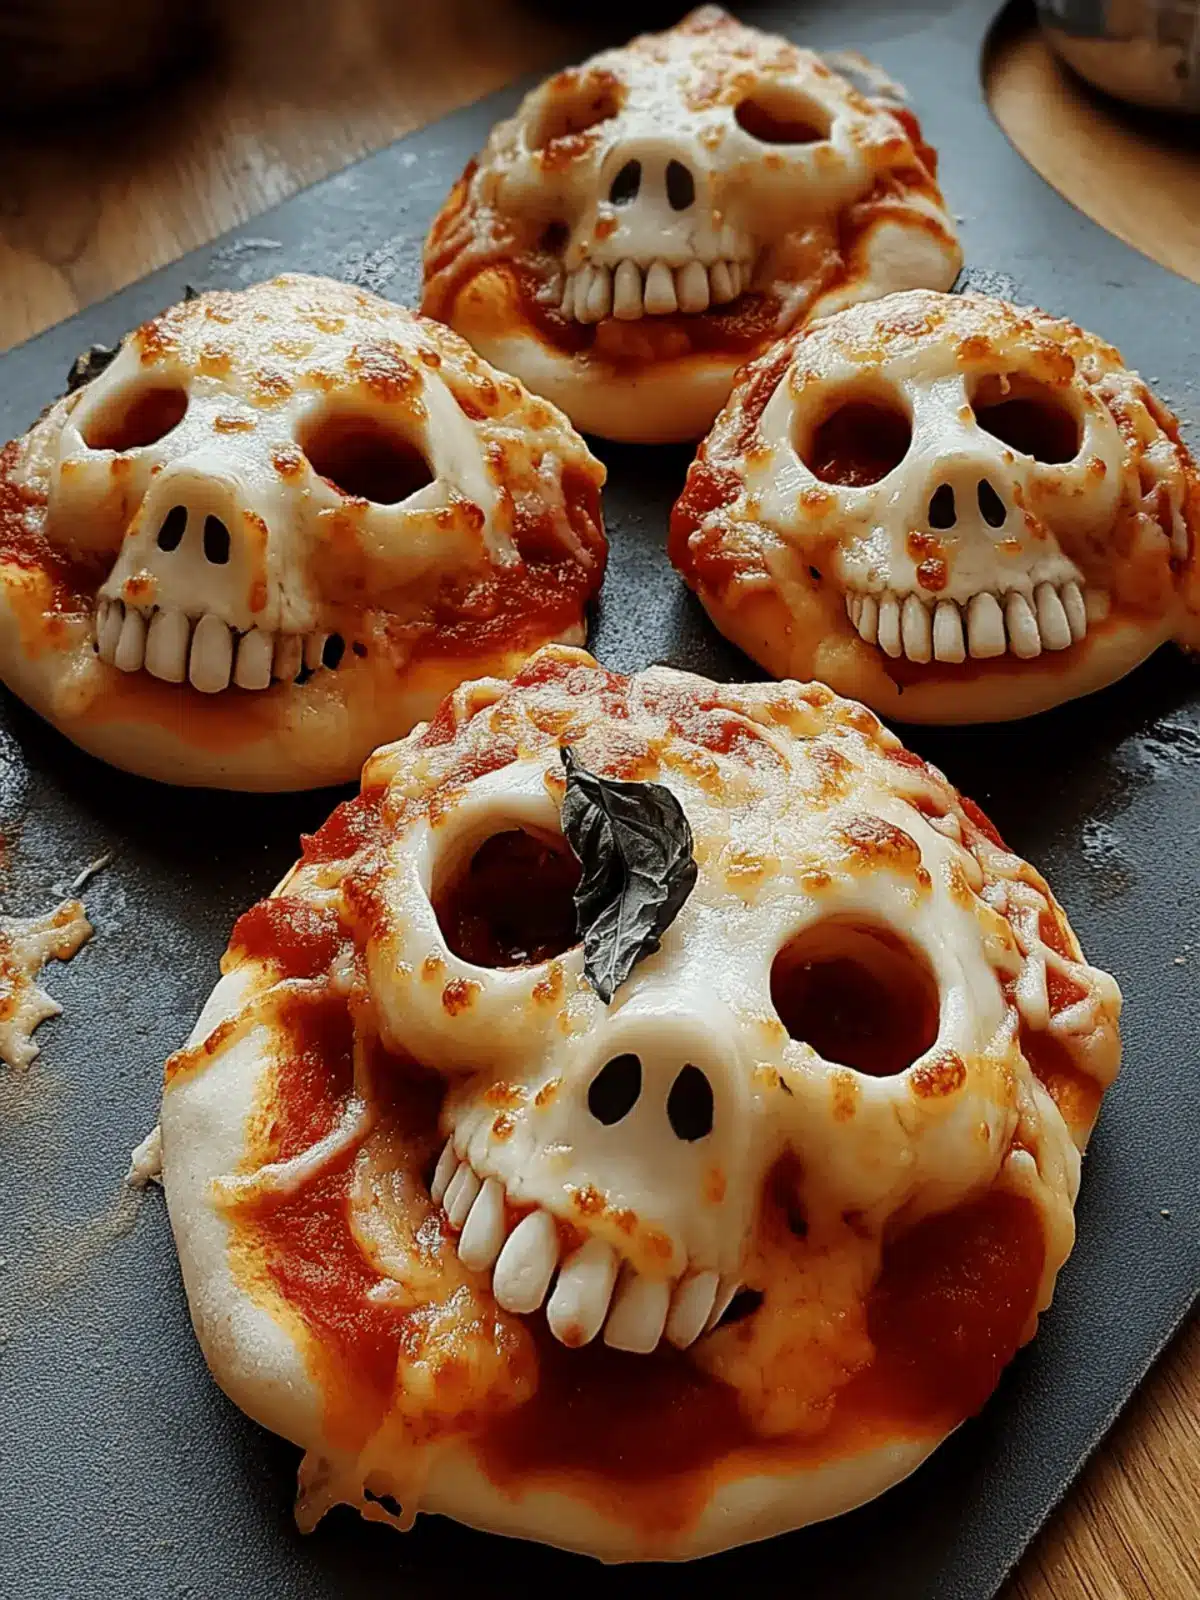
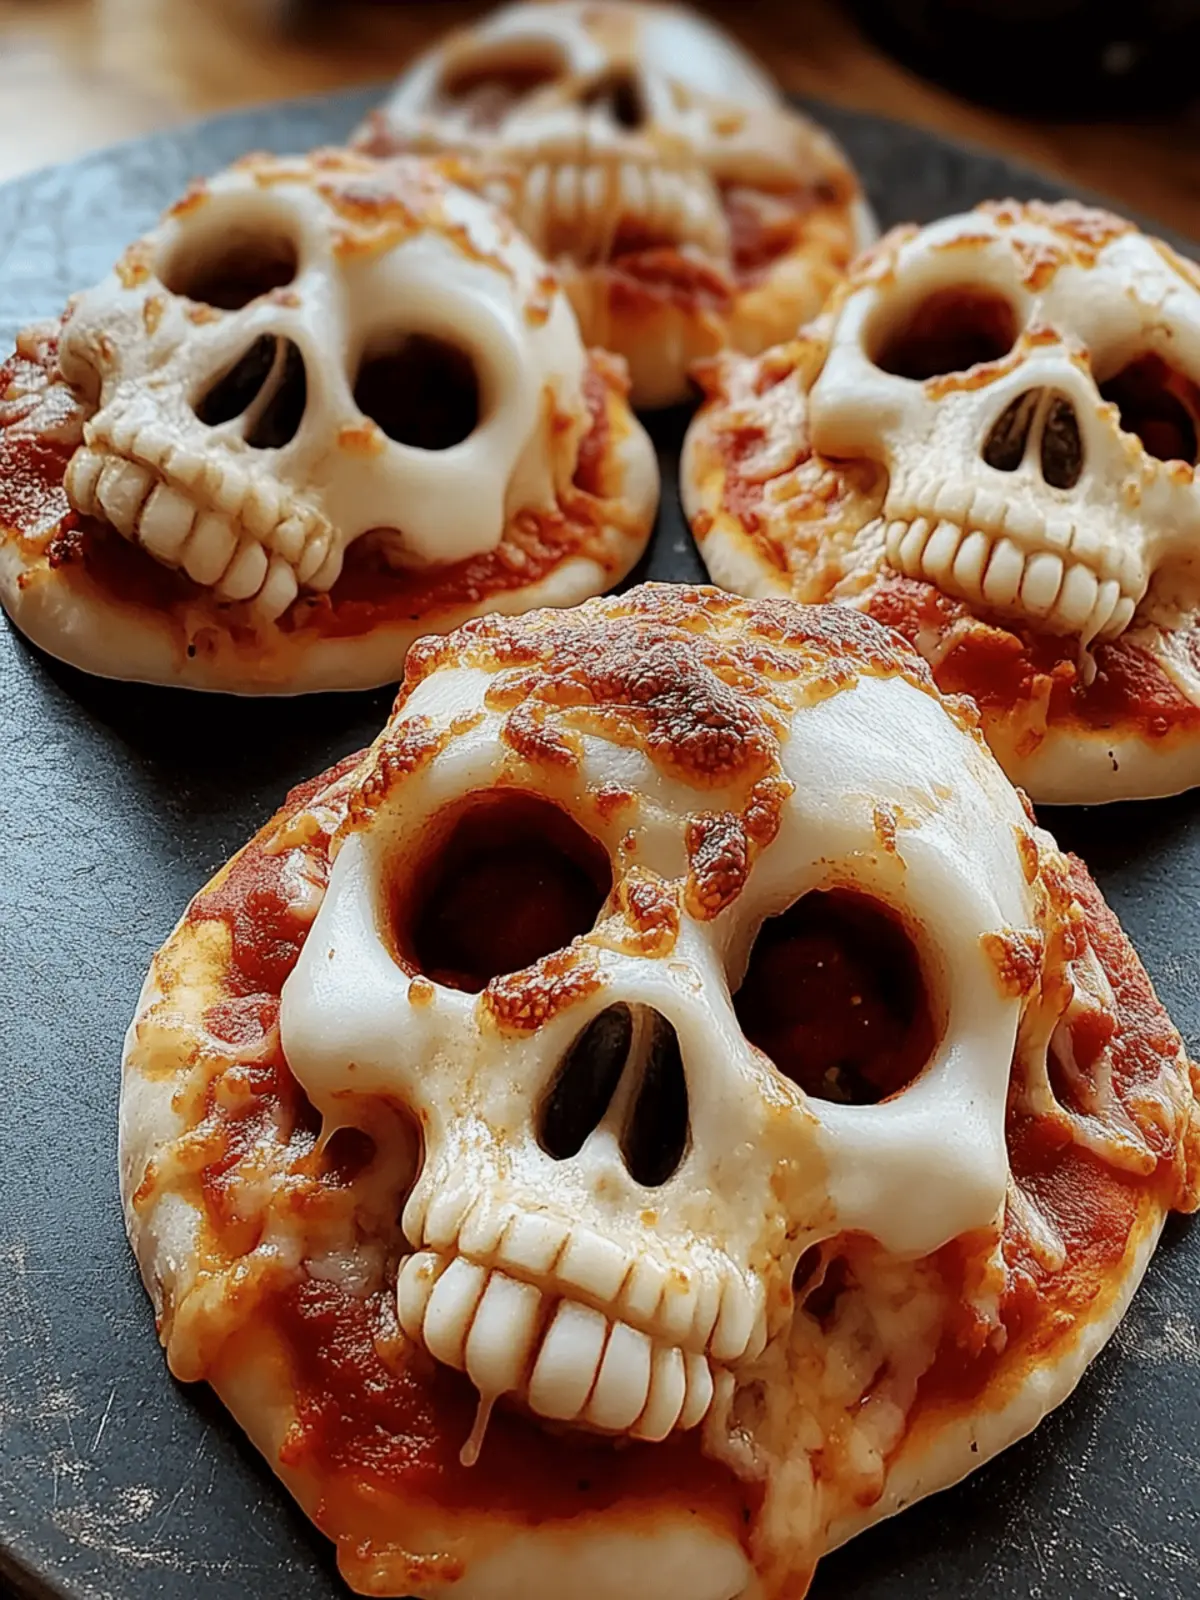
When the leaves start to turn and the air turns crisp, my mind races with fun ideas for spooky treats. This year, I wanted something that sparks joy and imagination—enter Pizza Skulls! Imagine cute, creepy skull-shaped pockets stuffed with a gooey blend of mozzarella and savory fillings, all hugged by a golden crust. These delightful hand-held pizzas are not just a feast for your taste buds; they’re also a playful centerpiece for any Halloween gathering or family dinner.
What I love most about Pizza Skulls is their versatility. Whether you prefer classic pepperoni and cheese or want to whip up a veggie-packed version, these little skulls can be customized to suit any craving (or dietary need). With the kids eager to help in the kitchen, these treats make for an engaging cooking experience that brings the family together. Plus, they can be prepped ahead of time—perfect for those busy weeks! So roll up your sleeves and let’s create a boo-tiful treat that will charm guests of all ages!
Why are Pizza Skulls a Halloween Must?
Creepy Fun: These adorable skull shapes are a hit with kids and adults alike, making them the perfect Halloween treat.
Easy to Customize: Fill with your favorite ingredients—pepperoni, veggies, or sweet fillings for a surprising twist!
Engaging Family Activity: Cooking together transforms into a playful experience, allowing everyone to unleash their creativity in the kitchen.
Make-Ahead Convenience: Prep them a day in advance, so you’re ready to impress without the last-minute rush.
Crowd-Pleasing Delight: With gooey cheese and savory flavors, these handheld delights are bound to be a favorite at any gathering!
Pizza Skulls Ingredients
For the Dough
- Pizza Dough – Use store-bought for convenience, or homemade for that personal touch; either way, a flaky crust sets the stage.
For the Filling
- Mozzarella Cheese – The gooey hero of our Pizza Skulls; substitute with cheddar for a cheese twist!
- Pepperoni – Classic flavor booster; try turkey pepperoni for a lighter option or skip it for a vegetarian feel.
- Italian Sausage – For a savory kick; replace with sautéed mushrooms or spinach for a veggie version.
- Pizza Sauce – Adds moisture and flavor; opt for a thick sauce to keep your Pizza Skulls from getting soggy.
Other Essentials
- Non-stick Spray – A must for ensuring your creations come out of the mold beautifully!
With a handful of these yummy ingredients, you’re on your way to making delightful Pizza Skulls that will be the highlight of your Halloween celebrations!
How to Make Pizza Skulls
-
Preheat the oven to 375°F (190°C). This initial step ensures your Pizza Skulls get that perfect, golden crust while baking.
-
Prepare the skull-shaped cake pan by lightly spraying it with non-stick spray. This prevents any sticking and ensures your spooky creations come out effortlessly!
-
Roll out the pizza dough into a rectangle measuring approximately 15×10 inches. Cut the dough into 6 strips, ready to form your skull pockets.
-
Press the dough into the mold, ensuring it fits snugly in every nook and cranny. Make sure the edges are even for consistent cooking throughout.
-
Layer shredded mozzarella, pizza sauce, pepperoni, and sausage in each mold, creating a heap of deliciousness. Feel free to customize with your favorite fillings!
-
Top with a generous pinch of mozzarella; then, fold the overhanging dough over the filling and seal tightly. This will create the full skull effect as it bakes!
-
Bake for 18-20 minutes until they are golden brown and the kitchen is filled with heavenly aromas. You’ll know they’re ready when the crust is crispy!
-
Cool them slightly before removing from the pan to avoid any burns—patience is key to enjoying these delicious treats!
Optional: Serve with marinara sauce for dipping to make them even more irresistible!
Exact quantities are listed in the recipe card below.
What to Serve with Pizza Skulls?
These delightful, spooky treats are perfect on their own, but pairing them with a few sides can elevate your Halloween feast to new heights.
-
Crispy Garlic Bread: The crunchy, buttery garlic bread provides a comforting contrast to the soft skulls, perfect for dipping into extra sauce.
-
Mixed Green Salad: A light, zesty salad with a tangy vinaigrette freshens up the party plate and complements the richness of the Pizza Skulls beautifully.
-
Spooky Veggie Platter: A fun assortment of vibrant veggies served with ranch dip adds crunch and color while keeping things healthy—bonus points for presentation!
-
Pumpkin Soup: Serving warm, creamy pumpkin soup offers a seasonal touch—and its smoothness pairs wonderfully with the flaky crusts of the skulls.
-
Marinara Sauce: Keep a warm dish of marinara nearby for dipping; it enhances the flavors and makes each bite even more scrumptious.
-
Hot Apple Cider: For drinks, warm apple cider spiced with cinnamon perfectly complements the cozy and festive themes of Halloween gathering, creating a sense of comfort.
-
Chocolate Mousse: End your meal on a sweet note with rich chocolate mousse, adding a plush texture contrast to the savory Pizza Skulls and leaving guests delighted!
Make Ahead Options
These Pizza Skulls are perfect for meal prep and can save you valuable time on busy days! You can assemble the Pizza Skulls up to 24 hours in advance. Simply prepare the filling, stock each skull mold, and cover tightly with plastic wrap before refrigerating. This allows the flavors to meld beautifully without compromising quality. When you’re ready to serve, bake directly from the fridge, adding a few extra minutes to the cooking time. This method not only ensures your Pizza Skulls stay fresh but also lets you present a delicious meal with minimal last-minute effort, allowing you to enjoy more time with family and friends!
Storage Tips for Pizza Skulls
-
Room Temperature: Pizza Skulls can be left out for up to 2 hours at room temperature. They’re best enjoyed fresh, but if you have leftovers, move them to the fridge.
-
Fridge: Store any leftover Pizza Skulls in an airtight container for up to 2 days. This maintains their flavor and prevents them from drying out.
-
Freezer: For longer storage, freeze Pizza Skulls in a single layer on a baking sheet before transferring them to an airtight freezer bag. They can be stored for up to 2 months.
-
Reheating: To reheat, place frozen Pizza Skulls directly on a baking sheet and bake at 350°F (175°C) for 15-20 minutes, or until heated through and crispy.
Expert Tips for Pizza Skulls
-
Proper Filling Amount: Avoid overfilling the skulls; just use 1-1.5 tablespoons of filling per skull to prevent sogginess and breakage.
-
Thick Sauce Preference: Opt for thick pizza sauce to maintain a crisp crust. Drain watery veggies before adding them to your filling.
-
Reheating Method: For leftovers, avoid the microwave. Instead, reheat in the oven to keep Pizza Skulls crispy and delicious.
-
Chill Time: After assembling, consider refrigerating the filled skulls for up to a day. Bake them straight from the fridge, adding a few extra minutes to ensure they’re cooked through.
-
Experimentation Encouraged: Feel free to try different fillings like BBQ chicken or dessert options; the best pizza skulls are those tailored to your family’s tastes!
Pizza Skulls Variations & Substitutions
Feel free to get creative and personalize your Pizza Skulls with these fun and tasty variations!
-
Veggie Delight: Swap out pepperoni and sausage for sautéed bell peppers, zucchini, and spinach for a colorful, nutritious filling. It’s a great way to sneak in extra vitamins!
-
BBQ Chicken: Replace traditional pizza sauce with BBQ sauce, then add shredded rotisserie chicken, red onions, and cheddar for a smoky, tangy twist that will thrill your taste buds!
-
Sweet Treat: Transform your Pizza Skulls into a dessert by filling them with Nutella and sliced bananas. Bake them until golden for an indulgent Halloween treat that’s sure to please!
-
Crescent Roll Upgrade: Use crescent roll dough instead of pizza dough for a flaky, buttery crust. The texture will be so delightful and a fun twist on the classic!
-
Spicy Kick: Add jalapeños or crushed red pepper flakes to your fillings for a spicy little surprise. It’s perfect for those who love a bit of heat in their bite!
-
Herbed Dough: Incorporate dried Italian herbs or garlic powder into your pizza dough for an aromatic flavor that enhances every delicious bite of your Pizza Skulls.
-
Cheese Lovers: Mix in mozzarella with other cheeses like gouda or fontina for an extra cheesy party in your mouth! Each bite will be an oozy, melty delight that’s impossible to resist.
-
Meatless Wonder: Omit all meats and fill with a blend of mushrooms, artichoke hearts, and olives for a flavorful vegetarian option that everyone can enjoy.
Pizza Skulls Recipe FAQs
How do I choose the right pizza dough?
Absolutely! For the best results, I recommend using either store-bought or homemade pizza dough. If you opt for store-bought, look for a high-quality brand that specifies it’s for pizza. Homemade dough can be more personal and delicious, plus, it’s simple to make if you have some extra time! Just ensure it’s well-kneaded for that perfect elasticity.
How should I store leftover Pizza Skulls?
Great question! Leftover Pizza Skulls can be stored in an airtight container in the fridge for up to 2 days. Make sure they are completely cooled before sealing. If you find they’re sticking together, you can place parchment paper between each skull to keep them separate.
Can I freeze Pizza Skulls, and how?
Very! To freeze Pizza Skulls, first, let them cool completely. Then, place them in a single layer on a baking sheet and freeze until solid. This prevents them from sticking together. Transfer the frozen skulls to an airtight freezer bag, squeezing out as much air as possible. They can be stored in the freezer for up to 2 months.
What’s the best way to reheat frozen Pizza Skulls?
For perfectly reheated Pizza Skulls, place the frozen skulls directly on a baking sheet. Preheat your oven to 350°F (175°C) and bake for 15-20 minutes, until heated through and crisp. This method ensures you maintain that delicious crunch on the outside while keeping the cheesy filling gooey.
Can I make Pizza Skulls vegetarian-friendly?
Absolutely! You can customize your Pizza Skulls to suit any dietary preference. Simply replace the pepperoni and sausage with sautéed mushrooms, spinach, or any other favorite veggies. Sometimes I like to add extra cheese and fresh herbs, such as basil, for even more flavor.
How can I tell when the Pizza Skulls are done baking?
The best indicator is the color! Look for a golden brown crust, which takes about 18-20 minutes in the oven. You can also gently press the top; it should feel firm and not doughy. If you hear that delightful sizzle when they come out, you know you’re in for a treat!

Create Fun Pizza Skulls: Spooky Treats for Halloween Parties
Ingredients
Equipment
Method
- Preheat the oven to 375°F (190°C).
- Prepare the skull-shaped cake pan by lightly spraying it with non-stick spray.
- Roll out the pizza dough into a rectangle measuring approximately 15x10 inches.
- Cut the dough into 6 strips to form skull pockets.
- Press the dough into the mold, ensuring it fits snugly.
- Layer shredded mozzarella, pizza sauce, pepperoni, and sausage in each mold.
- Top with a generous pinch of mozzarella and seal the overhanging dough.
- Bake for 18-20 minutes until golden brown.
- Cool them slightly before removing from the pan.


